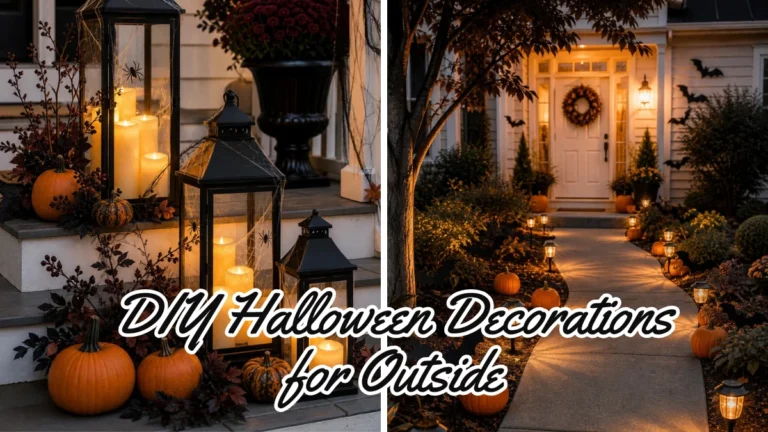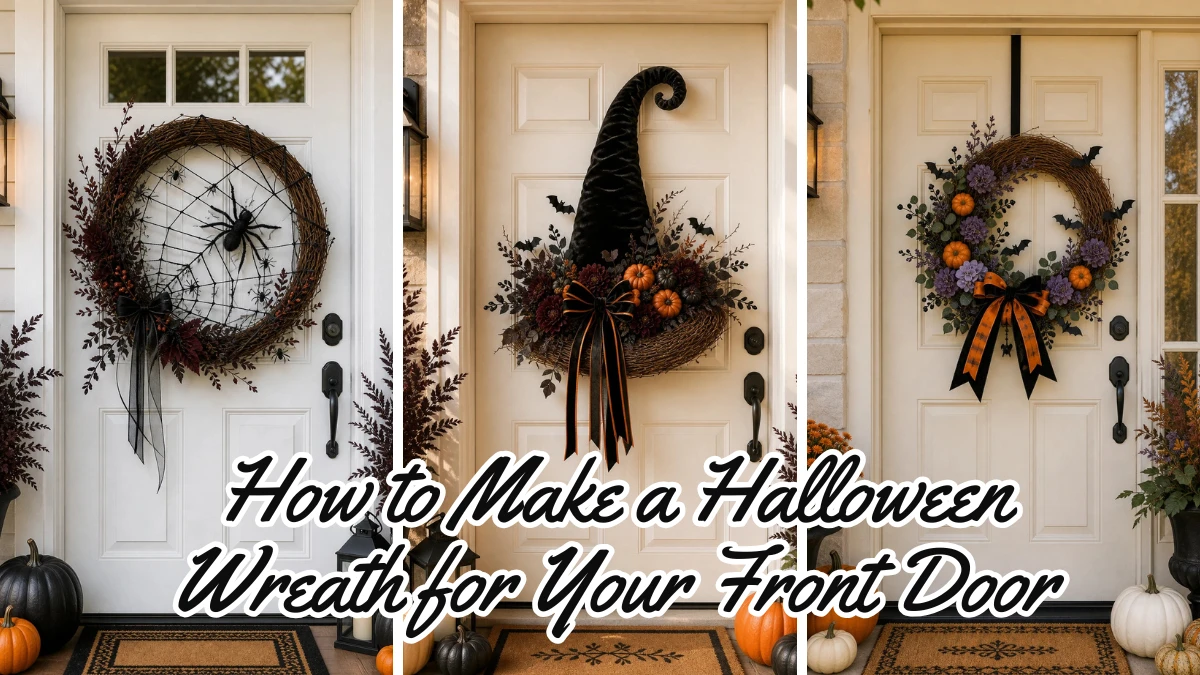
How to Make a Halloween Wreath for Your Front Door
A Halloween wreath can make a plain front door feel ready for the season without turning your whole porch into a Halloween display. You can make one yourself with a simple wreath base, a few decorations, some ribbon, and basic craft supplies.
The nice thing about making your own wreath is that you can control the style. You might want a simple black and orange design, a cute pumpkin wreath, or something darker with bats and deep colored flowers.
You also do not need to fill every inch of the wreath. A few well placed decorations can look more polished than a crowded design.
If you are looking for another easy Halloween project, you can also learn how to do easy Halloween nails at home for a simple festive manicure.
This guide explains how to make a Halloween wreath for your front door from start to finish. You will learn how to choose a base, plan the colors, arrange the larger pieces, add smaller decorations, secure everything, and hang the finished wreath safely.
What You Need
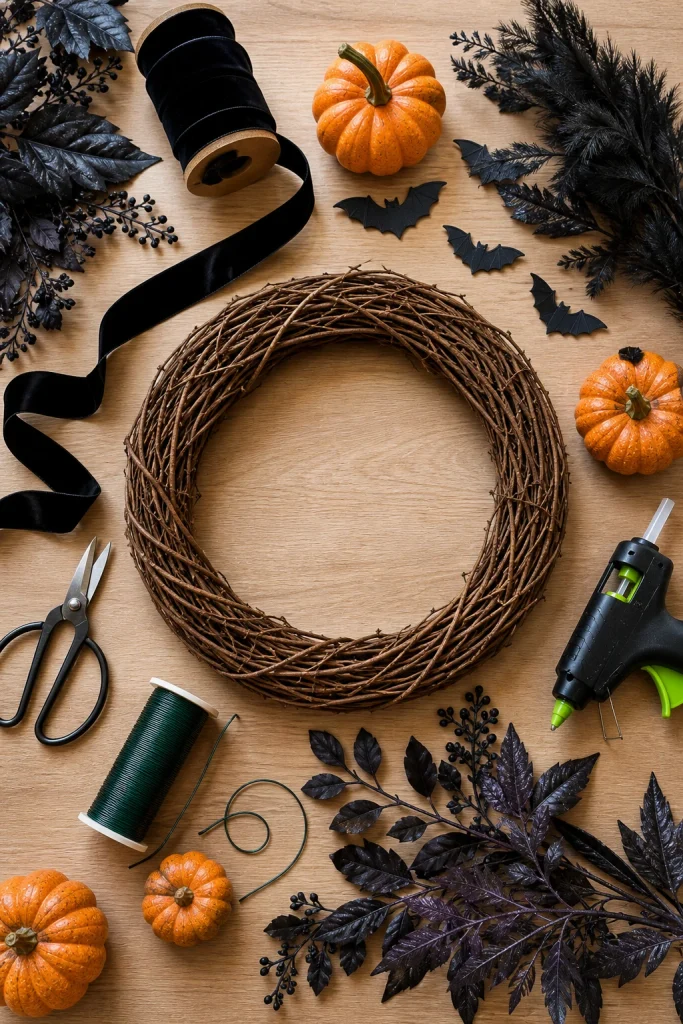
The exact supplies will depend on the design you have in mind, but you can start with a small collection of basic materials.
• 16 to 18 inch wreath base
• Grapevine wreath or wire wreath frame
• Artificial leaves or branches
• Halloween ribbon
• Small pumpkins, bats, spiders, flowers, or other decorations
• Floral wire
• Wire cutters
• Scissors
• Hot glue gun and glue sticks
• Wreath hanger
A grapevine base is a good option when you want some of the natural branches to remain visible. A wire frame gives you more flexibility if you want to build a fuller design with ribbon or other materials.
Current 2026 seasonal decor coverage also shows continued interest in natural textures and handmade wreaths, which makes a simple grapevine base a useful starting point for a more relaxed look.
How to Make a Halloween Wreath Step by Step
1. Choose the Right Wreath Base
Start by choosing the base before you buy all your decorations.
A grapevine wreath works well if you like a natural handmade appearance. The uneven branches give you places to tuck in foliage and decorations without needing to cover the entire wreath.
A wire frame is better for designs that depend more on ribbon, mesh, or a fuller arrangement.
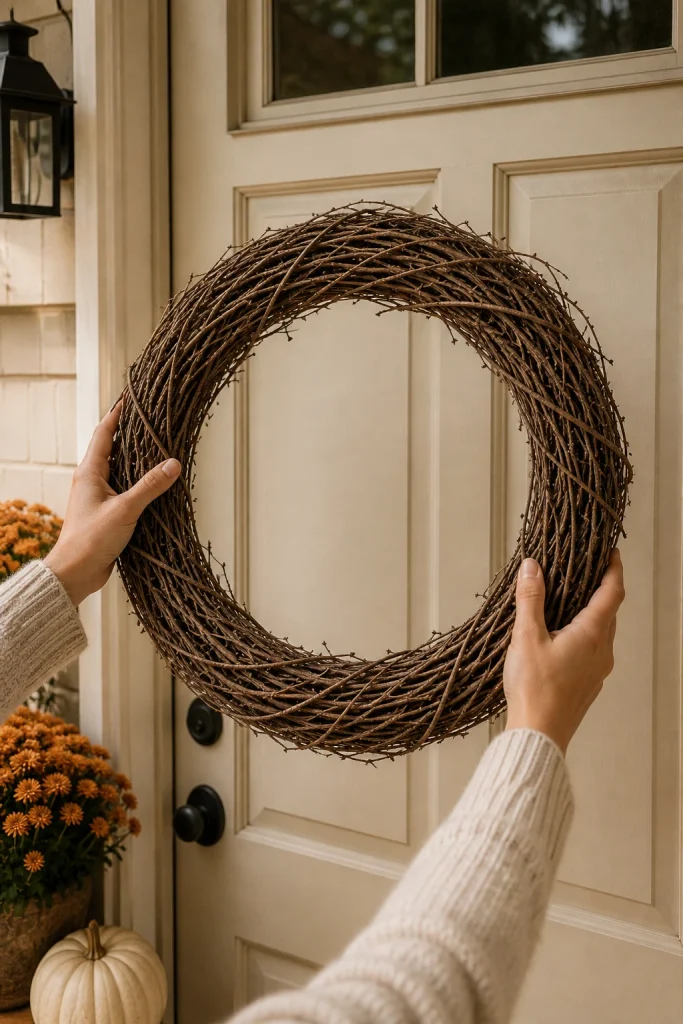
For many standard front doors, a base around 16 to 18 inches is a practical starting point. Remember that decorations can add several inches to the final width.
Hold the empty wreath against your door before you start decorating. This simple check can help you decide whether the size feels right for your entrance.
2. Decide on Your Colors
Choose your main colors before attaching anything.
Traditional Halloween colors such as black and orange are easy to work with. For a softer look, try cream, muted orange, and black. A darker wreath can use black, burgundy, deep green, or brown.
Try to keep the main palette small. Two or three main colors are usually enough to make the different decorations feel connected.
Think about your front door too. Orange can stand out against a dark door, while black and cream can create more contrast against a lighter door.
3. Plan the Arrangement Before Gluing
This is one of the easiest steps to skip, but it can save you from having to remove decorations later.
Lay the wreath flat and place the larger branches, flowers, ribbon, and decorations where you think they should go. Do not attach anything yet.
Move the pieces around until you can see a clear visual direction.
You might want most of the decorations on one side, across the bottom, or in a loose crescent shape. There is no need to make both sides identical.
Take a quick photo of the arrangement once you like it. You can use the photo as a guide when you start attaching everything.
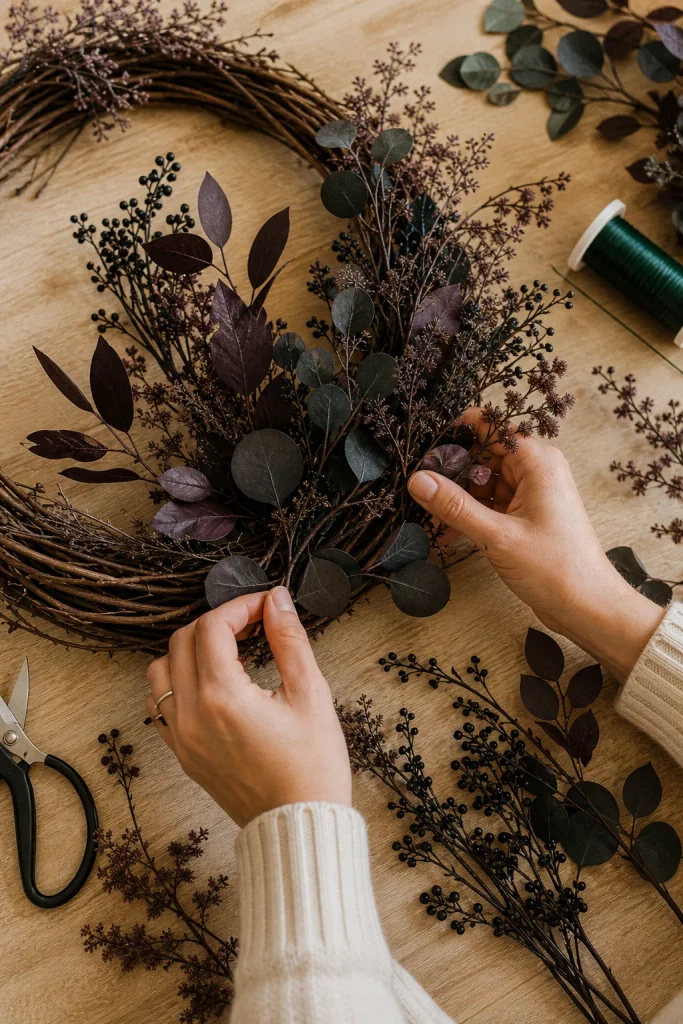
4. Add the Larger Foliage
Begin with the pieces that take up the most space.
Tuck artificial branches, leaves, dried looking stems, or dark flowers into the wreath base. If you are using a grapevine wreath, work with the natural shape of the branches instead of trying to make everything perfectly even.
Secure larger pieces with floral wire. Wrap the wire around both the decoration and the wreath base, then twist it firmly at the back.
This gives heavier decorations more support than glue alone.
5. Add Your Main Halloween Decoration
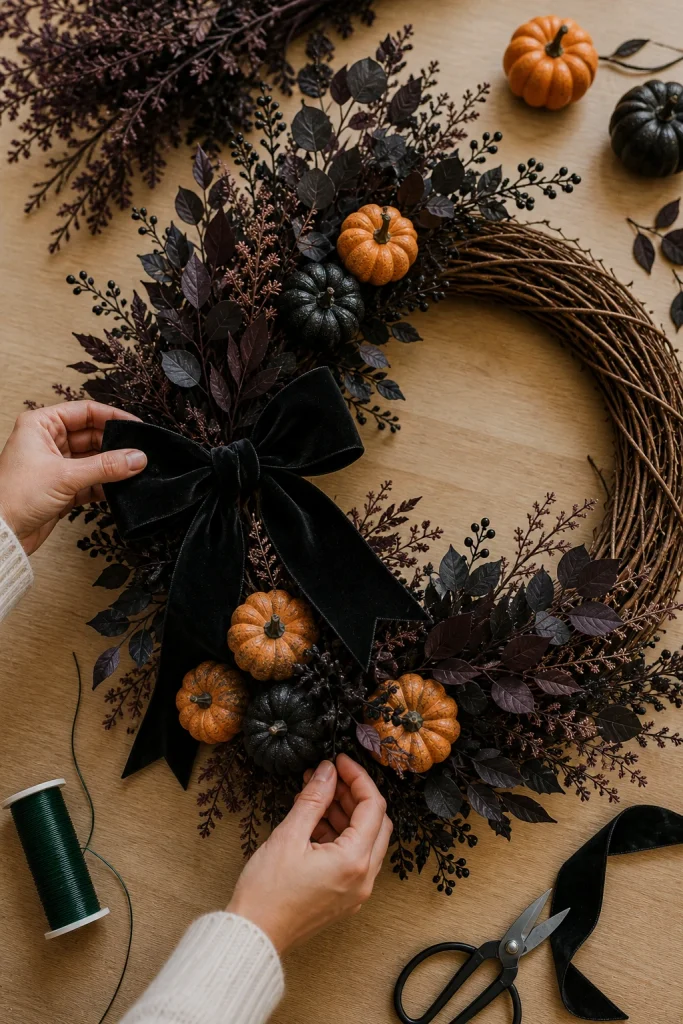
Now choose the piece that you want people to notice first.
It could be a cluster of small pumpkins, a large black bow, a witch hat, a Halloween sign, a large spider, or a group of dark flowers.
Place this decoration slightly off center if it works with your arrangement. An off center focal point can leave room for smaller details and give the wreath a more relaxed handmade appearance.
Do not add several large decorations at this stage. Let one main element lead the design.
6. Add Smaller Halloween Details
Once the main decoration is secure, start filling the open areas.
Small bats, spiders, pumpkins, berries, leaves, flowers, or tiny signs can add character without taking attention away from the focal point.
Try placing similar decorations in small groups instead of spreading one piece into every empty space.
For example, three small pumpkins can create more impact than six pumpkins scattered randomly around the wreath.
Attach lightweight pieces with glue or floral wire depending on the material. If something is heavy or likely to move, use wire for extra support.
7. Add Ribbon
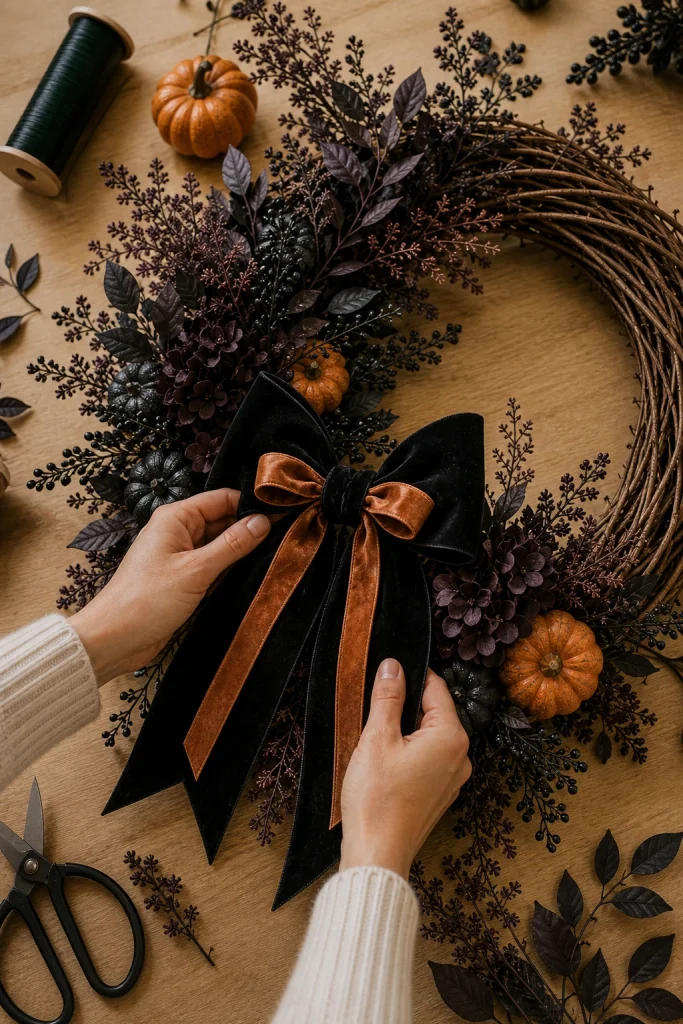
Ribbon can give the wreath more movement and can also help connect the colors.
A black velvet ribbon can create a more elegant appearance. Black and orange ribbon feels traditional, while a muted cream or burgundy ribbon can give the wreath a softer autumn look.
You can make one large bow or use several shorter ribbon pieces.
If your wreath already has several decorative elements, one simple bow may be enough. Too many different ribbon patterns can make the design look busy.
8. Check the Balance
Put the wreath on a table or hold it upright and look at it from a few feet away.
Ask yourself three simple questions.
Does one side look much heavier than the other?
Can I clearly see the main decoration?
Are there areas that feel crowded?
Move decorations before adding anything else. You may find that removing one piece improves the design more than adding another.
Leaving part of the wreath base visible is completely fine. Natural gaps can give the finished wreath more depth.
9. Secure Everything
Before hanging the wreath, check every decoration.
Gently move the larger pieces and make sure they are not loose. Add more floral wire to branches or heavier decorations if necessary.
Check the bow too. Ribbon can loosen when the door moves, especially if the wreath is exposed to wind.
If your wreath will stay outdoors, choose decorations and foliage that can handle the conditions around your door. A covered porch offers more protection than a completely exposed entrance.
10. Hang the Wreath
Once everything is secure, hang the wreath on your front door.
An over the door hanger is one simple option. You can also use a hanging method that is suitable for your door material and the weight of the finished wreath.
Make sure the wreath does not interfere with the handle, peephole, hinges, or door movement.
Close and open the door once after hanging it. This gives you a chance to catch any problem before you leave the wreath in place.
Finally, walk several steps away and look at it from the same direction visitors will see it.
Easy Halloween Wreath for Beginners
If this is your first wreath project, keep the design simple.
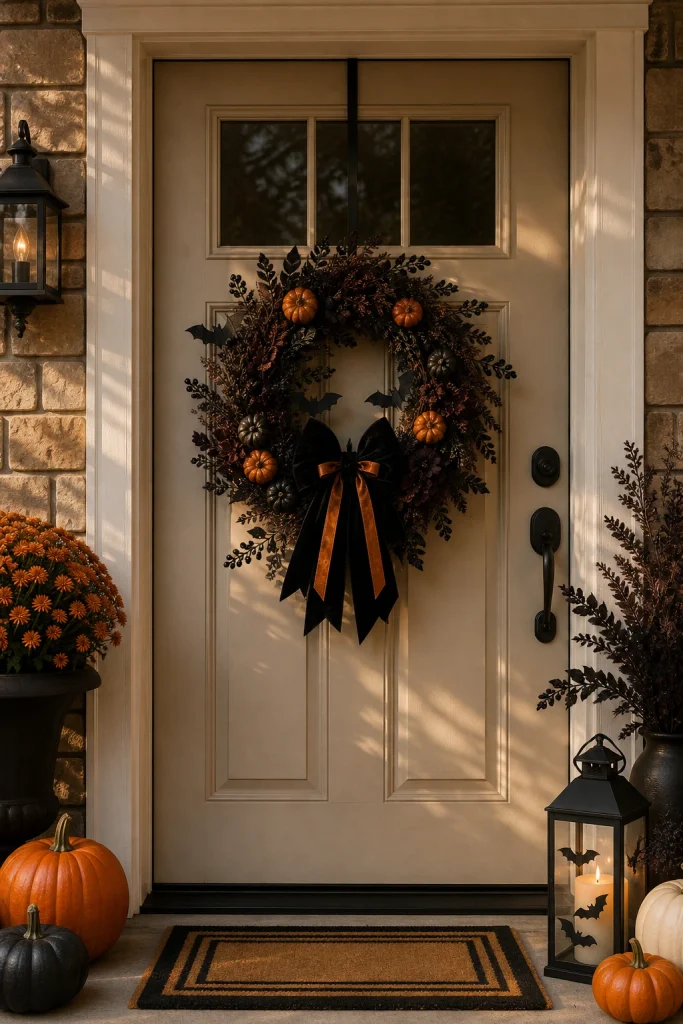
Start with a grapevine wreath and add dark foliage to one side. Place a black bow near the lower part of the arrangement and add three small pumpkins around it.
Finish with a few black berries or tiny bats.
This approach gives you a finished Halloween look without requiring dozens of decorations. It also makes it easier to change the design while you are working.
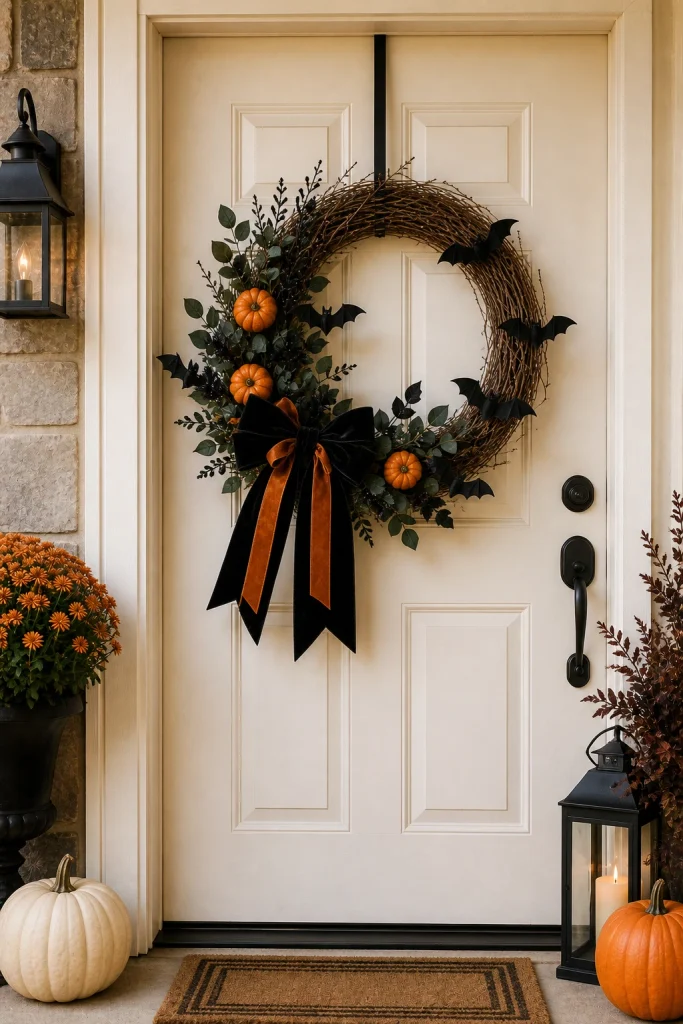
Cute Halloween Wreath
Halloween decorations do not always have to look spooky.
For a cute wreath, use brighter orange, cream, purple, or pink accents with small pumpkins, friendly ghosts, colorful bats, or a playful sign.
A small witch hat can also become the main decoration.
Current 2026 DIY examples include colorful bat wreaths and playful witch themed designs, showing that Halloween door decor can range from cute and cheerful to darker styles.
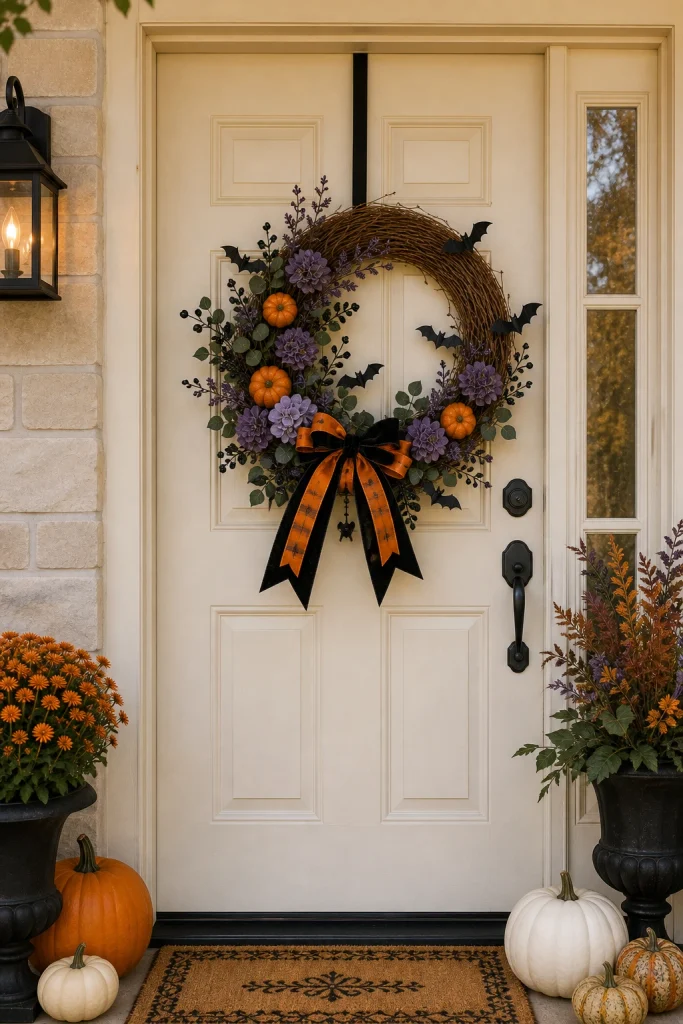
Elegant Halloween Wreath
For an elegant wreath, use fewer decorations and focus on texture.
Try dark eucalyptus, burgundy flowers, black berries, a velvet bow, and a few matte black bats.
Instead of covering the entire wreath, allow some of the base to remain visible.
This works especially well if you want Halloween decor that feels seasonal without making your front door look overly themed.
Natural textures and handmade wreaths are also appearing prominently in current 2026 fall decor coverage.
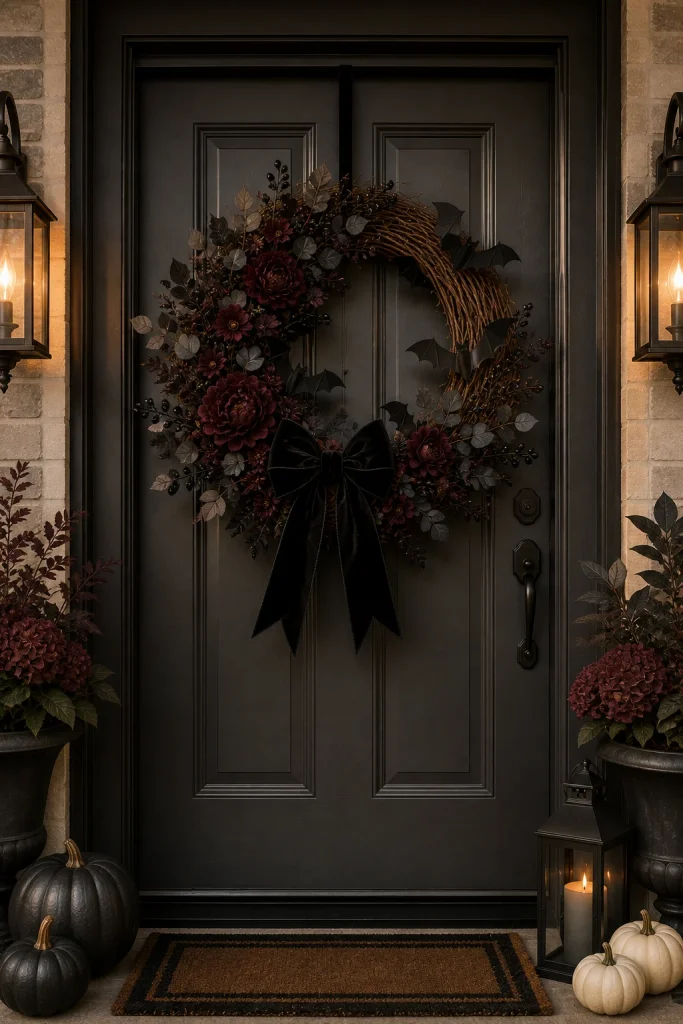
Spider Web Halloween Wreath
A spider web design is a simple way to create a spooky wreath without buying many decorations.
Use a black wreath base and stretch white web material across part of it. Add several black spiders in different sizes.
Keep some of the black base visible so the white web stands out.
You can finish the design with a simple black ribbon or a small orange accent.
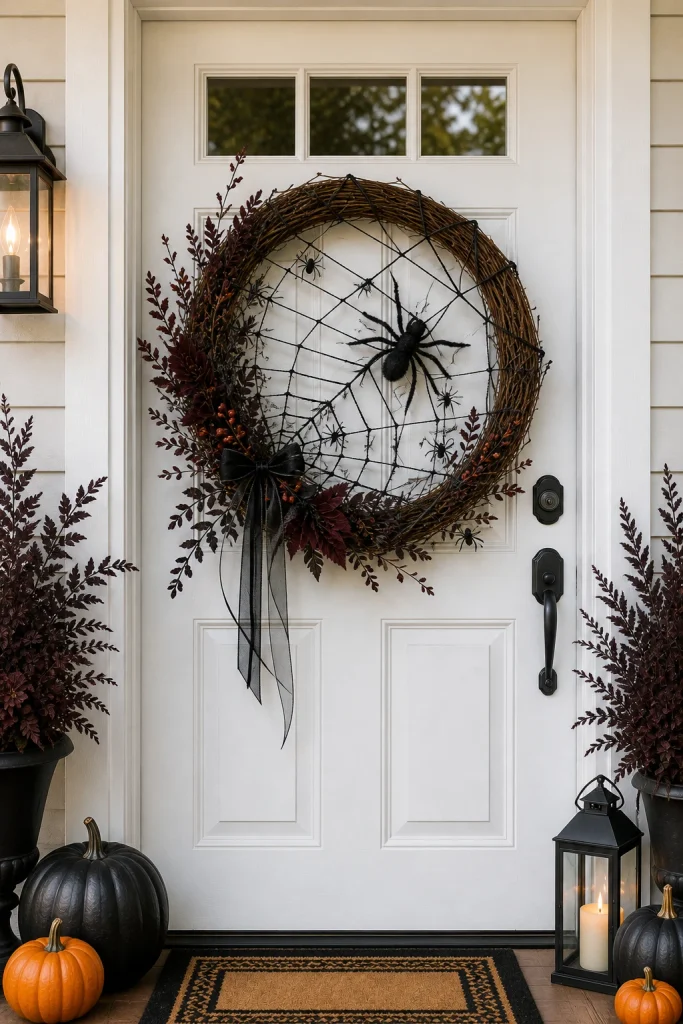
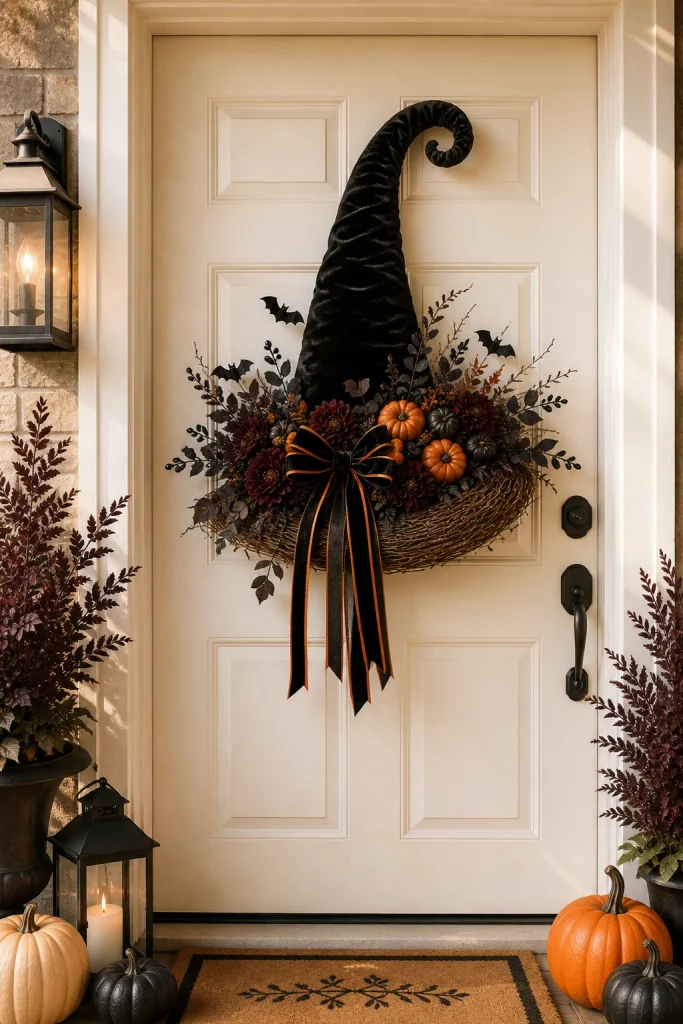
Witch Hat Halloween Wreath
A witch hat can work as the main focal point instead of using lots of small decorations.
Start with a simple wreath base and place a black witch hat near the top or side. Add a little orange and black ribbon around the lower section, then finish with a few small decorations.
Current 2026 DIY witch wreath examples are using a simple frame with a black hat and ribbon based details, making this a practical option for a playful front door design.
How to Make a Halloween Wreath Look More Expensive
You do not need expensive decorations to make a wreath look polished.
Start by choosing materials that have different textures. Velvet ribbon, rough grapevine, soft artificial foliage, matte pumpkins, and smooth decorative accents can work well together.
Use different sizes too. One or two larger pieces should lead the design while smaller decorations provide detail.
Most importantly, avoid filling every empty space.
A wreath with fewer carefully chosen elements can look more intentional than one covered from edge to edge.
How to Make a Halloween Wreath Last Outdoors
Think about the location of your door before choosing the materials.
A covered porch protects decorations from direct rain, while an exposed front door can subject the wreath to wind, moisture, and strong sunlight.
Use artificial foliage and seasonal decorations suitable for outdoor conditions when possible.
Secure heavier pieces with floral wire and check the wreath after windy weather.
If severe weather is expected, bring the wreath inside when the materials are not designed to handle those conditions.
Common Halloween Wreath Mistakes
Adding Too Much
It is easy to keep adding decorations because the wreath feels unfinished while you are working on it.
Step back before adding another piece. Sometimes the wreath needs less, not more.
Using Too Many Colors
Several unrelated colors can make the wreath look disconnected.
Choose a small palette and repeat those colors throughout the design.
Making Everything the Same Size
A wreath made entirely from small decorations can lack a clear focal point.
Combine a few larger pieces with smaller details.
Using Glue for Everything
Glue works well for many lightweight decorations, but heavier branches and ornaments may need wire.
Forgetting the Door
Always check the finished wreath against your actual front door.
A design that looks balanced on a table may look very different once it is hanging vertically.
How Long Does It Take to Make a Halloween Wreath?
A simple wreath can be finished in about an hour once you have all the materials ready.
The exact time depends on the design. A basic grapevine wreath with foliage, a bow, and a few decorations will be quicker than a detailed ribbon or mesh design.
Current beginner Halloween wreath projects range from roughly 25 minutes for a simple bat design to around 40 to 50 minutes for a more involved witch wreath.
If this is your first project, give yourself extra time for arranging the decorations before you secure them.
Can You Make a Halloween Wreath Without a Glue Gun?
Yes.
A glue gun is useful for lightweight decorations, but it is not the only option.
Floral wire works well for branches, ornaments, and pieces that need additional support. Twist ties and pipe cleaners can also be useful for certain wreath bases.
If you want to reuse the same wreath base for another season, removable attachments can make changing the decorations easier.
What Size Wreath Is Best for a Front Door?
A 16 to 18 inch base is a useful starting point for many standard front doors.
The finished wreath will be larger once you add foliage, ribbon, flowers, or other decorations, so always consider the final size rather than the base alone.
If you have a wide front door, you can use a larger wreath. For a narrow entrance, a smaller design may look more balanced.
The easiest way to check is to hold the undecorated wreath against your door before you begin.
Final Tips
Making a Halloween wreath at home is mostly about choosing a simple direction and building the design gradually.
Start with the base, choose your colors, arrange the larger pieces, and decide what you want to use as the focal point. Add the smaller Halloween details only after the main arrangement looks right.
Secure heavier pieces with floral wire and check the finished wreath before hanging it outside.
You can make the design cute, elegant, traditional, or spooky depending on the materials you choose.
The goal is not to use the most decorations. It is to create a wreath that looks balanced on your front door and feels like it belongs with the rest of your seasonal decor.

glofybags@gmail.comEdit Profile