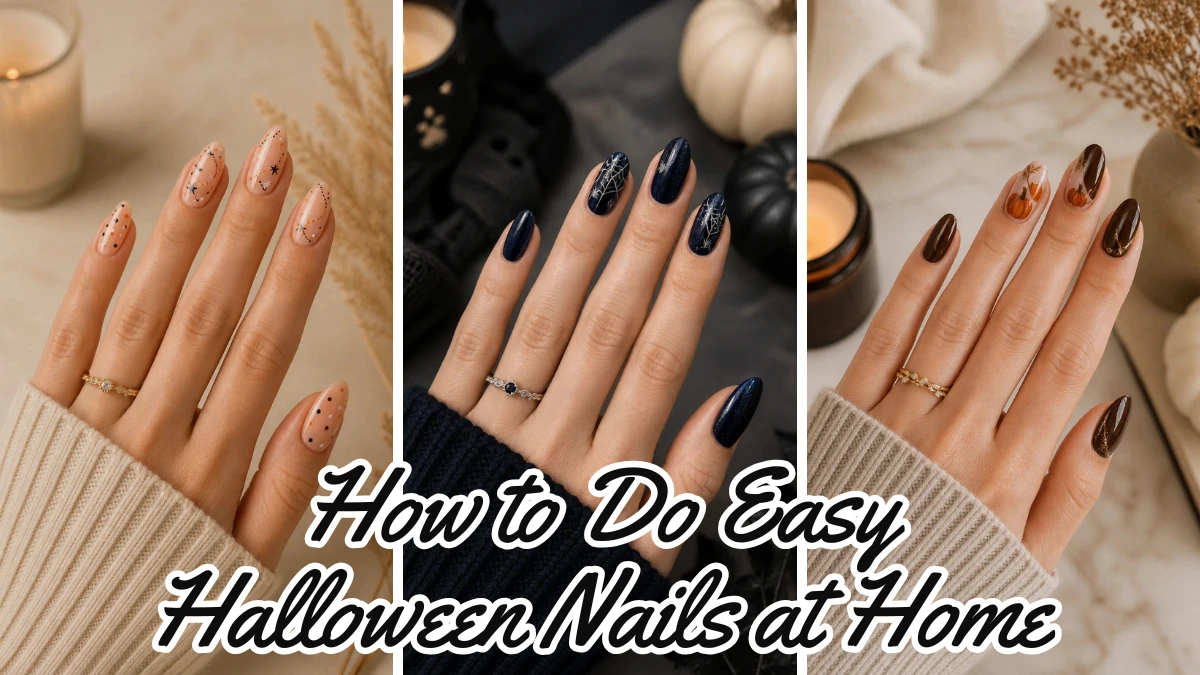
How to Do Easy Halloween Nails at Home: Simple Nail Art for Beginners
Halloween nails can look impressive without requiring professional nail art skills. With a few basic colors and simple shapes, you can create ghosts, pumpkins, bats, spider webs, and other Halloween designs at home.
How to Do Easy Halloween Nails at Home guide shows you how to do easy Halloween nails step by step, including nail preparation, simple Halloween nail art techniques, and tips for keeping your manicure neat and long lasting.
If you prefer shorter nails, explore these short Halloween nail ideas for more simple and festive inspiration
What You Need for Easy Halloween Nails
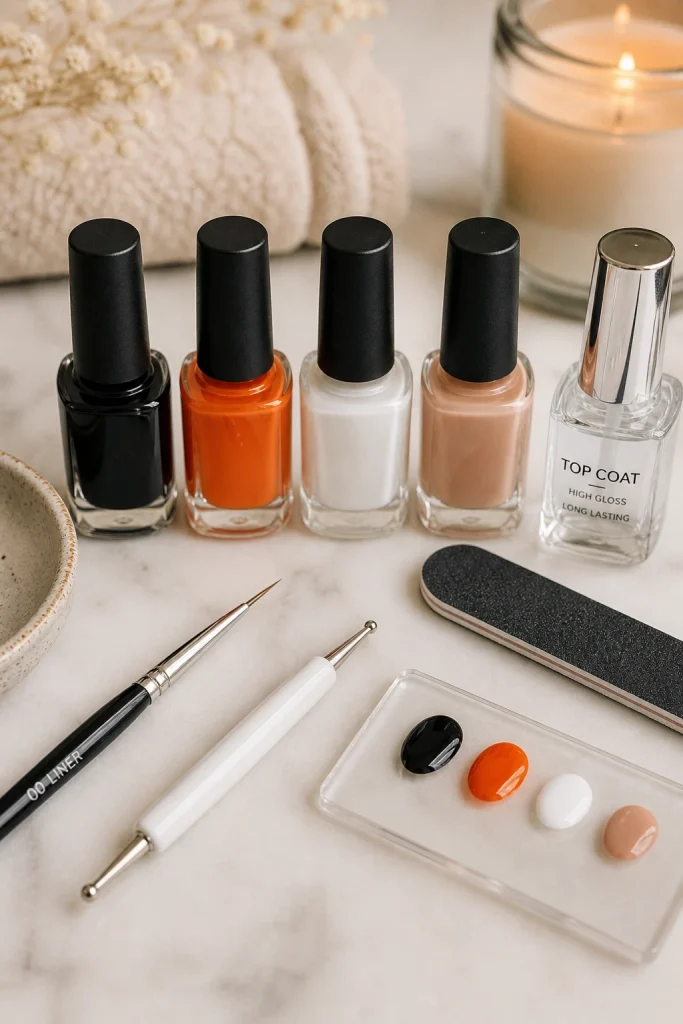
Before you start, gather a few basic supplies:
- Nail file
- Nail buffer
- Cuticle pusher
- Base coat
- Halloween nail polish colors
- Thin nail art brush or dotting tool
- Clear top coat
- Cotton swabs
- Nail polish remover
Black, white, orange, red, nude, and dark purple are easy colors to use for Halloween nail art.
How to Do Easy Halloween Nails at Home
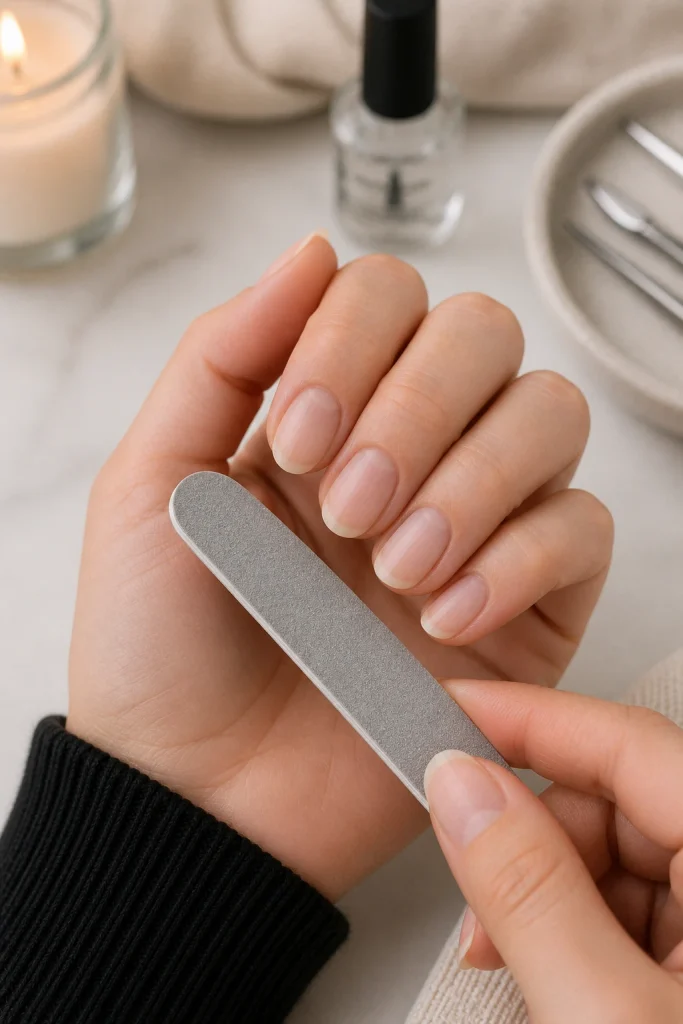
Step 1: Prepare Your Nails
Start with clean, dry nails. Remove any old polish and gently push back your cuticles. Use a nail file to shape your nails evenly.
A short almond, square, or rounded shape can work well for simple Halloween nail art. You do not need long nails to create cute designs.
Wash your hands and make sure there is no oil or lotion left on the nail surface before applying polish.
Step 2: Apply a Base Coat
Apply a thin layer of base coat to each nail. Cover the nail evenly without flooding the cuticles.
Let the base coat dry according to the product instructions. A good base helps your polish apply more smoothly and can help protect the natural nail from staining.
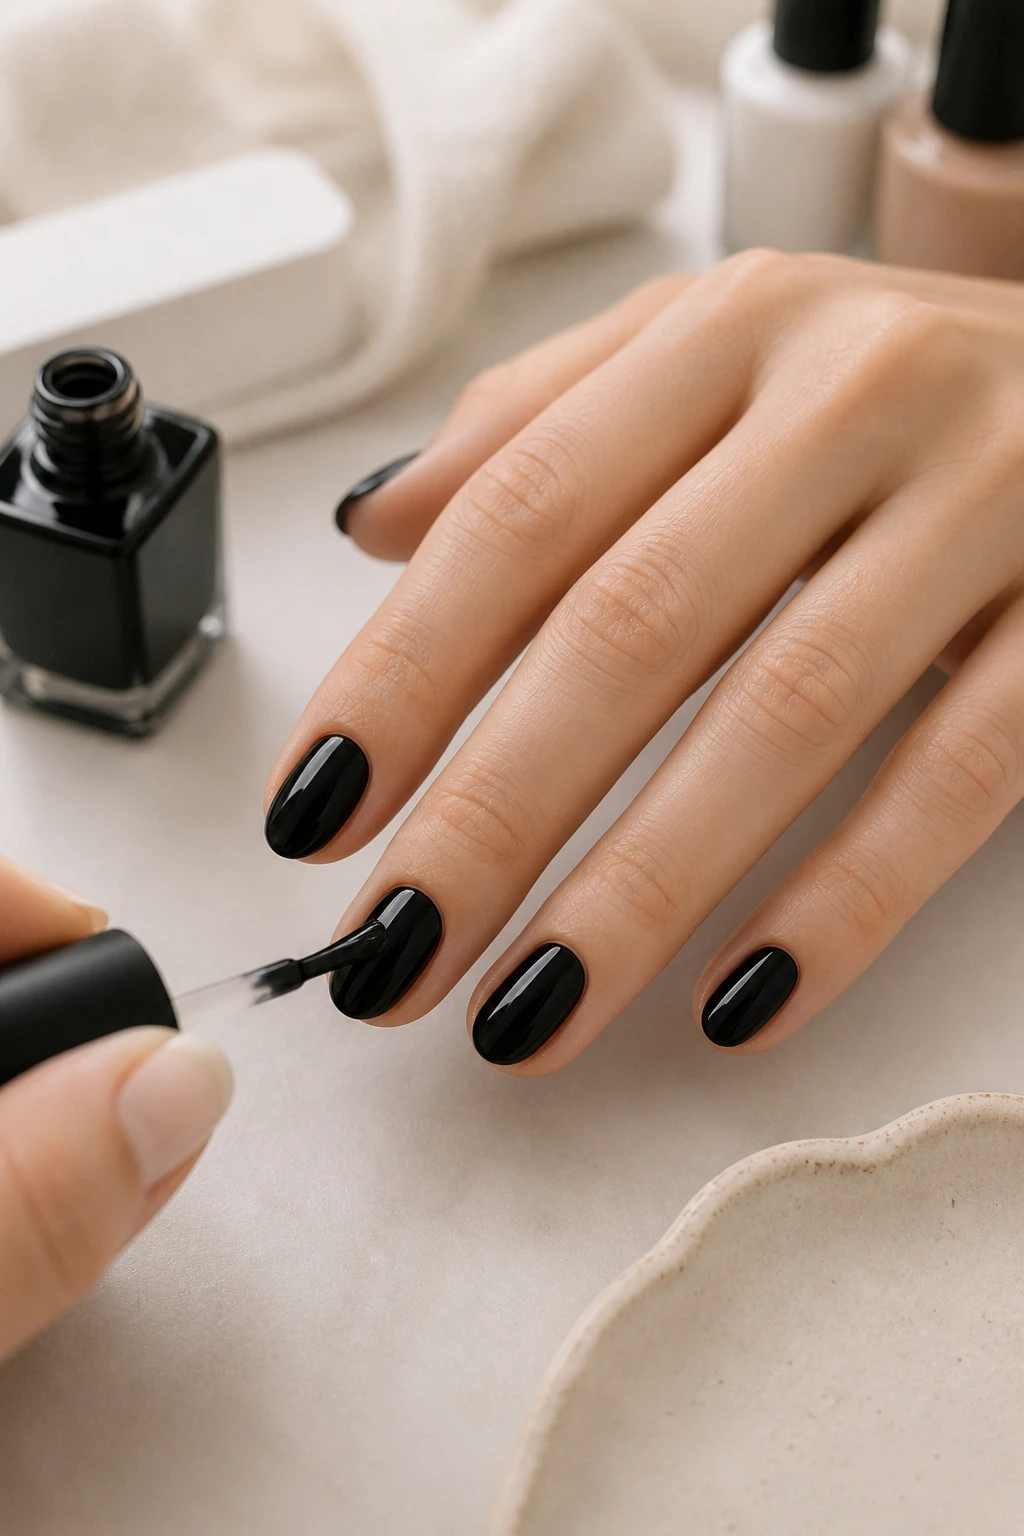
Step 3: Apply Your Base Color
Choose the main color for your Halloween manicure. Black, orange, white, nude, and deep red are easy choices for beginners.
Apply one thin coat and allow it to dry before adding a second coat. Thin layers are easier to control and usually give a smoother finish than one thick layer.
You can use one color on every nail or create a simple combination, such as black with orange accent nails.
Step 4: Choose an Easy Halloween Design
Once your base color is dry, choose one simple Halloween design to add to your manicure.
If you are a beginner, start with designs made from basic shapes and lines. Ghosts, pumpkins, spider webs, bats, and simple dots are easier to create than detailed character art.
You can put the design on one accent nail or add small designs to several nails.
Step 5: Add Your Halloween Nail Art
Use a thin nail art brush or dotting tool to create your chosen design. Work slowly and use a small amount of polish at a time.
Here are some easy options:
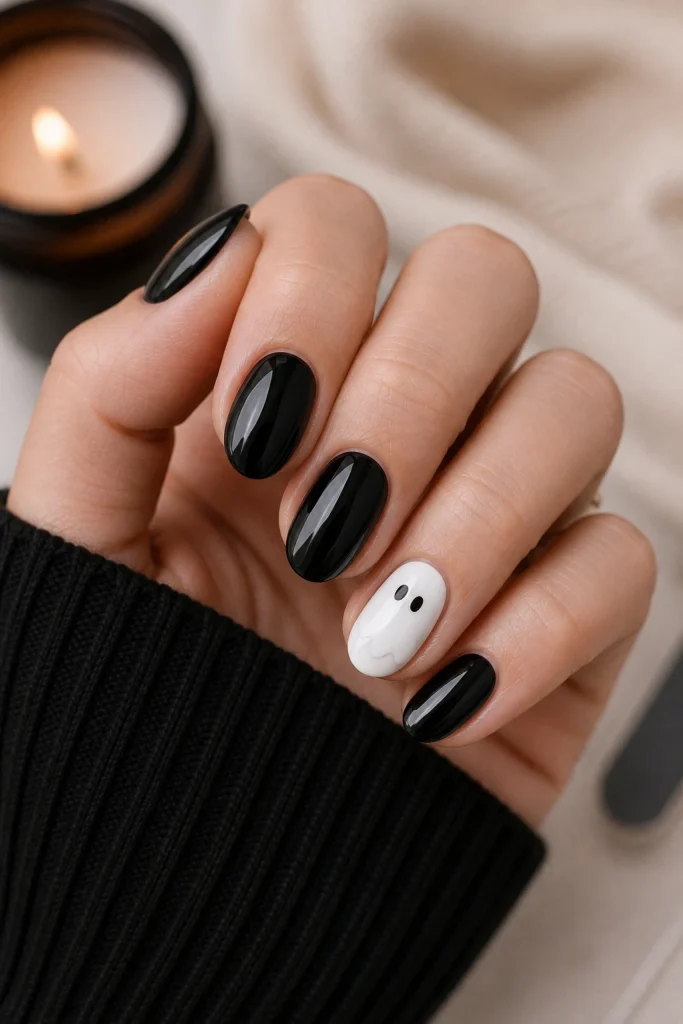
Ghost: Make a small white rounded shape and add two tiny black eyes.
Pumpkin: Create a small orange circle or oval, then add a tiny dark stem and a few curved lines.
Spider web: Draw several thin lines starting from one point, then connect them with small curved lines.
Bat: Make a tiny black bat shape using simple wings and a small body.
Dots: Use a dotting tool to create small black, orange, or white dots for a simple Halloween pattern.
Step 6: Add Small Details
Let the main design settle for a moment before adding tiny details.
For a ghost, add small black eyes. For a pumpkin, add a tiny stem. For a bat, add simple wing details. Small details can make a basic design look more finished without making the manicure difficult.
Keep the lines thin and avoid adding too much polish. Simple Halloween nail art usually looks cleaner when the details are small.
Step 7: Clean Around Your Nails
If some polish gets onto your skin, clean it before applying the top coat.
Dip a small cleanup brush or cotton swab into nail polish remover and carefully clean around the edges of the nail. Be gentle so you do not disturb the design.
This small step can make a home manicure look much neater.
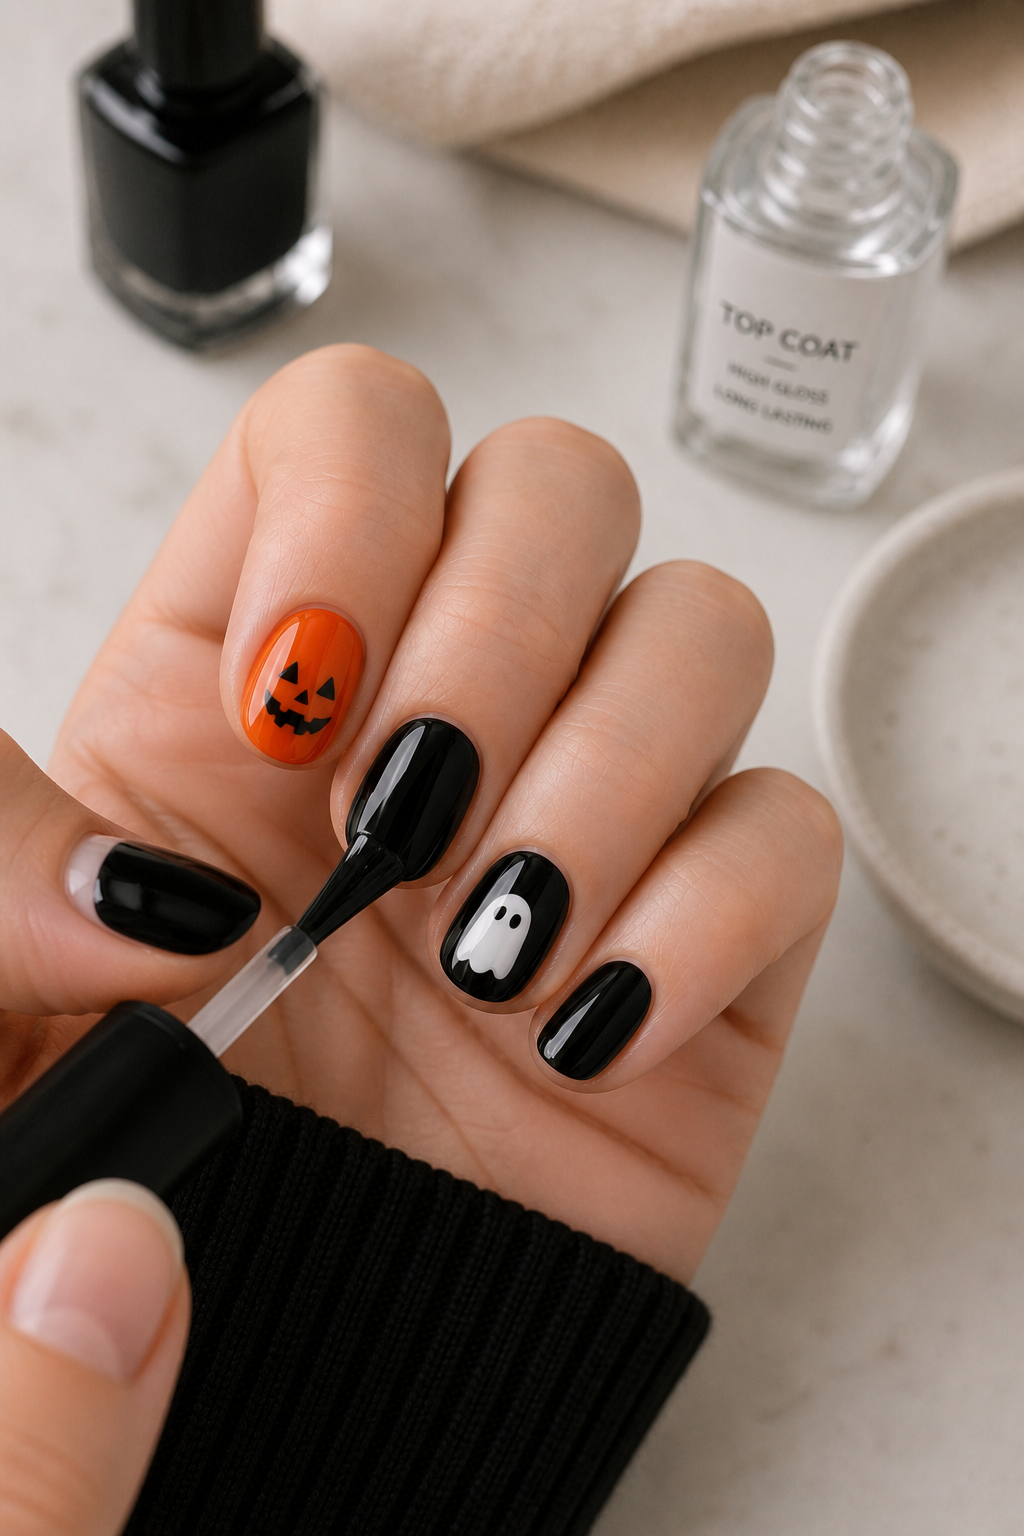
Step 8: Apply a Top Coat
Once your Halloween nail art is completely dry, apply a thin layer of clear top coat.
Glide the brush gently over the design instead of going back and forth repeatedly. This helps protect the artwork and gives the nails a glossy finish.
If you are using gel polish, cure the top coat according to the product instructions.
Step 9: Let Your Nails Dry Completely
Give your manicure enough time to dry before touching objects or doing household tasks.
Even when the surface feels dry, the polish underneath may still be soft. Avoid hot water, heavy cleaning, and activities that can easily damage fresh nail polish.
5 Easy Halloween Nail Designs for Beginners
Now that you know the basic manicure process, you can choose a simple design for your Halloween nails.
1. Easy Ghost Nails
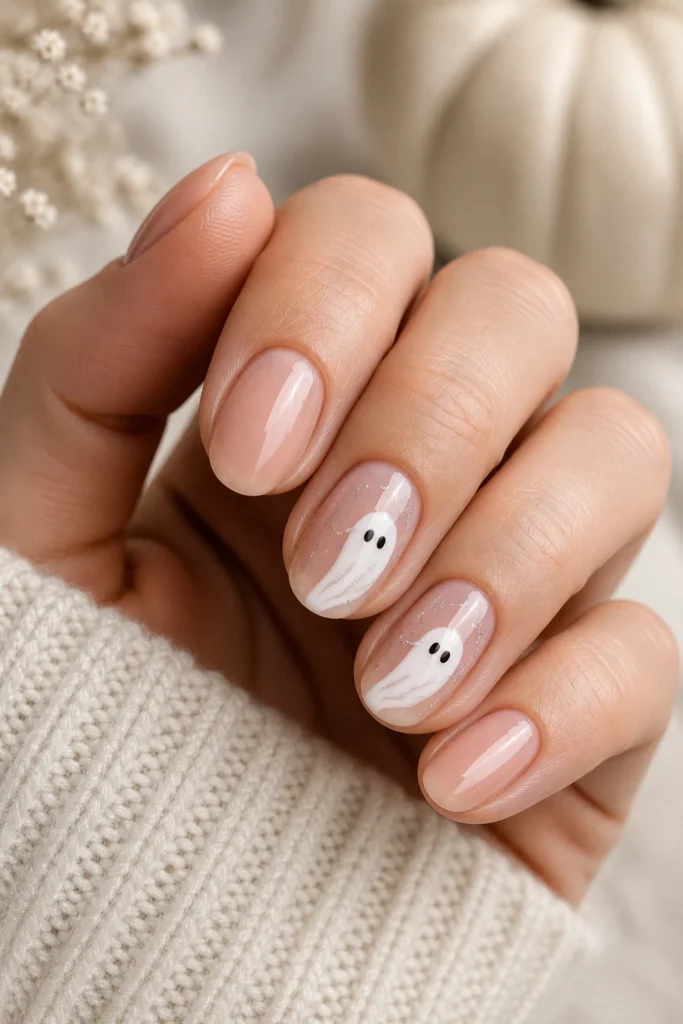
Ghost nails are one of the simplest Halloween designs to recreate. Start with a black, nude, or white base. Use white polish to create a small rounded ghost shape, then add two tiny black eyes.
You can place one ghost on an accent nail or add small ghosts to several nails.
2. Simple Pumpkin Nails
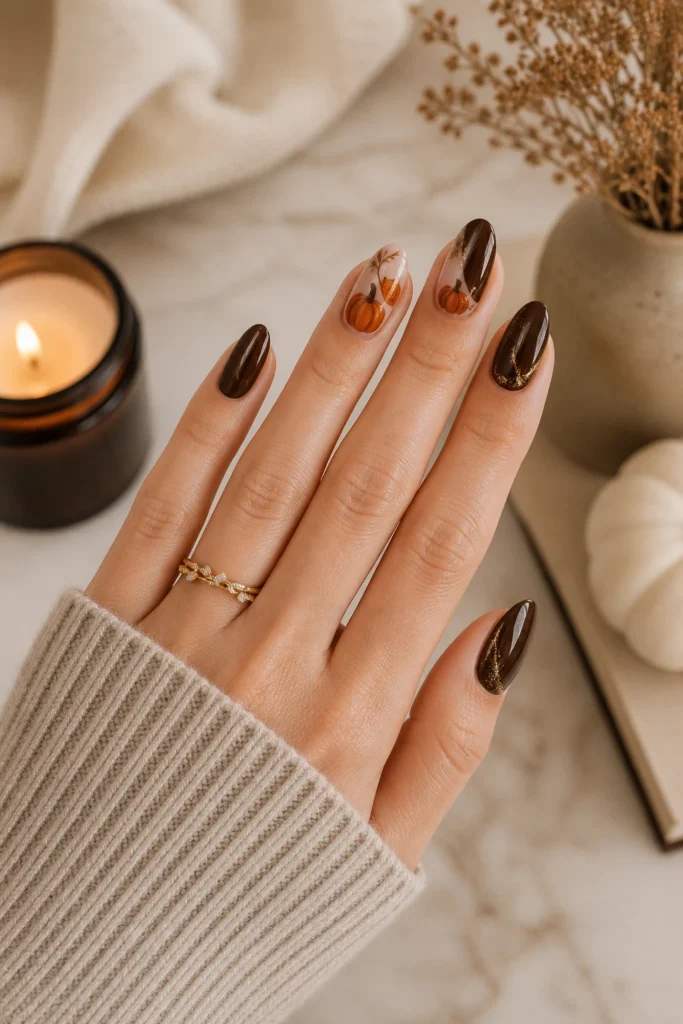
Pumpkin nails work especially well with black, nude, or dark brown backgrounds. Create a small orange pumpkin using a dotting tool or thin brush.
Add a tiny dark stem and a few curved lines to give the pumpkin more shape. Keep the design small if you are new to nail art.
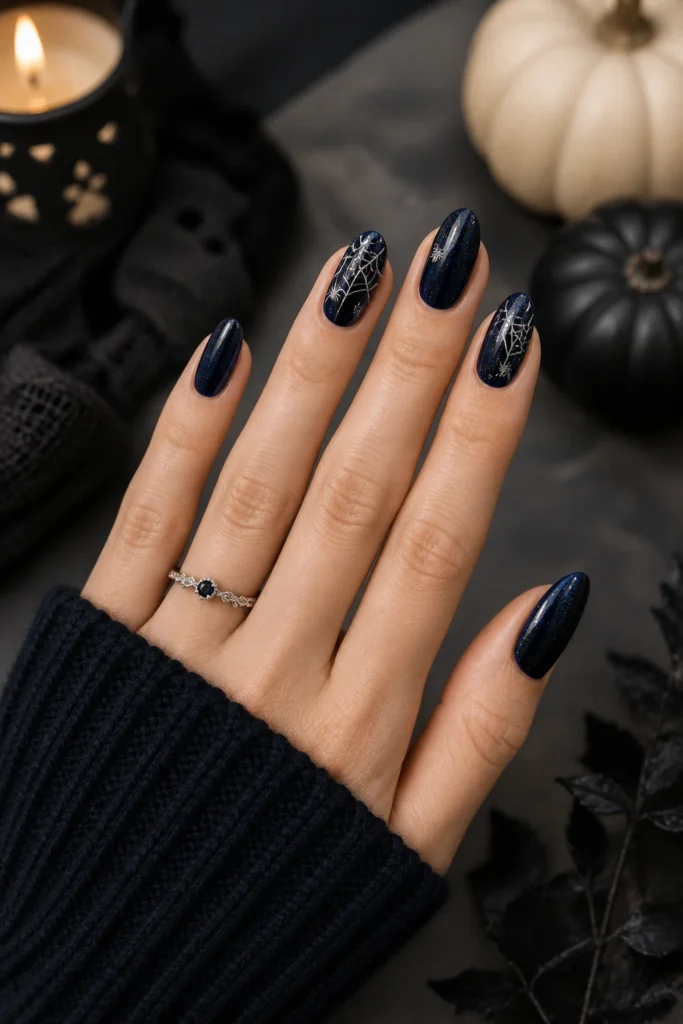
3. Spider Web Nails
Spider web nail art can look detailed, but the basic version is simple. Start with a dark base color and use white polish to draw three or four thin lines from one point.
Connect the lines with small curved strokes. You do not need perfectly straight lines because the design is meant to look hand drawn.
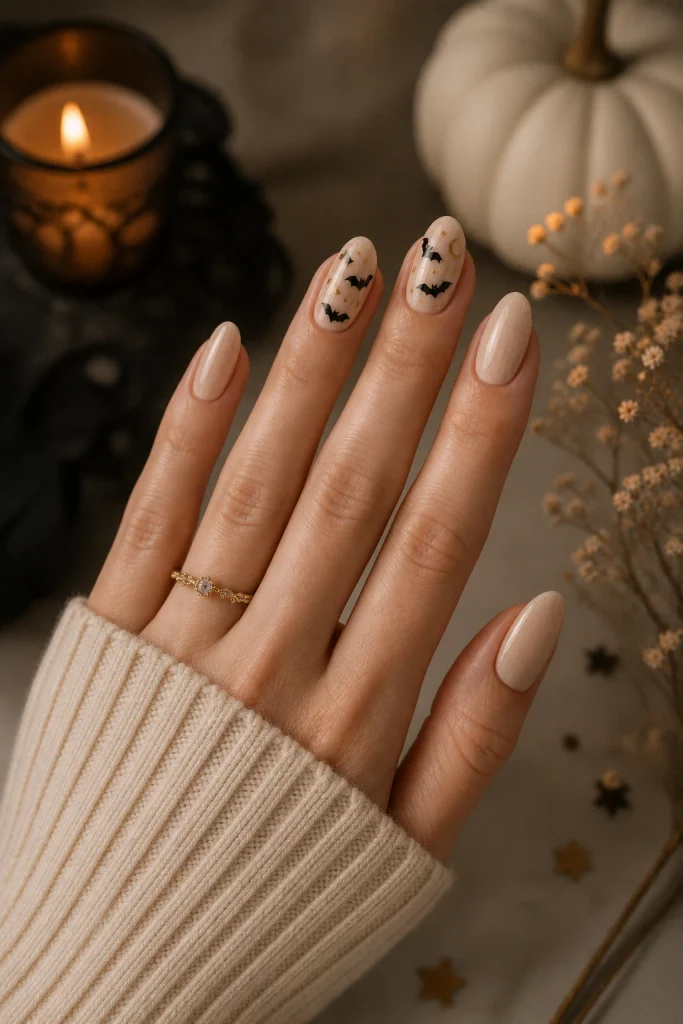
4. Tiny Bat Nails
For an easy bat design, use black polish over a light base color such as nude, white, or orange.
Create a small central body and add two simple wings. Tiny bat silhouettes can be placed near the tip or center of the nail.
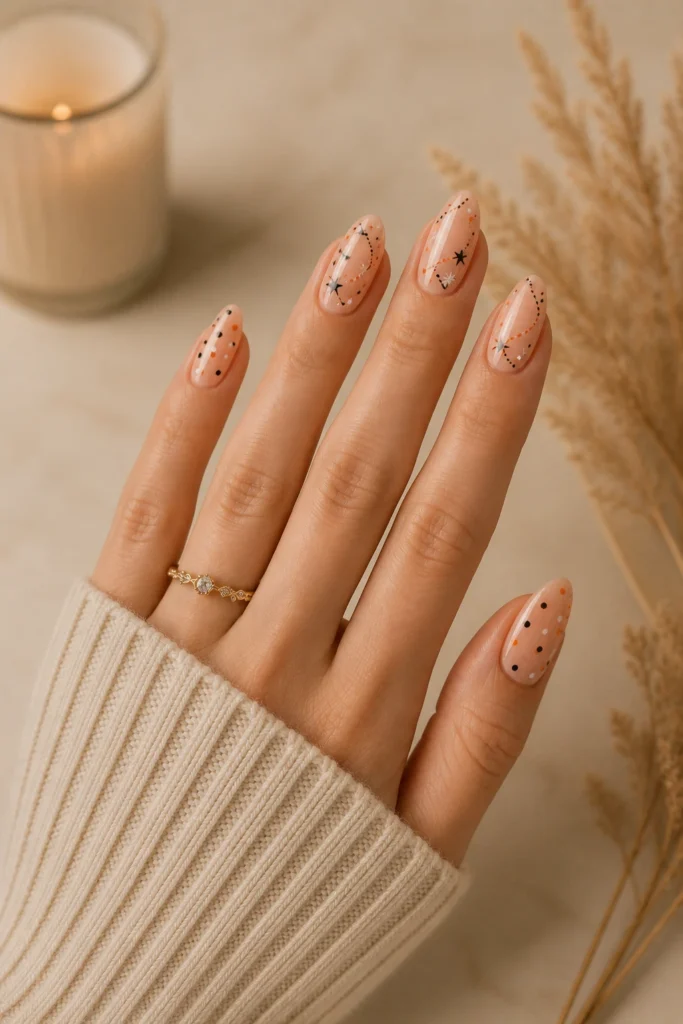
5. Halloween Dot Nails
Dots are a great option if you have never tried nail art before.
Use a dotting tool to create small circles in Halloween colors. Try black and orange dots over a nude base, or white and orange dots over black polish.
You can also combine dots with tiny stars, lines, or simple shapes.
Easy Halloween Nail Color Combinations
The right color combination can make simple nail art stand out.
Black and White
Black and white create a classic Halloween look. Use black as the base with white ghosts, spider webs, or small dots.
Black and Orange
Black and orange give your manicure a traditional Halloween feel. Orange pumpkins look especially striking against a black background.
Nude and Black
A nude base creates a softer look. Add tiny black bats, spider webs, ghosts, or dots for simple Halloween nail art.
White and Orange
White and orange can create a brighter Halloween manicure. This combination works well for pumpkins and small Halloween patterns.
Black and Red
Black and red create a darker Halloween style. Use red as an accent color with tiny black details.
If you want more nail inspiration before choosing your Halloween look, you can also explore our chrome nail ideas for other manicure styles and finishes.
How to Make Halloween Nail Art Look Neat
You do not need perfect artistic skills to create neat Halloween nails. A few simple techniques can make a big difference.
- Use thin layers of polish.
- Allow each layer to dry before adding details.
- Use a small nail art brush for lines.
- Use a dotting tool for circles and small shapes.
- Keep detailed designs on one or two accent nails.
- Clean the skin around your nails before the manicure fully dries.
- Apply top coat only after the nail art has dried enough.
The most important thing is to avoid rushing. Simple designs are easier to control when you work slowly.
Common Beginner Mistakes
Using Too Much Polish
Thick layers take longer to dry and can make small nail art look messy. Use a small amount of polish on your brush.
Making Designs Too Large
Small Halloween designs are usually easier to control. Start with tiny shapes and add details only when needed.
Adding Details Too Soon
If the base color is still wet, your Halloween design can smear. Let each layer dry before moving to the next step.
Skipping the Top Coat
A top coat helps protect your nail art and gives the manicure a smoother finish. Do not apply it while the artwork is still wet.
How to Make Your Halloween Nails Last Longer
To help your manicure stay neat:
- Apply thin layers.
- Seal the nail tips with polish and top coat.
- Avoid picking at chipped polish.
- Wear gloves when doing household cleaning.
- Use cuticle oil after your manicure has dried.
- Give your nails time to dry completely.
Gel polish can last longer than regular polish when applied and cured correctly, but regular polish can also work well for a simple Halloween manicure.
Can Beginners Do Halloween Nail Art at Home?
Yes. Beginners can create Halloween nail art at home by starting with simple shapes, dots, lines, and small accent designs.
You do not need to decorate every nail with a complicated pattern. One or two Halloween accent nails can create a festive look while keeping the manicure easy to complete.
How Long Do Easy Halloween Nails Take?
A simple Halloween manicure can take around 30 to 60 minutes, depending on the polish, drying time, and design you choose.
Basic dots and small ghosts usually take less time than spider webs or detailed designs. Give yourself extra time if you are trying nail art for the first time.
Frequently Asked Questions
What is the easiest Halloween nail design for beginners?
Simple dots, ghosts, pumpkins, and tiny bats are good starting points. They use basic shapes and do not require advanced nail art skills.
Can I do Halloween nails without nail art tools?
Yes. You can use the tip of a clean toothpick, the end of a bobby pin, or a small detail brush for basic designs. A dotting tool can make the process easier, but it is not essential.
What colors are best for Halloween nails?
Black, orange, white, red, nude, and dark purple are popular choices. You can use one color or combine two or three shades.
How do I stop Halloween nail art from smudging?
Allow the design to dry before applying top coat. When applying the top coat, use gentle strokes and avoid repeatedly brushing over the same area.
Are short nails good for Halloween nail art?
Yes. Short nails can work very well with simple Halloween designs. Small ghosts, pumpkins, bats, dots, and spider webs can all be adapted to shorter nails.
Final Tips for Easy Halloween Nails
You do not need complicated techniques to create Halloween nails at home. Start with clean nails, use thin polish layers, choose a simple design, and give each layer enough time to dry.
If you are new to nail art, begin with one accent nail instead of trying to decorate every nail. Once you become comfortable with simple shapes and details, you can combine different Halloween designs to create your own manicure.
The goal is to keep the process simple, neat, and enjoyable. With a few basic supplies, you can create cute Halloween nails at home without professional nail art experience.
3 Comments