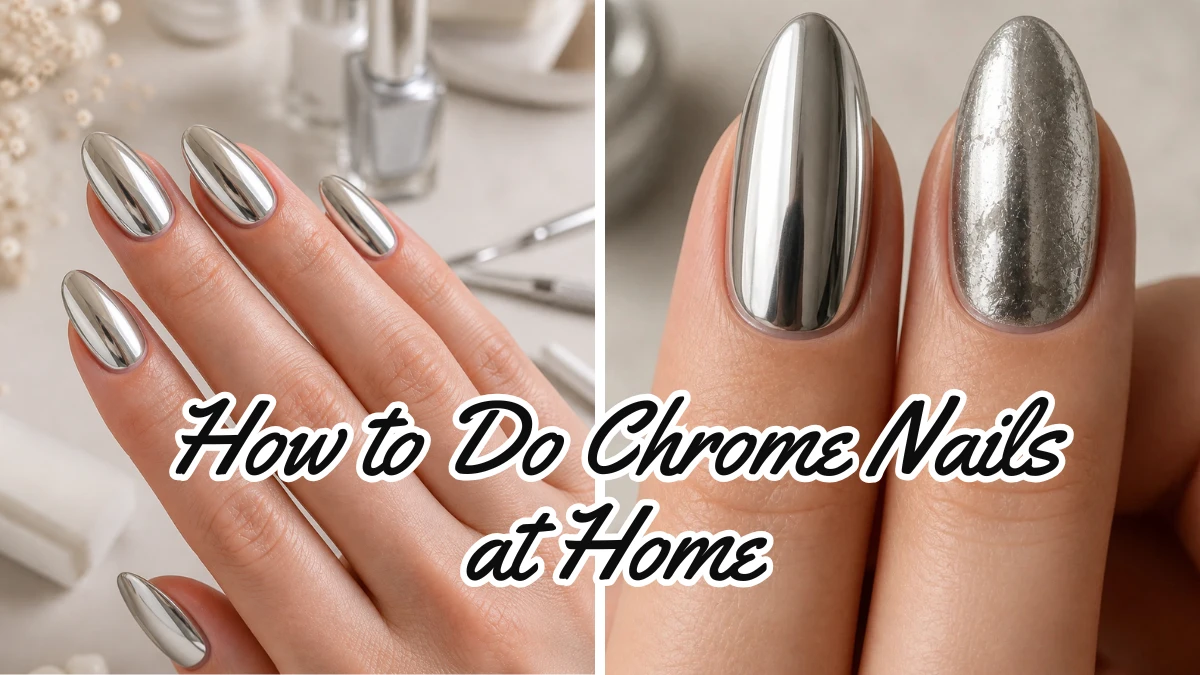
How to Do Chrome Nails at Home: A Step by Step Guide
Chrome nails give a smooth, reflective finish that can make even a simple manicure look polished and modern. The good news is that you can create chrome nails at home without having advanced nail art skills.
The key is getting the nail surface smooth, using the right chrome product, and applying it at the correct stage of your manicure. In this guide, you will learn how to do chrome nails at home, what you need, how to apply chrome powder, how to make the finish smooth, and what to do when your chrome looks patchy or dull.
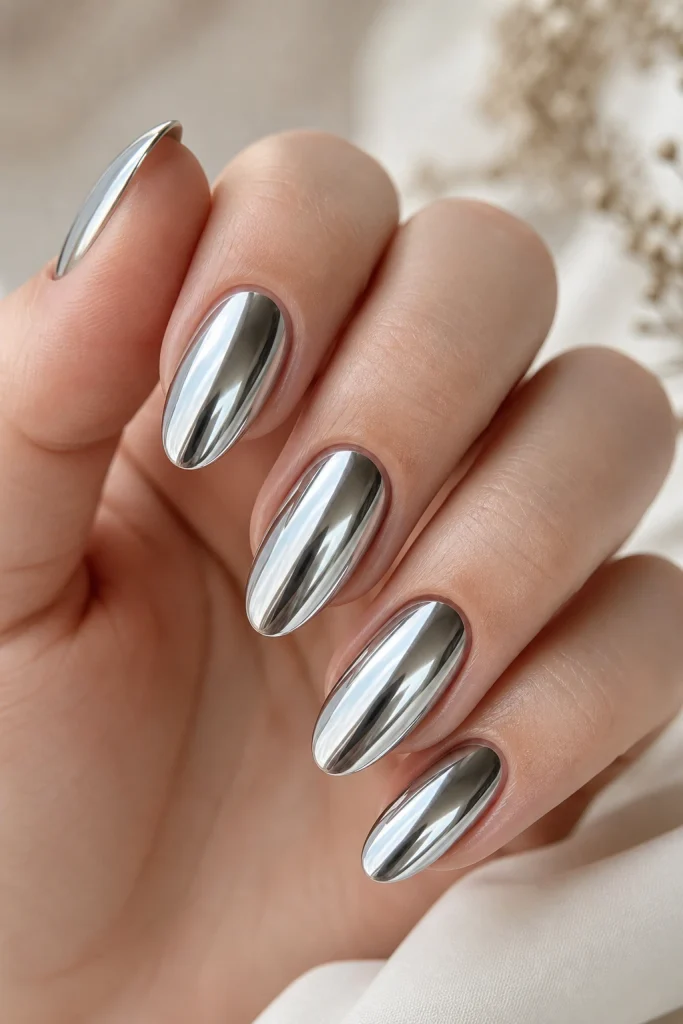
What You Need for Chrome Nails
Before starting, gather everything you need so you can work without interrupting the manicure.
You may need:
- Nail file and buffer
- Cuticle pusher
- Base coat
- Gel nail polish if using a gel system
- Chrome powder
- Silicone applicator or soft sponge applicator
- Soft nail brush
- Chrome compatible top coat
- UV or LED lamp if required by your nail system
The exact products you need can vary depending on the chrome powder and nail system you choose. Always follow the application instructions provided with your specific products, especially when curing gel products.
How to Do Chrome Nails at Home
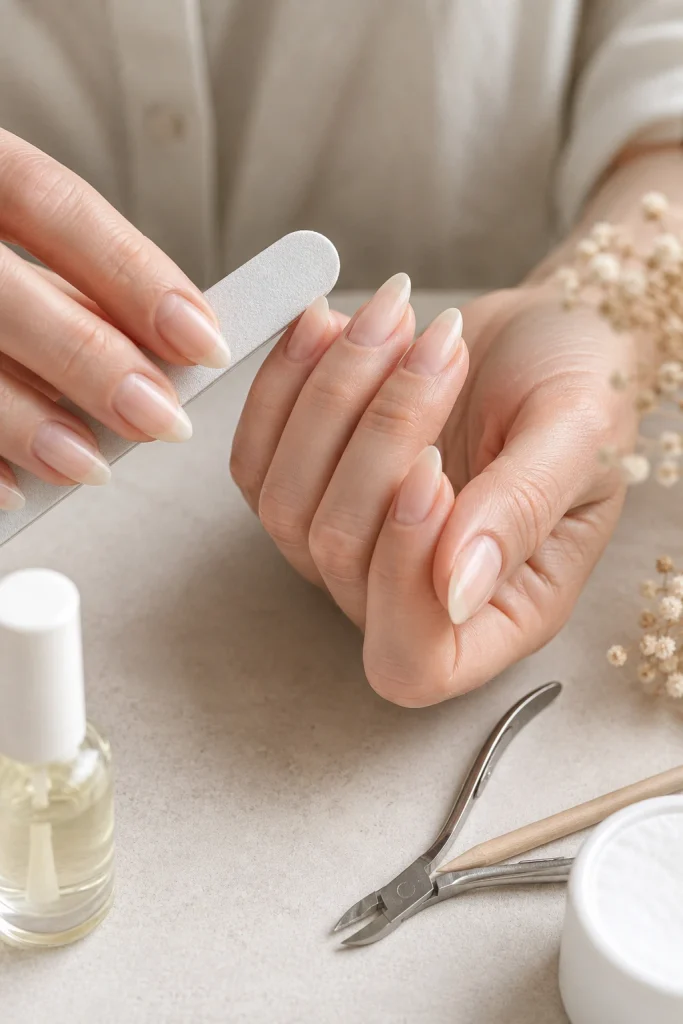
Step 1: Prepare Your Nails
Start with clean, dry nails. Remove any old polish and gently clean the nail surface.
Shape your nails with a file and gently push back the cuticles if needed. Avoid aggressively cutting or damaging the skin around the nail.
Next, lightly smooth the nail surface if your manicure system requires it. The goal is to create an even surface because bumps and rough areas can become more noticeable under a reflective chrome finish.
Remove dust before applying your base coat.
Step 2: Apply Your Base Coat
Apply a thin layer of base coat according to the instructions for your nail system.
If you are using gel products, cure the layer according to the product instructions. Avoid applying thick layers because uneven product can affect the final chrome finish.
A smooth foundation is especially important with chrome nails because the reflective surface can make small imperfections more visible.
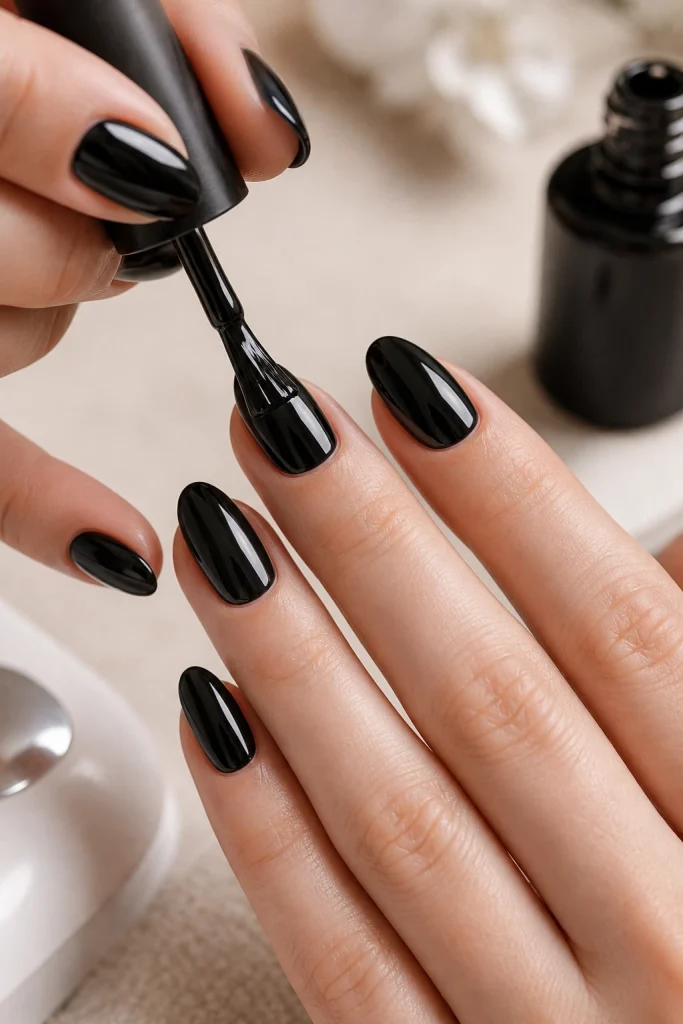
Step 3: Apply Your Nail Color
Choose the base color you want underneath your chrome.
Black and other dark shades can create a dramatic chrome effect, while white and lighter shades can produce a softer finish. Neutral colors can also work beautifully when you want a subtle metallic manicure.
Apply your color evenly and cure it according to the instructions for your particular gel system.
For the most reflective result, keep the surface as smooth and even as possible.
Step 4: Apply the Chrome Compatible Layer
This is an important part of the process because chrome powder does not work identically with every nail product.
Some chrome systems are designed to be rubbed over a cured no wipe surface, while other products may have different application requirements.
Read the instructions for your specific chrome powder and top coat before continuing.
Do not assume that one curing time or one surface works for every chrome product.
If your product requires curing, use the recommended lamp and curing instructions provided by the manufacturer.
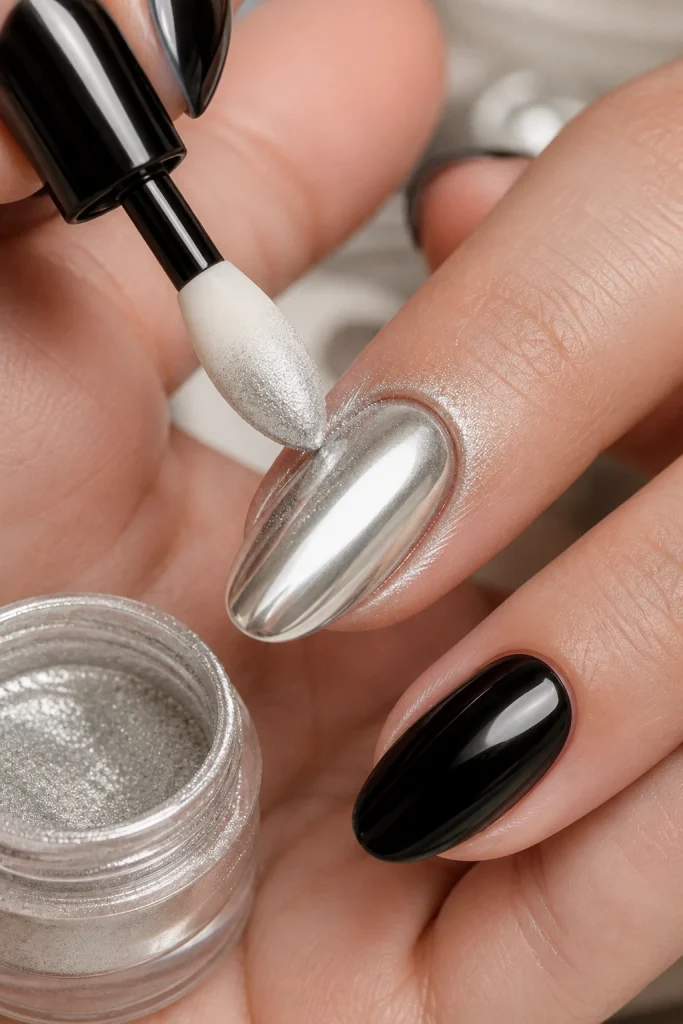
Step 5: Rub in the Chrome Powder
Once your nail surface is at the correct stage for your specific chrome product, pick up a small amount of chrome powder with your applicator.
Gently rub the powder over the nail using small circular or back and forth motions. Start with a small amount and build the finish gradually rather than applying a large amount at once.
Continue rubbing until the surface develops an even reflective appearance.
Pay attention to the edges and corners of the nail. Uneven application around these areas can make the finished manicure look incomplete.
Step 6: Remove Excess Powder
Use a soft brush to gently remove loose chrome powder from the nail and surrounding skin.
Do not brush aggressively because you do not want to disturb the finished surface.
Check the manicure from different angles under good lighting. If you see areas that look dull or uneven, correct them before sealing the manicure.
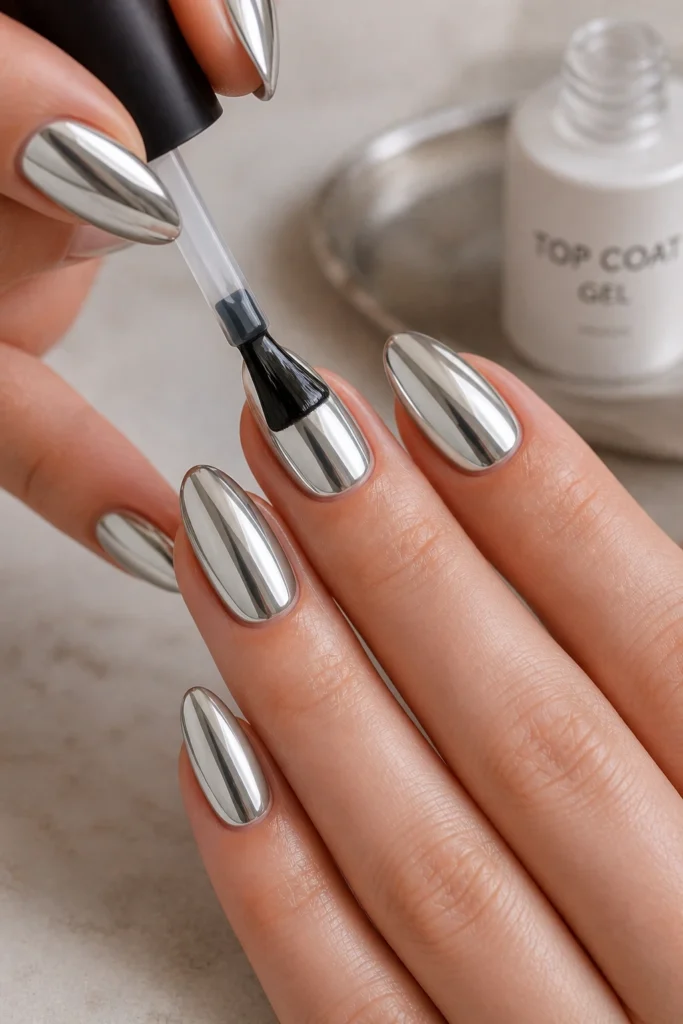
Step 7: Seal Your Chrome Nails
Apply the appropriate top coat according to your chrome system instructions.
Be careful around the free edge of the nail so the finish is properly sealed. A careful application can help reduce early wear around the tips.
If your product requires curing, follow its recommended curing instructions.
How to Make Chrome Nails Look Smooth and Reflective
The mirror effect depends heavily on the surface underneath the chrome.
If the base color is uneven, the chrome can highlight those imperfections. Keep your polish layers thin and even, and allow each product to reach the correct stage before moving to the next step.
Using too much chrome powder can also make the application messy. Start with a small amount and add more only when necessary.
Good lighting helps too. Look at the nails from different angles before finishing because uneven areas may not be obvious from one direction.
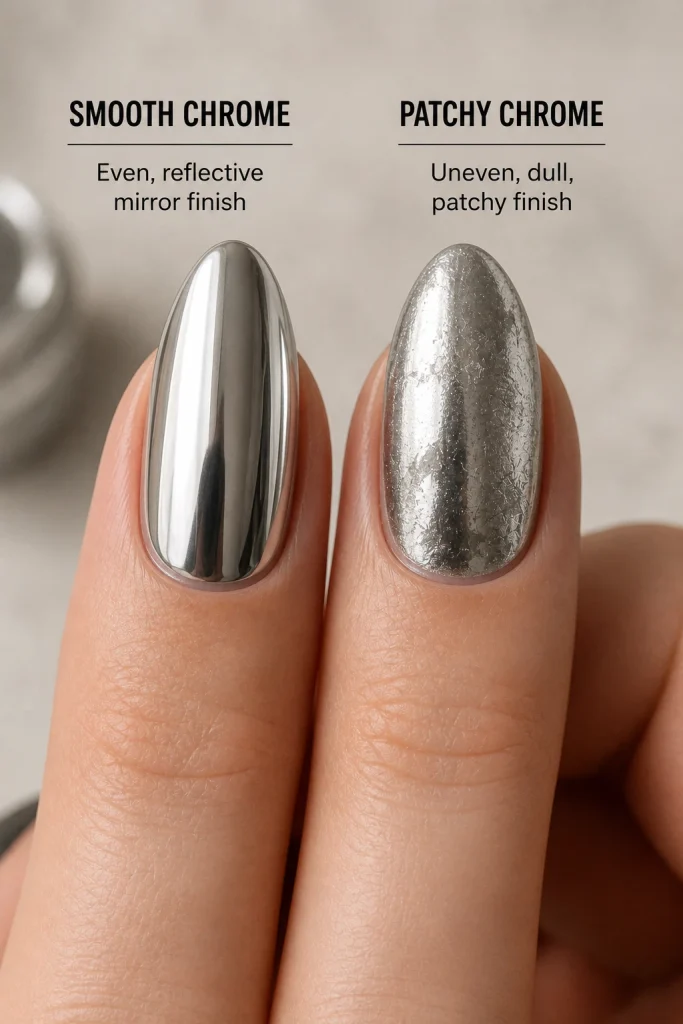
Why Is My Chrome Powder Patchy?
Patchy chrome is one of the most common problems when doing chrome nails at home.
Several things can cause an uneven finish.
The Nail Surface Is Uneven
Chrome reflects light, so bumps and ridges can become much more visible.
Make sure your base layers are smooth before applying the chrome.
The Chrome Was Applied Unevenly
Using too much powder in one area can create an inconsistent finish.
Apply a small amount and work it across the nail gradually.
The Product Was at the Wrong Stage
Different chrome systems can require different surface conditions.
If the powder does not stick properly or looks uneven, check the instructions for your specific chrome product rather than changing the curing time randomly.
The Base Color Was Uneven
A streaky or uneven color underneath the chrome can affect the finished appearance.
Take your time with the color layer and make sure it looks smooth before moving forward.
Why Does My Chrome Look Dull?
A chrome manicure can lose its mirror appearance for several reasons.
The powder may not have been applied at the correct stage. The base surface may also be uneven, or the wrong top coat may have been used.
Another possibility is applying too much product over the chrome or disturbing the powder during the final sealing step.
If your chrome becomes dull immediately after applying the top coat, check whether your chrome powder and top coat are designed to work together.
How to Make Chrome Nails Last Longer
Start with clean and properly prepared nails.
Keep your manicure layers thin and even, and make sure the edges of the nails are properly sealed according to your product system.
Try to avoid using your nails as tools for opening packages or scratching hard surfaces. Regular exposure to water, cleaning products, and physical impact can also cause a manicure to wear sooner.
If you notice lifting, cracking, or irritation around the nail, stop using the product and remove the manicure safely.
Can You Do Chrome Nails Without a UV Lamp?
It depends on the method you choose.
Traditional chrome powder manicures commonly use a gel system that requires curing with a compatible UV or LED lamp. However, there are also regular polish products, chrome effect polishes, press on nails, and other alternatives designed for people who do not want to use a lamp.
The finish and durability may differ from a traditional gel chrome manicure.
If you want a lamp free option, choose products specifically designed for that method rather than trying to use gel products without the required curing process.
What Color Is Best Under Chrome Powder?
There is no single color that works for every chrome look. Black can create a bold metallic appearance, while white can give chrome a lighter and softer look. Nude and neutral shades can create a more subtle effect.
You can also experiment with different base colors to create different finishes while keeping the same chrome powder. If you want more inspiration, explore our chrome nail ideas for different styles and finishes.
How Long Do Chrome Nails Last?
How long chrome nails last depends on the products you use, your nail preparation, application technique, and how much wear the manicure receives.
A properly prepared manicure with compatible products can last longer than one applied over an uneven or poorly prepared surface.
Following the instructions for your specific nail system is more useful than relying on one fixed number of days.
Can You Use Chrome Powder on Regular Nail Polish?
Some chrome effect products are designed for regular polish, but traditional chrome powders are often made for specific gel systems.
Check the product instructions before applying chrome powder over regular polish.
If you want a regular polish manicure, look for a chrome effect polish or chrome product specifically labeled for use with regular nail polish.
Final Tips for Better Chrome Nails
Take your time with nail preparation because the chrome finish will reveal imperfections.
Use small amounts of powder and build the reflective effect gradually.
Keep the base surface smooth.
Follow the instructions for your specific chrome powder and gel system.
Use products that are designed to work together.
Seal the finished manicure carefully.
If the first attempt is not perfectly reflective, do not worry. Chrome application can take a little practice, especially when learning how different products behave.
Frequently Asked Questions
Is chrome powder easy to use at home?
Yes. Chrome powder can be used at home if you have the appropriate products and follow the application instructions carefully. The most important parts are preparing a smooth surface and applying the powder at the correct stage.
Why is my chrome powder not sticking?
The surface may not be at the stage required by your specific chrome product. The powder may also be incompatible with the product underneath it. Check the manufacturer’s instructions before changing your application method.
Why does my chrome powder look streaky?
An uneven base, uneven powder application, or an incompatible product combination can cause a streaky appearance. Start with a smooth base and apply a small amount of powder evenly.
Can beginners do chrome nails?
Yes. Chrome nails are achievable for beginners, especially when you start with a simple color and follow each product’s instructions carefully.
Do chrome nails need gel?
Not always. Traditional chrome powder systems often use gel products, but chrome effect regular polishes and other lamp free options are also available.
Final Thoughts
Learning how to do chrome nails at home is mostly about getting the preparation and product steps right. Start with a smooth manicure, use a chrome system that is compatible with your products, and apply the powder gradually for an even reflective finish.
Once you are comfortable with the basic technique, you can experiment with different base colors, nail shapes, and chrome shades to create your own look.

One Comment