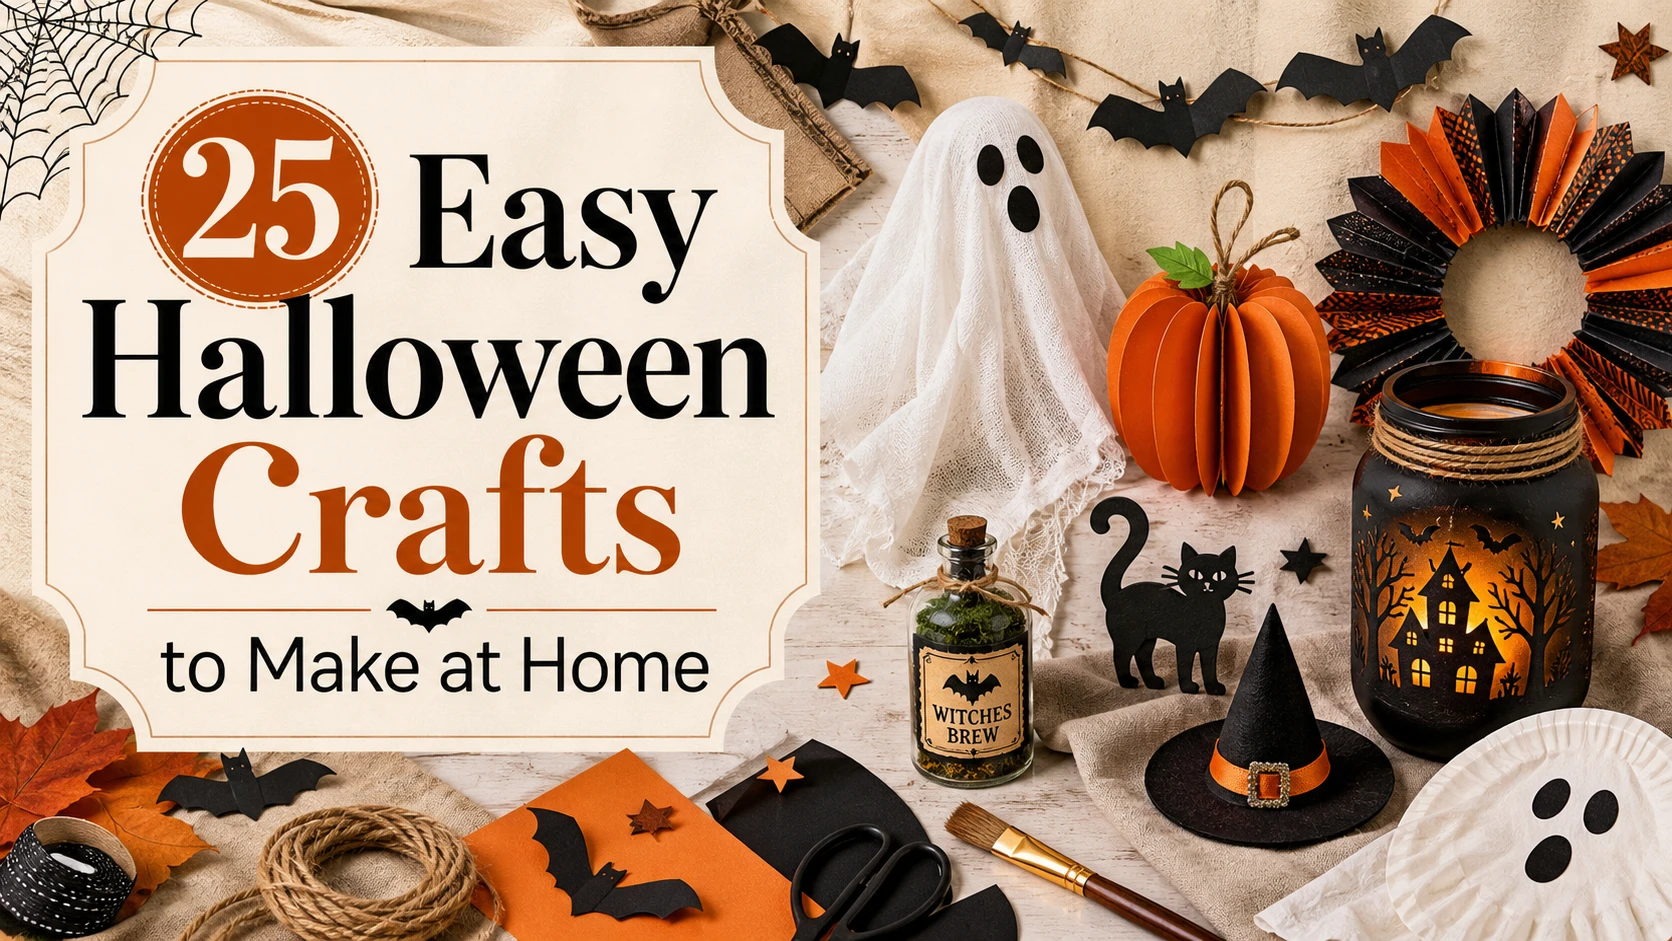
25 Easy Halloween Crafts to Make at Home
Halloween decorations do not have to come from a store to make your home feel festive. With ordinary materials such as cardboard, construction paper, empty jars, fabric scraps, cotton balls, and leftover ribbon, you can create playful ghosts, miniature haunted houses, pumpkin decorations, and handmade Halloween displays without spending much money.
These 25 easy Halloween crafts include projects for kids, adults, families, and beginners. Some take only a few minutes to assemble, while others are more detailed decorations worth keeping for future Halloweens. Each idea includes the materials you need, practical instructions, and an original image prompt designed to show the finished craft in a realistic setting.
1. Paper Plate Jack O Lanterns
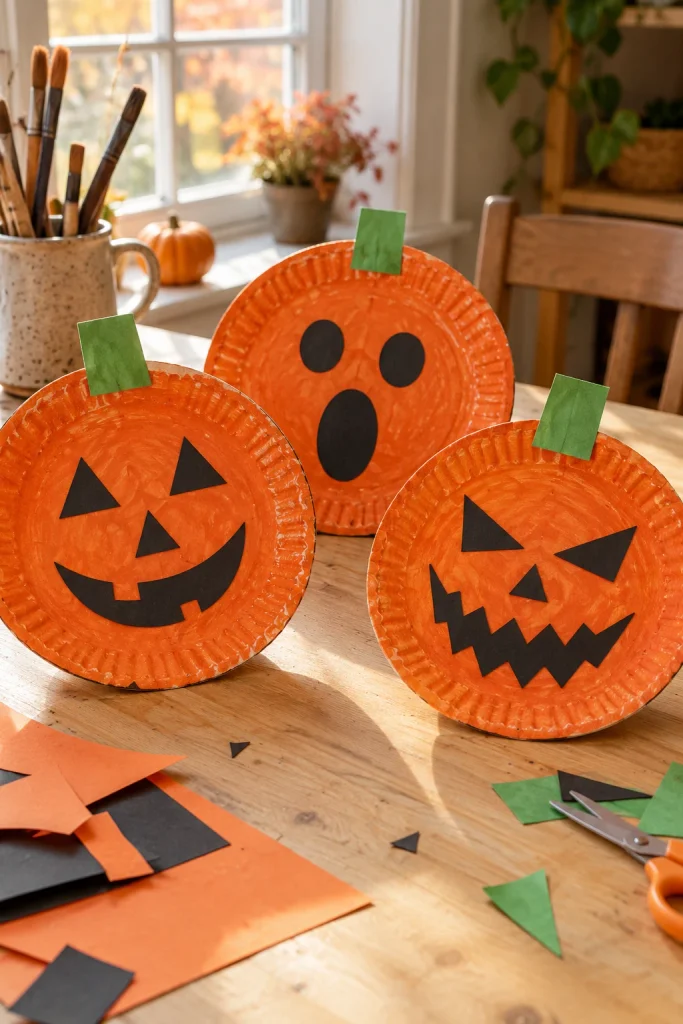
Paper plate pumpkins are an easy starting point for children and beginner crafters because the round plate already provides the basic shape. You will need white paper plates, orange paint or crayons, black construction paper, green paper, glue, and scissors. Paint the plate orange and let it dry completely before adding the facial features.
Cut triangle eyes, a nose, and a smiling or crooked mouth from black paper. Add a green stem and leaf at the top. For a more interesting display, make several pumpkins with different expressions, from cheerful faces to sleepy or surprised characters. Hang them on a wall, arrange them on a classroom board, or attach a paper loop to display them in a craft corner.
2. Friendly Hanging Paper Ghosts
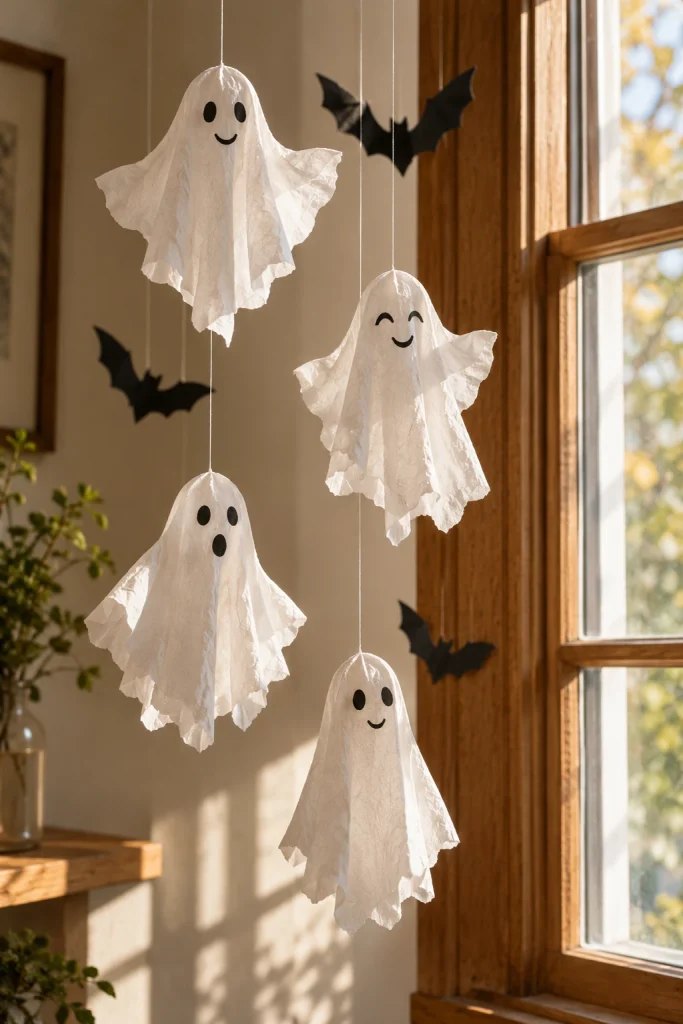
Paper ghosts are inexpensive, lightweight, and easy to customize for different ages. Gather white construction paper, a pencil, scissors, a black marker, and string. Draw a rounded ghost with a flowing, wavy bottom and cut out the shape. Give it a friendly expression with oval eyes and a small curved mouth, or create different personalities by changing the face.
Make ghosts in several sizes and attach a small piece of string to each one. Hang them at different heights near a window, above a craft table, or along an indoor doorway. For a coordinated display, combine plain white ghosts with a few black paper bats. If you are crafting with very young children, prepare the shapes beforehand so they can concentrate on drawing the faces and decorating their ghosts.
3. Cardboard Tube Bats
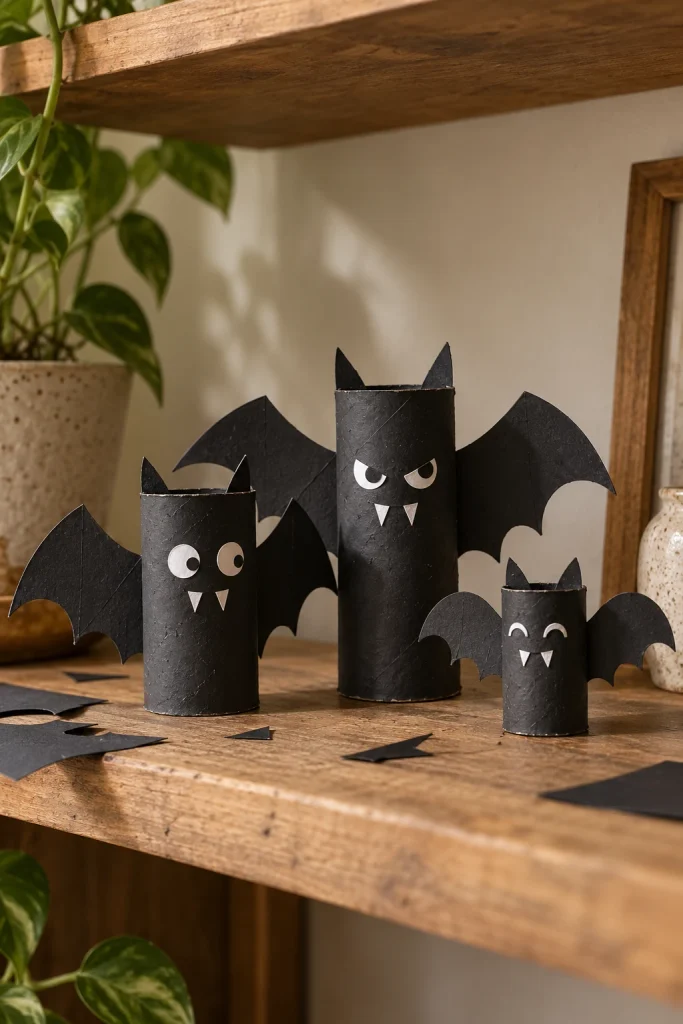
Empty cardboard tubes can become small black bats for a bookshelf, classroom, or Halloween party table. You will need clean cardboard tubes, black paint or black paper, construction paper, glue, scissors, and markers. Cover the tubes with black paper or apply a coat of paint, then leave them to dry before attaching the wings.
Cut two pointed bat wings from black cardstock and glue them to the back of each tube. Add small ears, paper eyes, and tiny white fangs for a cartoon appearance. You can leave some bats standing upright while attaching string to others for hanging decorations. Vary the wing shapes and facial expressions to avoid making every bat look identical. An adult should supervise cutting and any use of stronger adhesives.
4. Tissue Paper Pumpkin Suncatchers
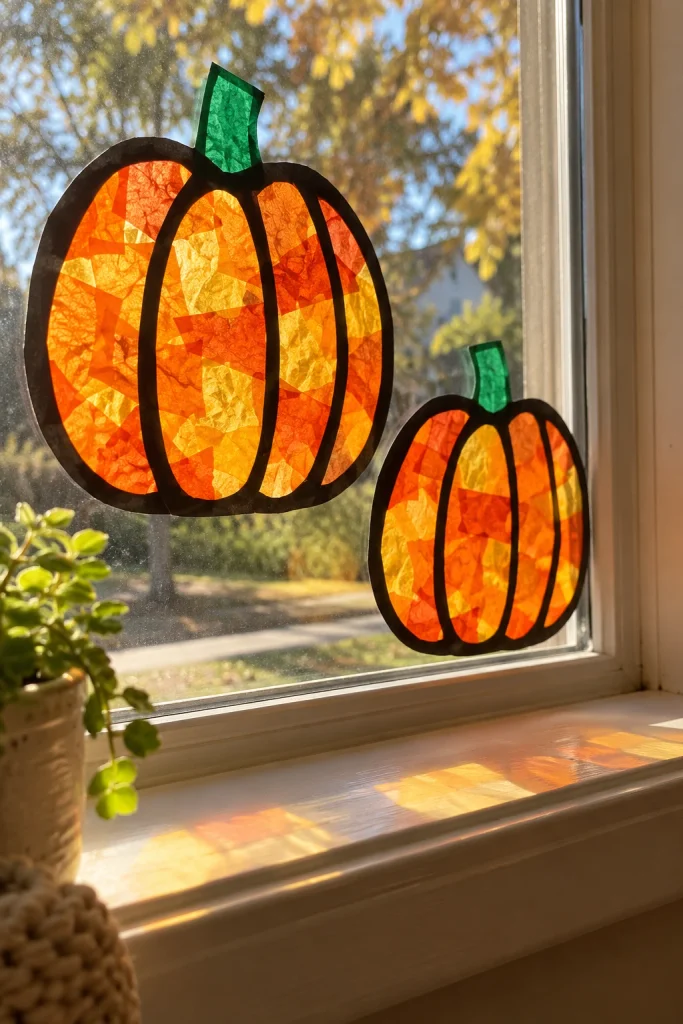
Pumpkin suncatchers add warm color to a window without requiring expensive materials. Gather orange and yellow tissue paper, black construction paper, clear contact paper, green paper, and scissors. Cut a pumpkin outline from black paper, then create an open center that can be filled with translucent tissue pieces.
Arrange small orange and yellow tissue pieces inside the pumpkin frame, overlapping them slightly for a layered effect. Cover the back with clear contact paper to hold everything in place, then add a green stem and leaf. Attach the finished decoration to a window where daylight can shine through it. The translucent colors look especially attractive in the morning or afternoon sun. Adults should handle difficult cutting tasks for younger children.
5. Painted Pumpkin Jars
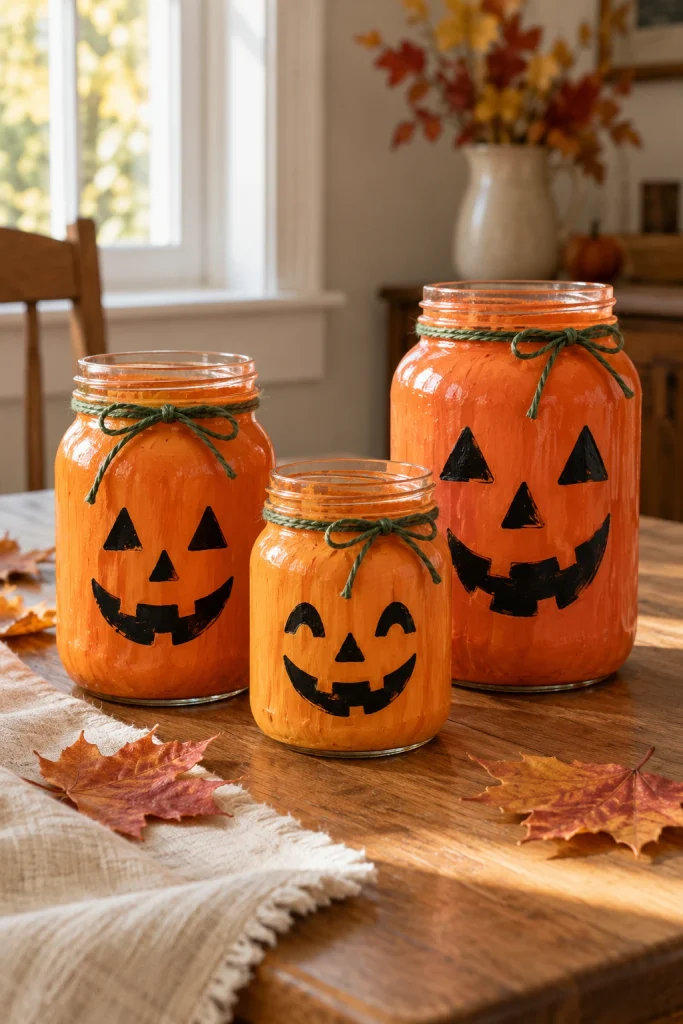
Clean jars can become cheerful pumpkin decorations for a windowsill, dining table, or seasonal centerpiece. Gather a clean jar, orange craft paint suitable for the surface, a paintbrush, black paint or a permanent marker, and green ribbon or twine. Apply thin coats of orange paint, allowing each layer to dry according to the product instructions.
Once the paint is completely dry, add a simple jack o lantern face and tie green ribbon around the neck of the jar. Leave the jar empty, use it to hold craft supplies, or fill it with individually wrapped treats. A group of three jars in different sizes looks more intentional than a single jar displayed alone. Use plastic containers instead of glass when crafting with younger children. Do not place real candles inside painted jars.
6. Cotton Ball Ghost Pictures
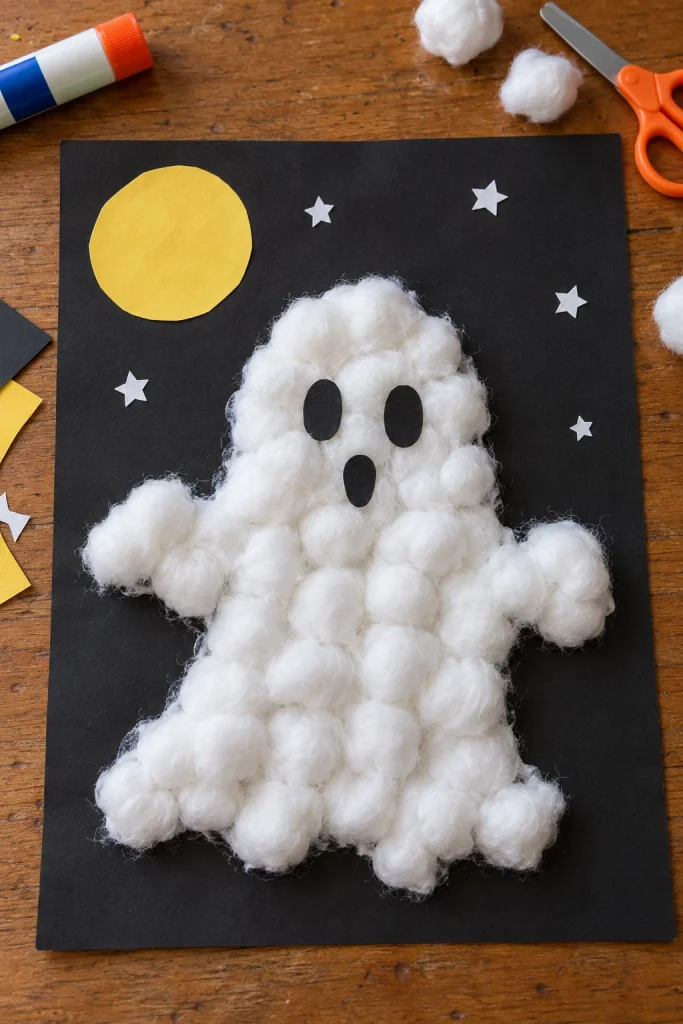
Cotton ball ghost pictures are ideal for a relaxed craft afternoon with preschoolers and elementary age children. You will need black construction paper, cotton balls, white glue, a pencil, and small pieces of paper for the face. Draw a large ghost outline on the black background, leaving enough space for children to fill the shape.
Spread glue inside the outline and press cotton balls into place until the ghost looks fluffy. Add two paper eyes and a mouth, then decorate the background with paper stars, a crescent moon, or tiny bats. The raised texture makes the finished picture more interesting than a simple drawing. Leave it flat until the glue dries, then display it on a wall, refrigerator, or craft board.
7. Paper Bat Garland
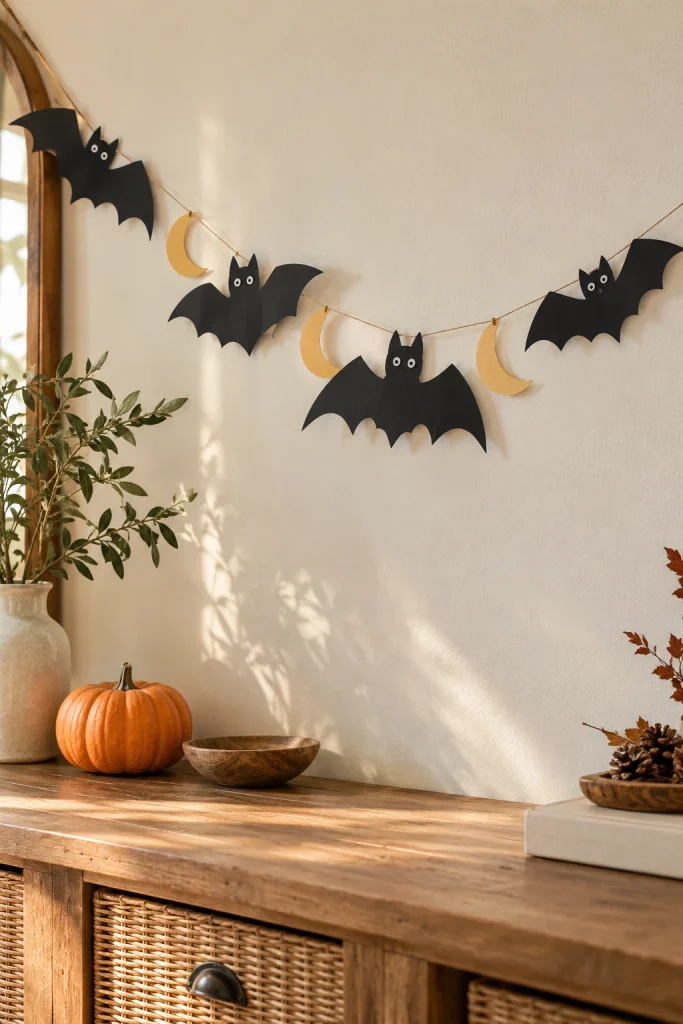
A paper bat garland gives a room a Halloween atmosphere without taking up table space. You will need black cardstock, a pencil, scissors, a hole punch, and string or ribbon. Draw a bat template with pointed wings and repeat the shape across the paper. Using several sizes creates a more natural arrangement than cutting every bat identically.
Cut out the bats, punch small holes near the top, and thread them along the string. Leave enough space between the shapes so their wings remain visible. Hang the garland across a mantel, above a desk, or along a covered entryway. For a more polished look, combine black bats with a few cream paper moons. Avoid placing hanging decorations where they could interfere with doors, fans, or walkways.
8. Recycled Cardboard Haunted House
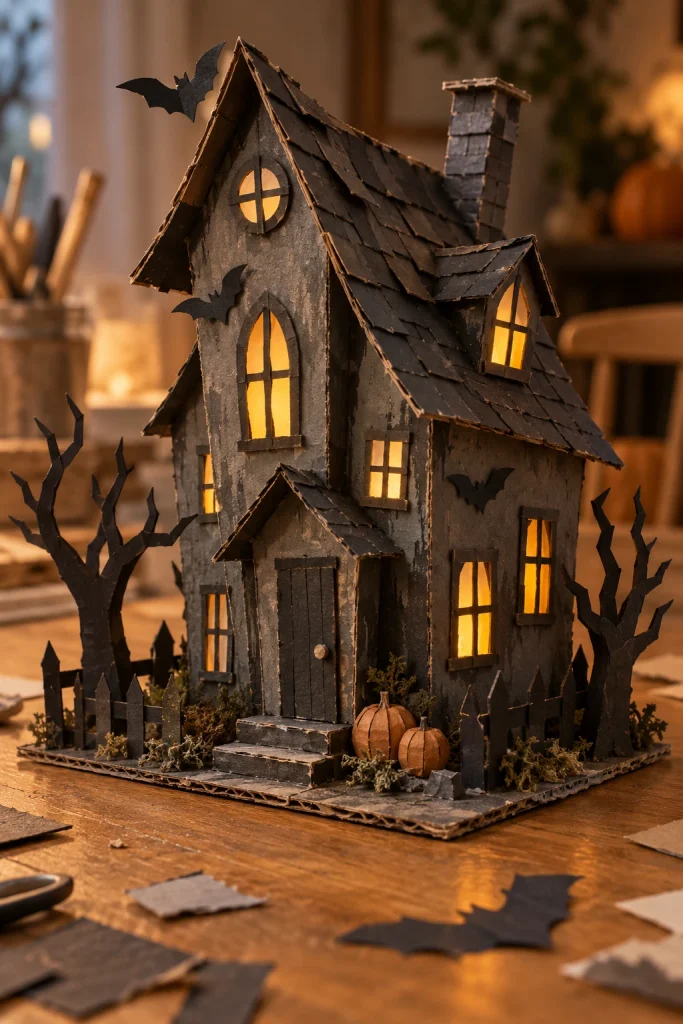
A cardboard haunted house turns a delivery box into a miniature Halloween scene. Gather a small cardboard box, gray or black paint, yellow construction paper, glue, a pencil, and scissors. An adult should handle detailed cutting, especially when making windows, doors, and roof openings. Sketch the main structure before decorating so you can plan the proportions.
Cover the cardboard with dark paint or paper, then add crooked windows, an uneven roofline, and a narrow front door. Place yellow paper behind the windows to suggest a glow, and create additional roof sections from folded cardboard. Add small paper trees or bats around the base. Display the finished house on a shelf or tabletop, where it can become the centerpiece of a miniature Halloween village.
9. Paper Spiderweb Decorations
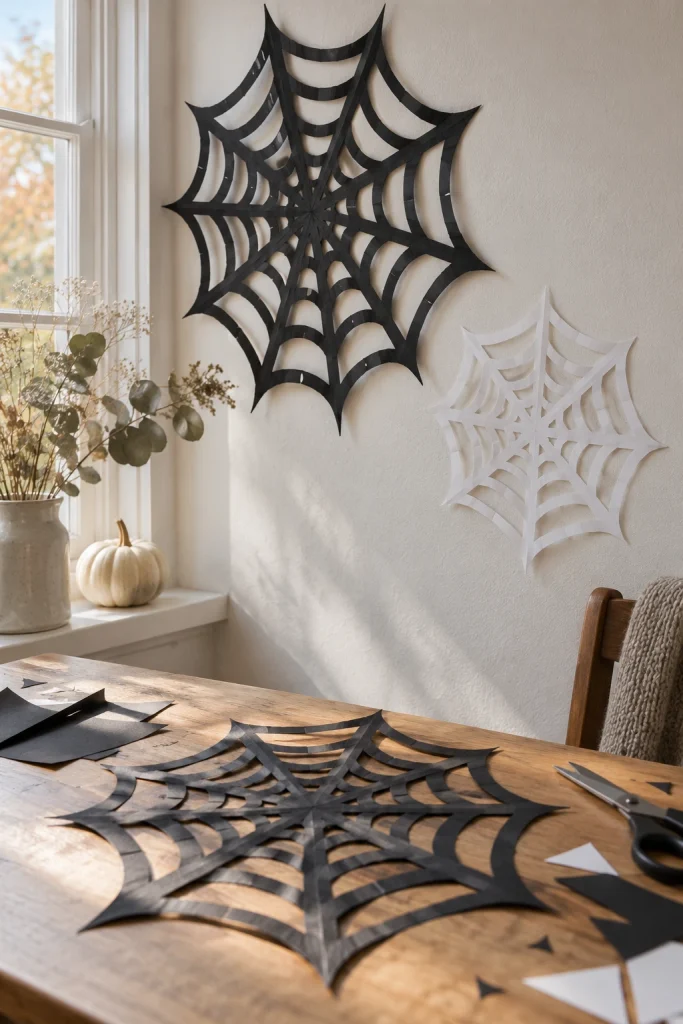
Paper spiderwebs are a good option when you want a spooky display without glitter, paint, or expensive supplies. Gather black or white paper, a pencil, and scissors. Fold a sheet into a narrow wedge, sketch connected lines along the folded edge, and carefully cut away small sections. The placement of the cuts determines how delicate the web will look when unfolded.
Open the paper slowly to reveal the pattern. White webs stand out against a dark window, while black webs create contrast against a pale wall. Make a few different sizes and arrange them together for a layered effect. Thicker paper is easier to handle for large webs, while lighter paper works better for delicate designs. Take your time unfolding each web because the narrow connections can tear.
10. Handprint Halloween Art
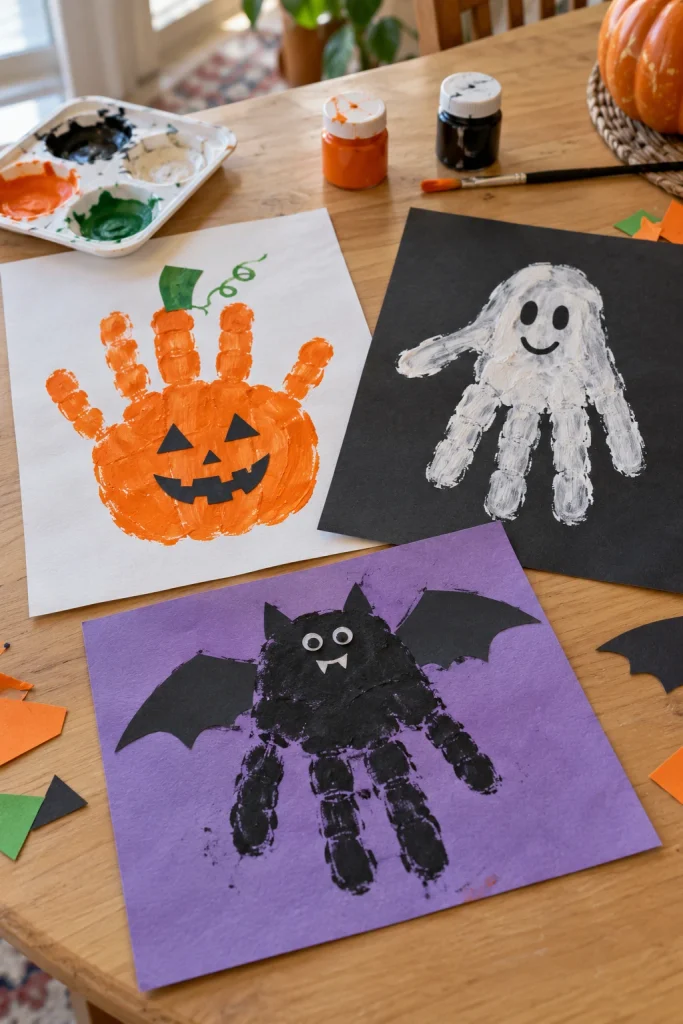
Handprint art creates a personalized decoration that can be kept as a seasonal memory. You will need paper, washable paint, a paintbrush or sponge, and markers. Orange handprints can become pumpkins, white prints can become ghosts, and black prints can become bats or spiders. Choose paint intended for the planned use and follow its instructions for skin contact and cleanup.
Press the painted hand onto paper and lift it carefully to preserve the outline. After the paint dries, add eyes, wings, legs, or a stem to transform the print into a character. Create a collection of different designs on one large sheet or make individual pictures for framing. Writing the date on the back can make the finished artwork a keepsake to bring out each Halloween.
11. Black Cat Silhouette Art
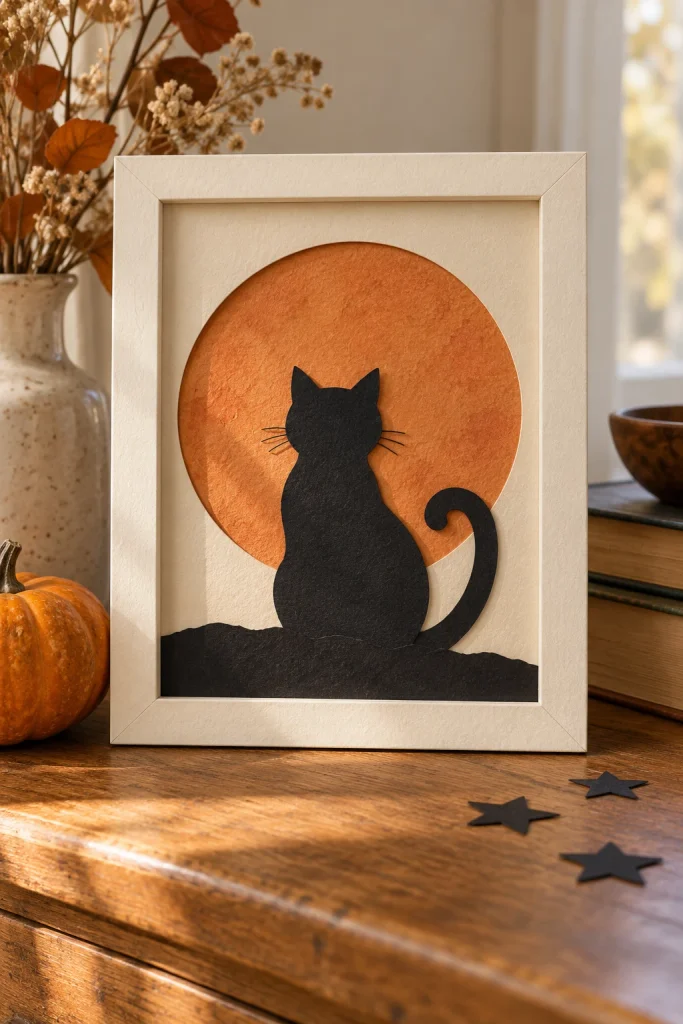
Black cat silhouettes create a more refined Halloween decoration while remaining simple enough for beginners. Gather black cardstock, cream or orange paper, a pencil, scissors, and glue. Sketch a seated cat with pointed ears, a curved tail, and a clear body shape. If drawing is difficult, start with a simple rounded silhouette and add the tail as a separate shape.
Cut out the silhouette and mount it on a contrasting background. Add a yellow paper moon or a few stars to create a night scene. You can place the finished artwork in a basic picture frame or use it as a handmade greeting card. For a coordinated display, make a series of silhouettes featuring a cat, a crescent moon, and flying bats using the same background color.
12. No Carve Decorated Pumpkins
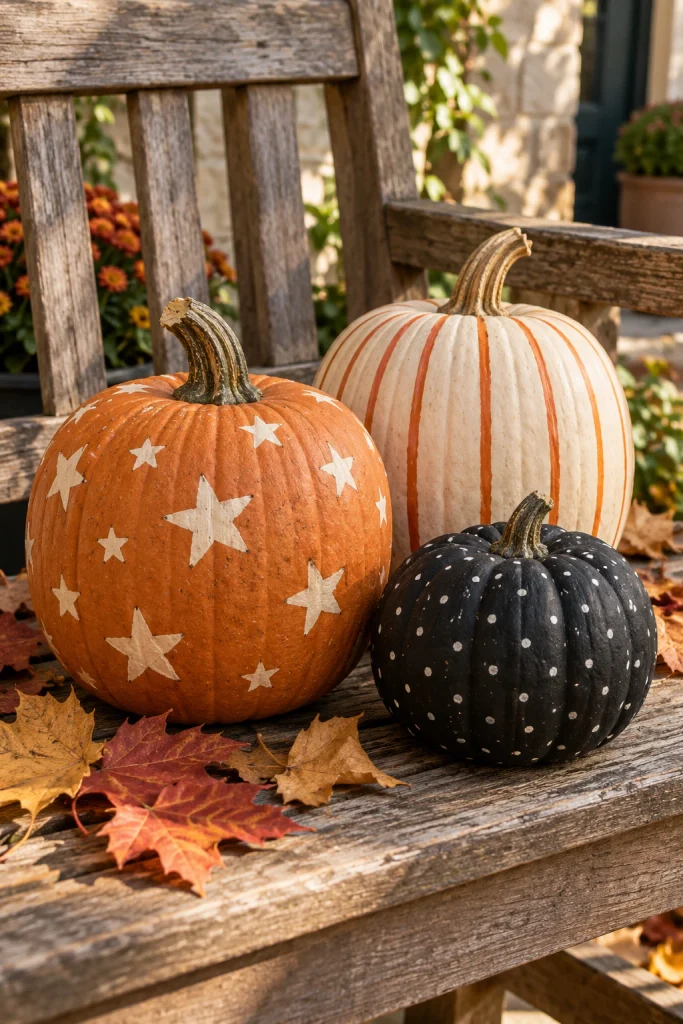
Decorating a pumpkin without carving it is useful when you want less mess and a display that can last through the season. Choose a clean, dry pumpkin or a reusable faux pumpkin, along with paint, brushes, painter’s tape, and decorative materials suitable for the surface. Plan your design before starting, particularly if you want clean stripes or repeated patterns.
Try painted stars, broad stripes, small dots, or a two tone design using orange and cream. A matte black pumpkin with tiny white details can create a more understated appearance. Let the decoration dry fully before moving it into place. If you use a faux pumpkin, choose compatible paint and removable embellishments so you can refresh the design next year. Keep decorated pumpkins away from open flames and heat.
13. Mini Paper Witch Hats
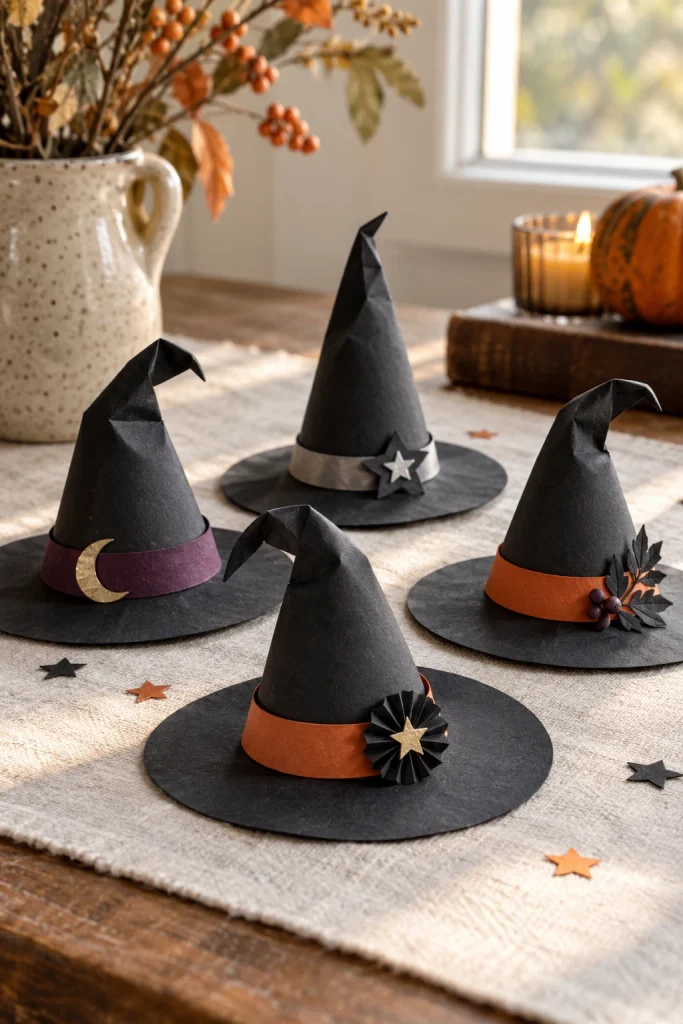
Miniature witch hats can decorate a bookshelf, party table, or seasonal place setting. Gather black cardstock, scissors, glue, ribbon, and optional paper stars. Roll a piece of cardstock into a cone, trim the bottom so it sits evenly, and secure the seam. Cut a circular brim with a hole in the center, then slide it over the cone and attach it with glue.
Add a narrow band in purple, orange, or silver. Small paper stars or simple painted dots can give each hat a slightly different appearance. Make several hats in different sizes and arrange them around a pumpkin centerpiece. For a group craft activity with younger children, prepare the cones and brims ahead of time so they can focus on choosing colors and decorating the finished hats.
14. Cheesecloth Ghost Figures
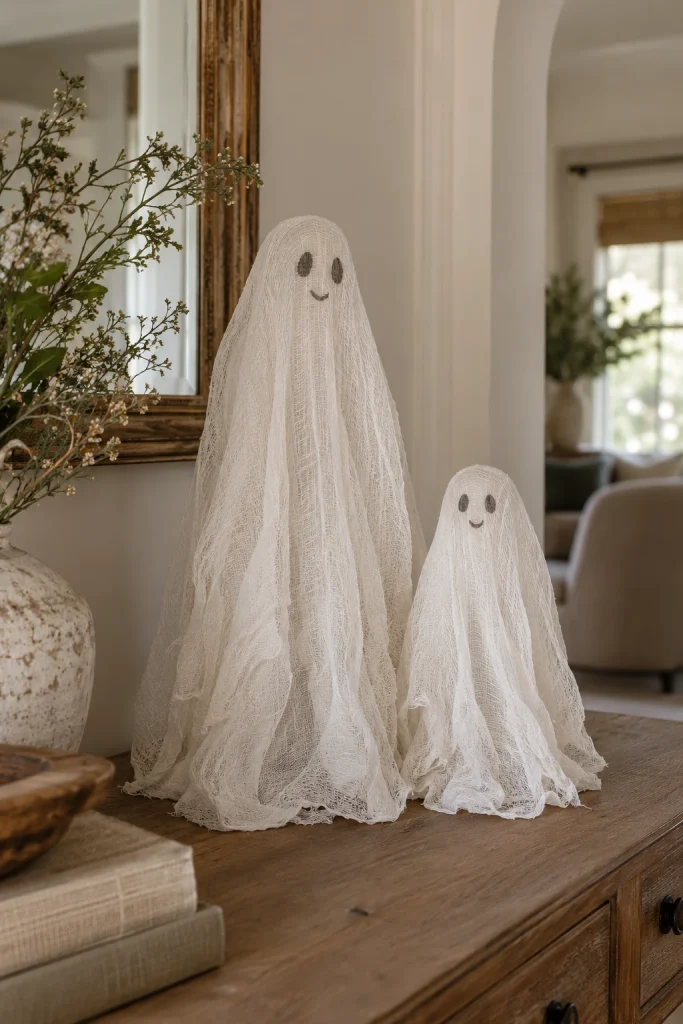
Cheesecloth ghosts have a light, airy appearance that works well on an indoor entryway table or sheltered display. Gather cheesecloth, a small temporary support, a lightweight ball for the head, and fabric stiffener suitable for the material. Cover the work surface first, since the stiffening process can be messy. Drape the cheesecloth over the support so it falls in uneven folds.
Apply the stiffener according to the product instructions and allow the figure to dry undisturbed. Once it holds its shape, carefully remove the temporary support and add a simple face if you want a friendlier character. Use a stable base so the ghost does not tip over. Display it away from candles, heaters, and other heat sources, and avoid damp outdoor locations that could weaken the fabric.
15. Halloween Paper Chain
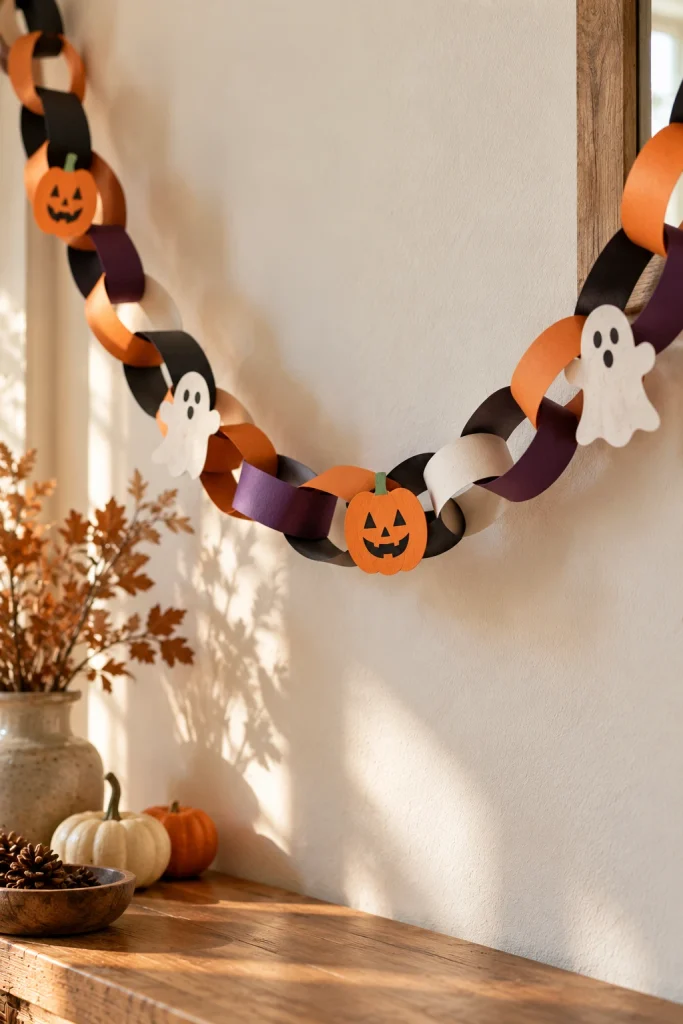
A paper chain can fill a wall, doorway, or party space with Halloween colors. You will need construction paper in black, orange, purple, white, or green, along with scissors, glue, or tape. Cut the paper into strips of equal width so the chain looks consistent when hung. Alternate the colors or repeat a simple pattern for a more coordinated appearance.
Loop one strip into a ring and secure the ends. Thread the next strip through the first ring before closing it, then continue until the chain reaches your desired length. Attach a paper ghost or pumpkin to every few links if you want extra detail. Paper chains work especially well indoors and can be made ahead of a family gathering or classroom celebration.
16. Mini Halloween Treat Bags
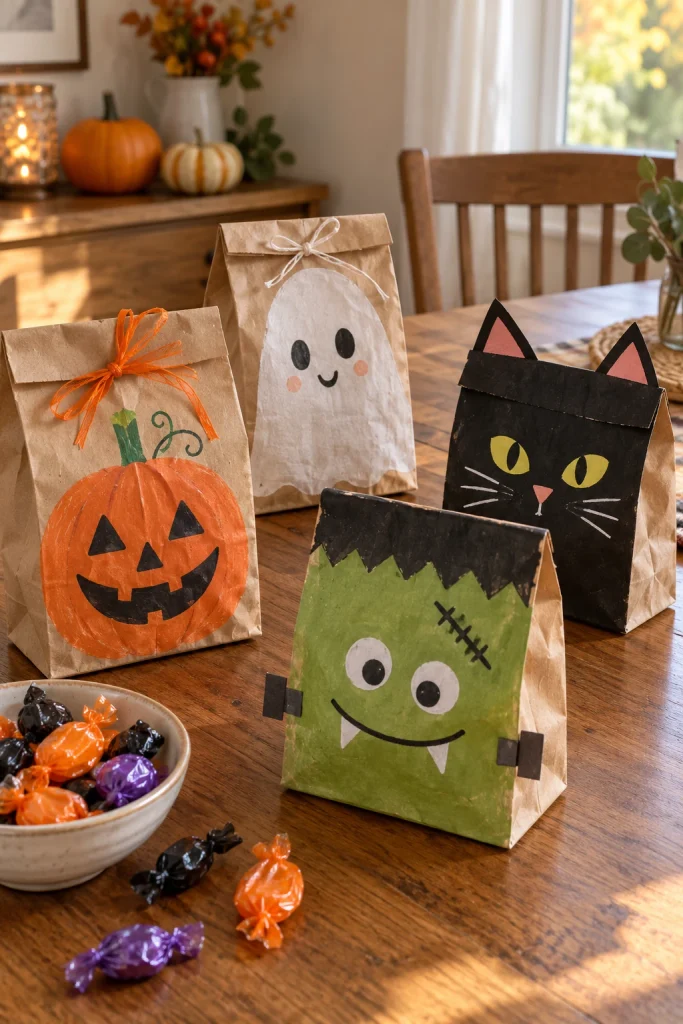
Plain paper bags can become personalized treat bags for classroom parties, neighbors, or a Halloween movie night. Gather small paper bags, markers, construction paper, stickers, glue, and ribbon if you want decorative ties. Choose a different character for each bag, such as a pumpkin, ghost, black cat, or friendly monster.
Draw the main face on the front, then add paper ears, wings, or other details. Write each recipient’s name on a tag or on the back of the bag. If the bags will hold candy or small gifts, check that the bottom and handles are securely attached. Keep decorations away from food itself and use clean bags suitable for the intended contents.
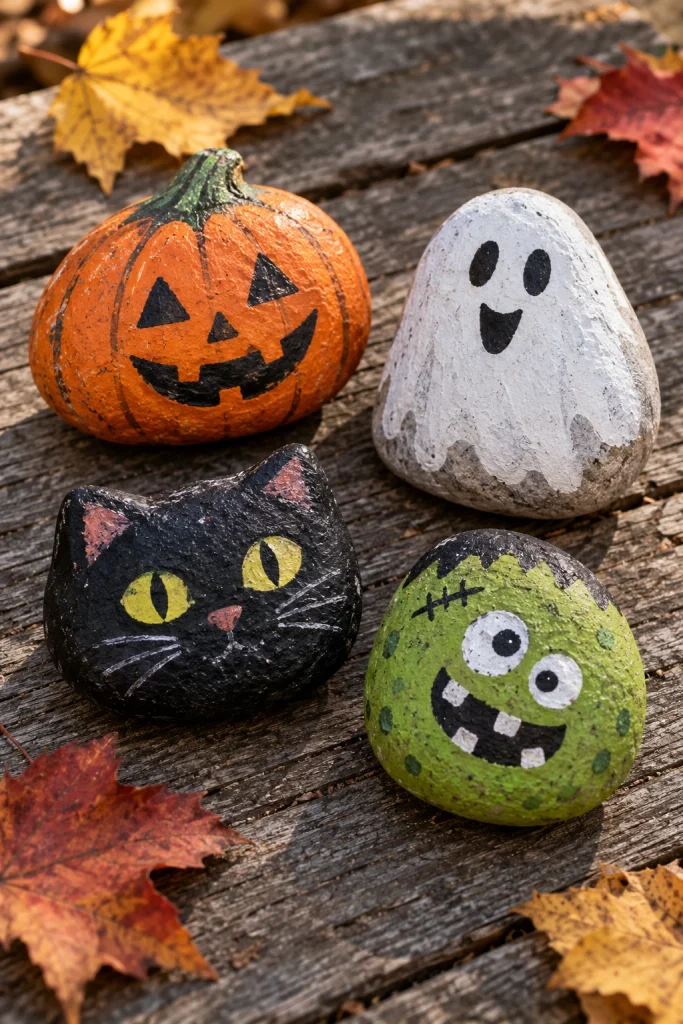
17. Painted Halloween Rocks
Painted rocks create small decorations for a windowsill, desk, or covered porch. Start with clean, dry, smooth stones, paint suitable for the surface, small brushes, and markers. Plan a simple design for each rock so the limited area remains easy to work with. Pumpkins, ghosts, cats, and friendly monsters are good choices for beginners.
Paint one base color at a time and let it dry before adding the facial details. A pumpkin rock can use orange paint and a green stem, while a ghost rock looks effective against a charcoal background. If the rocks will be displayed outdoors, choose an appropriate outdoor finish and place them where they will not become a tripping hazard. Keep small stones away from young children and pets.
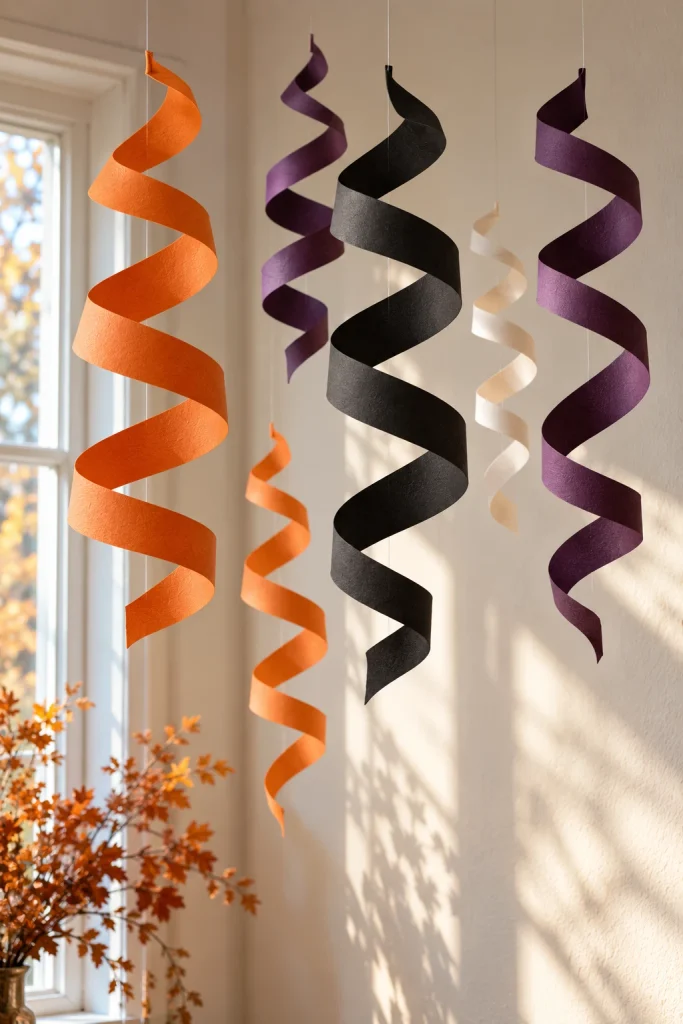
18. Hanging Paper Spiral Decorations
Paper spirals add movement to a Halloween display and take up very little space. You will need lightweight paper, a pencil, scissors, and string. Draw a large circle and sketch a spiral from the outside toward the center, leaving enough width for the paper to remain connected when cut.
Cut along the spiral line and gently lift the center to create a hanging coil. Attach a short piece of string to the center and hang the spiral where it can move freely without touching lights, fans, or doorways. Use orange, black, purple, and white paper for a coordinated look. Adults can prepare the spiral cutting lines for younger crafters who are not ready to handle scissors independently.
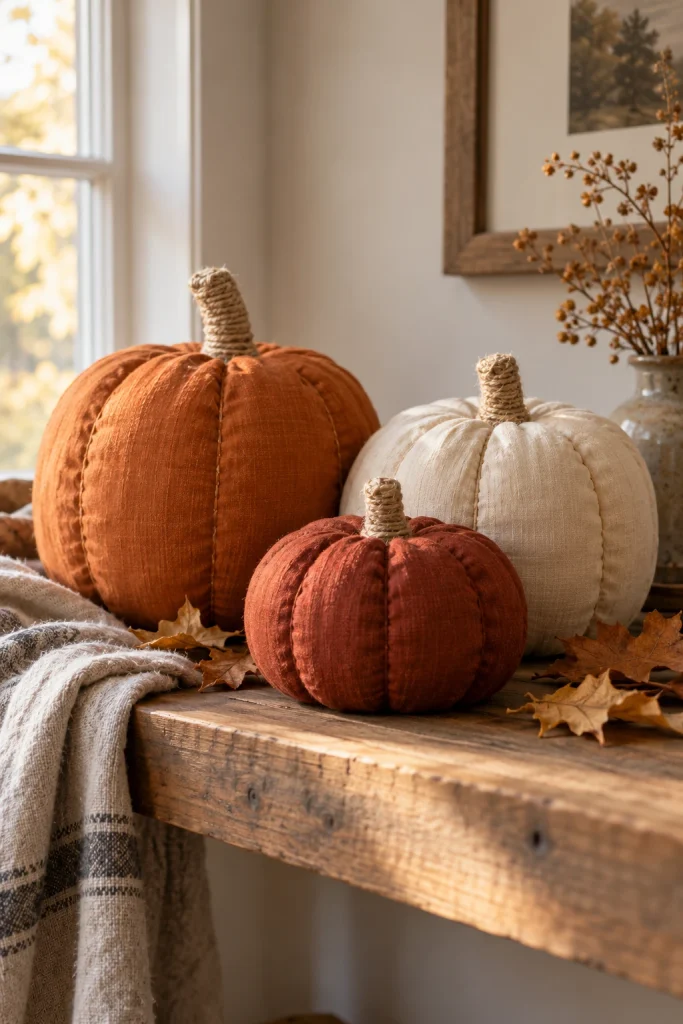
19. Fabric Scrap Pumpkin Decorations
Fabric pumpkins are a useful project for adults who enjoy soft textures and reusable seasonal decor. Gather fabric scraps, stuffing or clean fabric offcuts, thread, a needle, and twine or a small stick for the stem. Choose orange cotton for a traditional look, or use cream, rust, and muted green fabric for a more natural autumn palette.
Cut a fabric shape, sew or gather the edges, and fill it until it forms a rounded pumpkin. Close the opening securely and add a stem at the top. If sewing is not suitable, use a fabric adhesive intended for the material and follow its instructions. Make a few pumpkins in different sizes and arrange them together on a shelf. Keep the finished pieces away from open flames and hot surfaces.
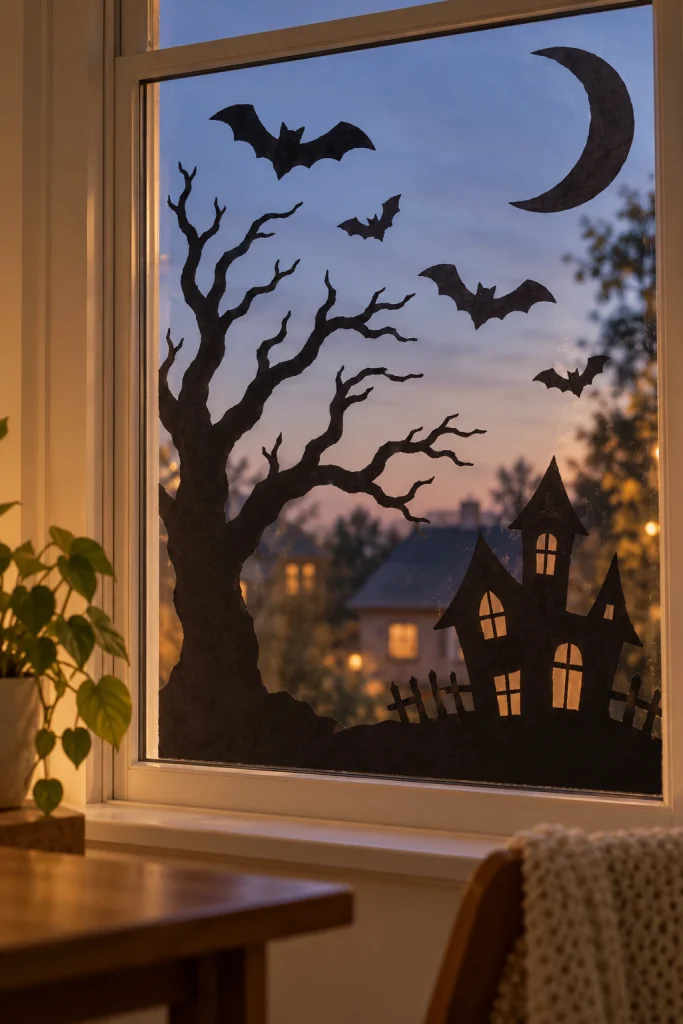
20. Halloween Silhouette Window Art
Window silhouettes create a spooky scene using simple shapes that are easy to recognize from outside. You will need black paper, a pencil, scissors, and removable tape suitable for the window surface. Draw a scene featuring crooked trees, a haunted house, a cat, a moon, or flying bats. Keep the shapes bold enough to remain visible from a distance.
Cut out the silhouettes and arrange them against the glass. Place the largest shapes near the bottom and smaller shapes higher up to create a sense of depth. Use removable tape that will not damage the window, and avoid covering areas needed for visibility through doors or windows. This project is especially practical for renters because it does not require permanent paint or hardware.
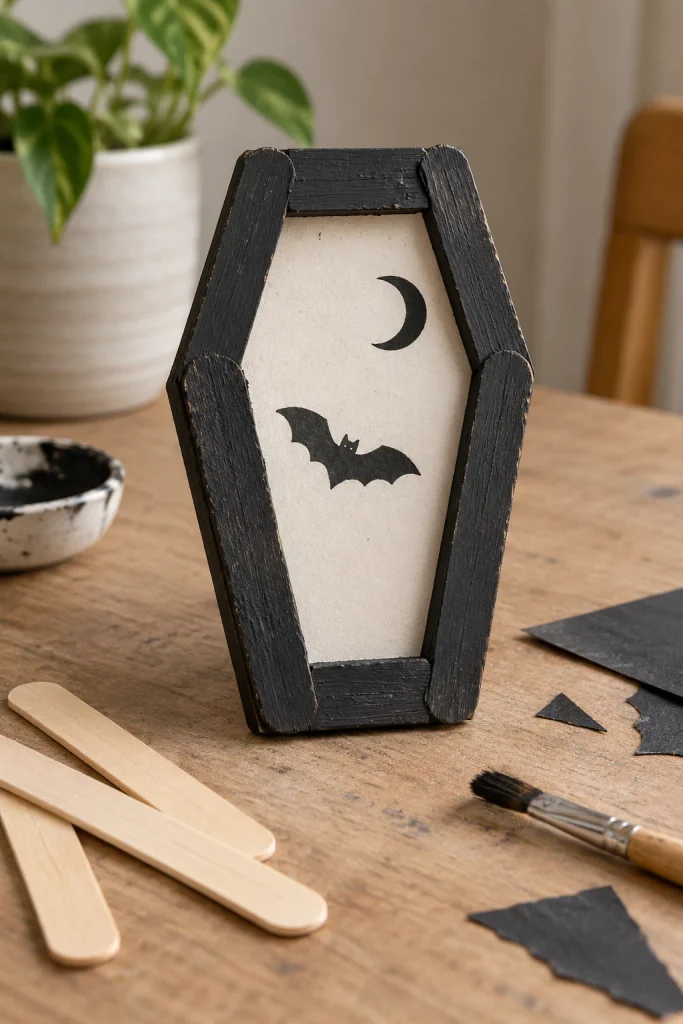
21. Wooden Craft Stick Coffin Frames
Craft stick frames offer a small decorative project for older children and adults who enjoy assembling pieces. Gather flat wooden craft sticks, glue suitable for wood, black or gray paint, cardstock, and optional paper stars or skeleton shapes. Arrange the sticks into a narrow coffin outline, overlapping the ends slightly to form a sturdy frame.
Secure the pieces and allow the adhesive to dry fully before painting. Add a paper background with a tiny skeleton drawing, a moon, or a bat silhouette. The finished frame can stand on a desk or be mounted on a larger sheet of cardstock as part of a Halloween collage. Supervise any cutting and follow the instructions for the adhesive being used.
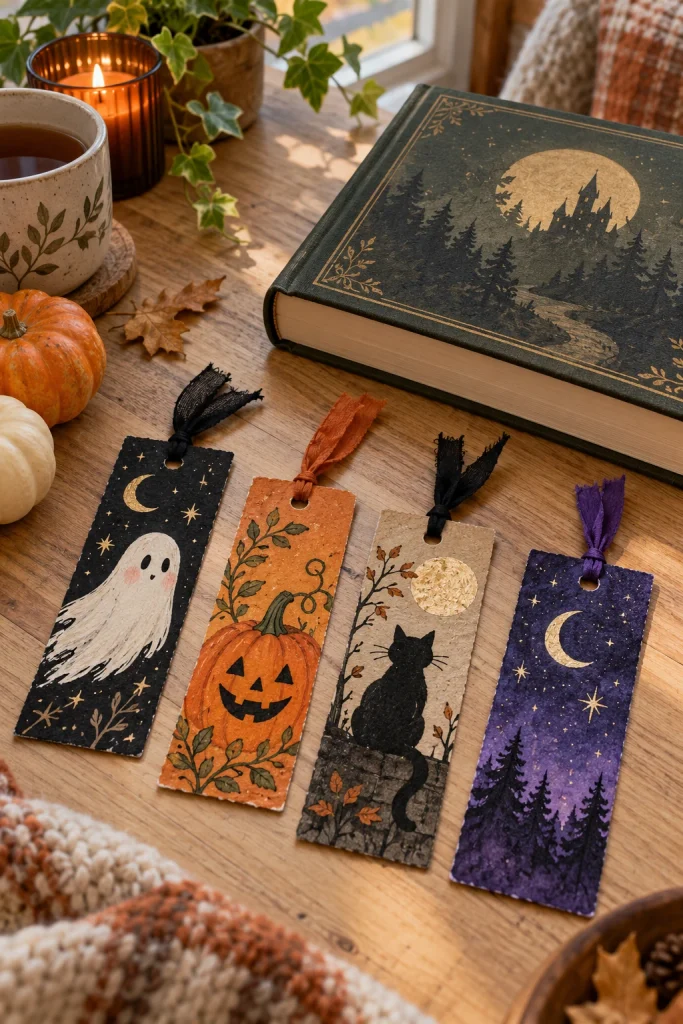
22. DIY Halloween Bookmarks
Halloween bookmarks are useful for school reading, seasonal story time, and small handmade gifts. Gather cardstock, markers, ribbon, a hole punch, and paper shapes or stickers. Cut the cardstock into long rectangles and round the corners slightly to make the finished pieces comfortable to handle.
Decorate each bookmark with a different Halloween character or pattern. Try a white ghost on black paper, a small orange pumpkin, a black cat silhouette, or a purple night sky with stars. Punch a hole at the top and add a short piece of ribbon. If you want a more durable finish, cover the bookmark with clear adhesive film and secure the edges carefully. Keep embellishments flat so the bookmark slides easily between pages.
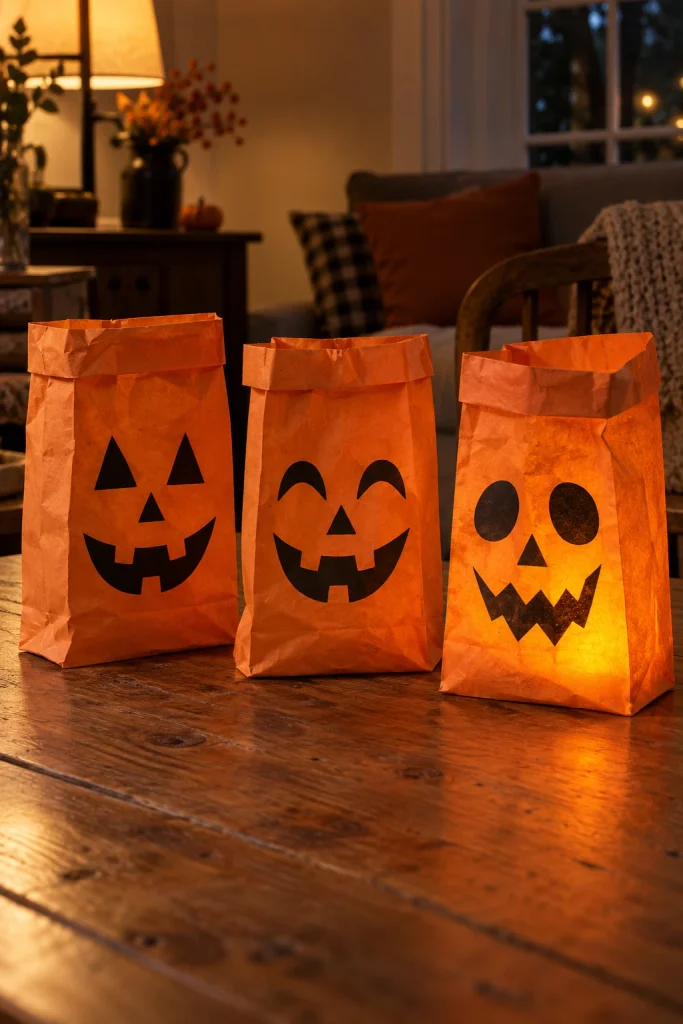
23. Paper Bag Pumpkin Lanterns
Paper bag pumpkins can create a cheerful table display when used as decorative covers for suitable battery operated lights. You will need small paper bags, orange paint or colored paper, markers, and a battery operated light appropriate for the intended setup. Decorate the bag with a pumpkin face before adding the light.
Allow paint to dry fully and check that the bag remains stable and does not become weak or damp. Only use a light if the light and enclosure are suitable for each other. Never put a real candle inside a paper bag. Place the finished decorations on a stable surface, spaced apart so they do not tip into one another. These simple lanterns work well for a family party table or a covered indoor display.
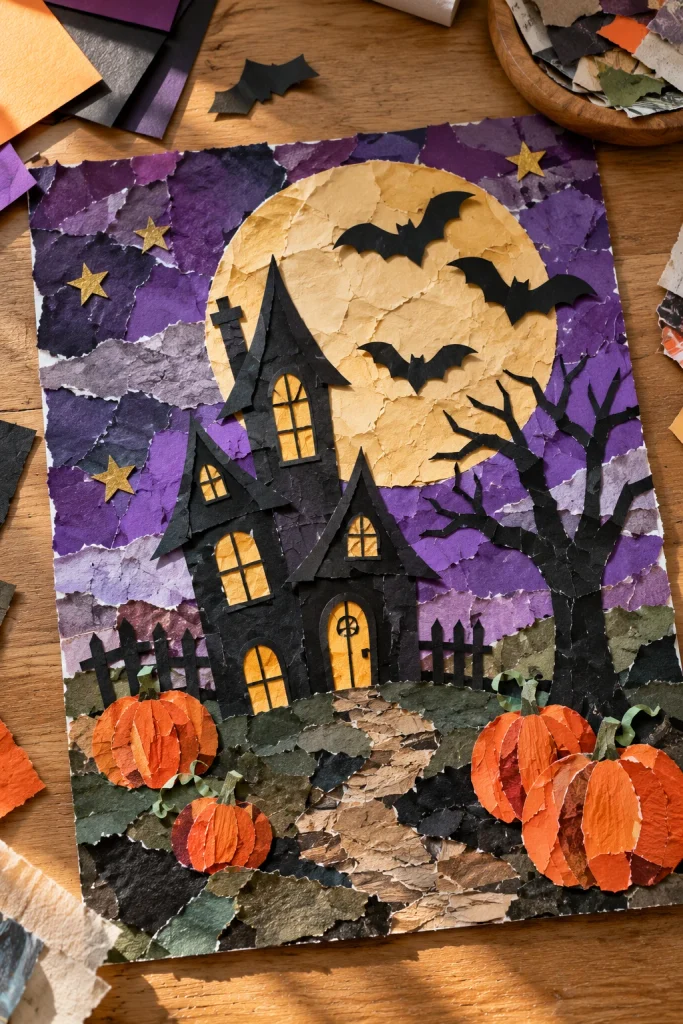
24. Halloween Collage Art From Recycled Paper
A recycled paper collage is ideal when you have small scraps left over from other crafts. Gather magazines, old wrapping paper, construction paper, clean packaging, glue, and sturdy cardstock. Choose a theme before starting, such as a moonlit house, a pumpkin patch, or a friendly monster scene.
Tear or cut the paper into shapes and layer them from the background forward. Use larger shapes for the sky or house, then add smaller details such as windows, bats, leaves, and stars. Layered paper gives the picture texture without requiring specialist materials. Let the collage dry flat before displaying it. This is especially useful for group activities because several people can contribute separate elements to one large Halloween picture.
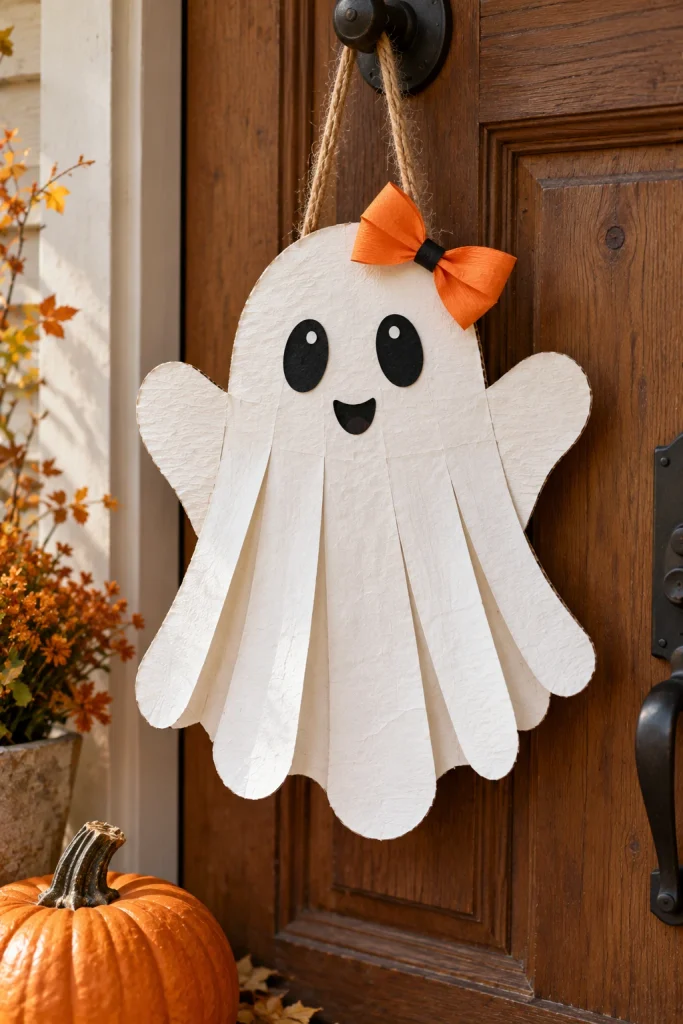
25. Handmade Halloween Door Hanger
A homemade door hanger gives your entryway a personal Halloween touch without requiring a full wreath project. You will need sturdy cardboard, paint or colored paper, ribbon, scissors, glue, and a pencil. Draw a large pumpkin, ghost, cat, or welcome sign on the cardboard, leaving enough room at the top for a hanging hole.
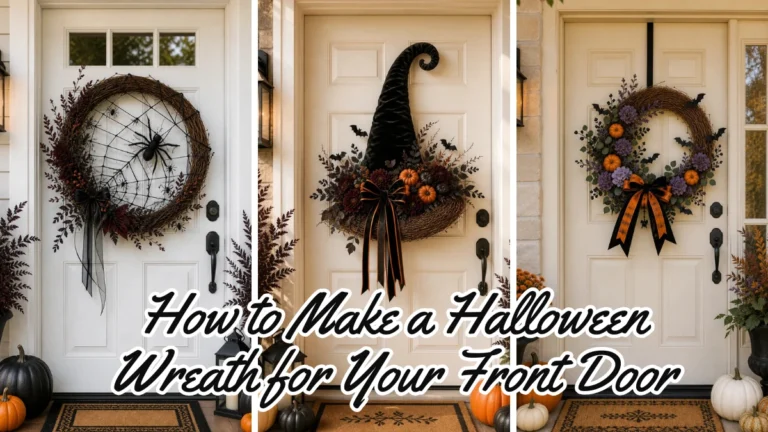
Cut out the shape, cover it with paint or paper, and add lettering or facial details after the surface dries. Reinforce the hanging hole and thread through a piece of ribbon. Use suitable removable hanging hardware for the door surface, and keep the finished piece light enough that it does not pull loose. If you would prefer a fuller floral or fabric arrangement, explore our guide to making a Halloween wreath for the front door.
How to Choose the Best & Easy Halloween Craft for Your Home
If you want a quick project, start with paper ghosts, a paper chain, or Halloween bookmarks. These use inexpensive supplies and are easy to complete without a large work area. For a craft afternoon with children, handprint art, cotton ball ghosts, and paper plate pumpkins offer room for creativity without requiring precise cutting.
If your goal is home decoration, think about the finished project’s location before you begin. Painted jars and fabric pumpkins work well on shelves and tables, while bat garlands and paper silhouettes use vertical space. Cardboard haunted houses and cheesecloth ghosts create more dimensional displays, but they need a stable place to sit and enough time to dry.
For a more nostalgic atmosphere, choose muted orange, cream, faded black, brown, and aged looking paper rather than bright plastic colors. Our guide to vintage and retro Halloween decor offers further inspiration if you want your handmade projects to fit into a larger seasonal display.
If you want to extend your decorating beyond the windowsill or entryway table, explore these DIY Halloween decorations for outside for projects designed specifically for outdoor spaces.
Tips for Making Easy Halloween Crafts Look More Finished
Choose a limited color palette. Two or three main colors often make homemade decorations look more coordinated. Black, cream, and orange are classic choices, while plum, muted green, and warm brown create a softer autumn look.
Prepare the work surface first. Cover the table, place supplies in separate containers, and leave a clear area for finished pieces to dry. This makes group crafting easier and reduces the chance of smudging wet paint.
Make several matching pieces. A group of three pumpkins, a row of paper bats, or matching treat bags usually looks more intentional than unrelated decorations scattered around a room.
Test paint and adhesive on spare material. Different surfaces absorb paint and glue differently. Testing first helps prevent peeling, streaks, and unexpected changes in color.
Store reusable crafts carefully. Once decorations are completely dry, place them in labeled containers. Wrap delicate paper shapes separately and keep fabric pieces clean and dry so they are ready for next year’s display.
Frequently Asked Questions
What are the easiest Halloween crafts to make at home?
Paper ghosts, paper plate pumpkins, paper chains, Halloween bookmarks, and handprint art are among the easiest options because they require only a few common materials and simple steps. Choose a project based on the age of the crafter and the time available.
What Halloween crafts can kids make with household items?
Children can decorate cardboard tubes as bats, turn paper plates into pumpkins, make cotton ball ghosts, create recycled paper collages, and decorate clean containers. An adult should handle sharp cutting tools, hot glue, and materials that are not appropriate for the child’s age.
How can I make Halloween decorations without spending much money?
Begin with materials you already have, such as cardboard boxes, paper bags, leftover wrapping paper, clean jars, and fabric scraps. Choose projects that do not require specialist tools and reuse decorations whenever possible. You can create a coordinated display by repeating the same colors across several inexpensive projects.
Which Halloween crafts are suitable for adults?
Adults may enjoy fabric pumpkins, cheesecloth ghosts, painted pumpkin jars, silhouette window art, cardboard haunted houses, and carefully painted rocks. These projects allow more detailed finishing while remaining manageable for beginner crafters.
How do I keep homemade Halloween decorations looking good?
Allow paint, glue, and fabric stiffener to dry completely before handling the finished pieces. Keep paper decorations away from rain and moisture, use suitable outdoor materials when needed, and store reusable decorations in a dry container after Halloween. Keep handmade decorations away from open flames and heat sources.
Final Thoughts
The best easy Halloween crafts are the ones that fit your home, available materials, and the people making them. A paper ghost can be a quick afternoon activity for a child, while a fabric pumpkin or cardboard haunted house can become a more involved weekend project. You do not need every craft to be complicated or perfectly finished to create a festive result.
Choose two or three ideas that suit your space, gather what you already have, and enjoy making something you can display or share. A small collection of handmade decorations often feels more personal than buying everything ready made, and many of these projects can be adapted or reused for future Halloweens.