
How to Decorate a Christmas Tree Like a Designer
To decorate a Christmas tree like a designer, start by choosing a cohesive color palette, shaping the branches, and adding lights before layering ribbon, garlands, ornaments, and decorative stems. Finish with a well-proportioned tree topper and a neat tree skirt or collar. The secret to a polished tree is not simply buying expensive decorations. It is creating depth, balancing colors and textures, and placing each element with intention.
You can achieve a designer-inspired Christmas tree on a budget by reusing ornaments you already own, choosing two or three coordinating colors, and mixing different ornament finishes instead of buying a completely new collection. The following ideas explain how to style each layer, what to look for as you decorate, and how to create an attractive, realistic result in your own home.
1. Choose a Christmas Tree Color Palette Before Decorating
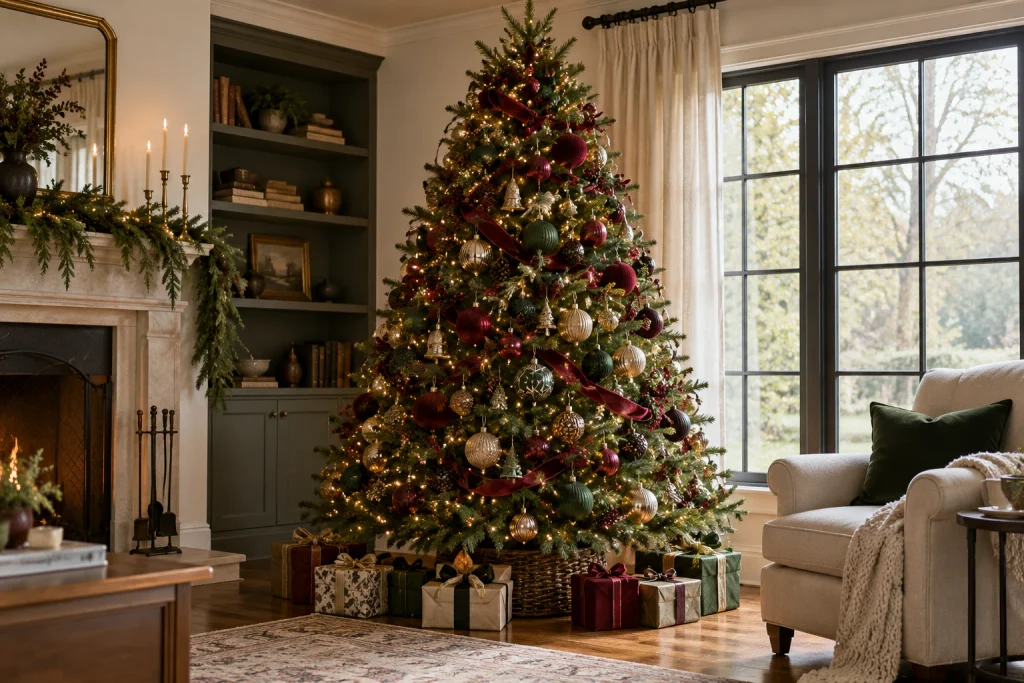
A designer-looking tree usually feels coordinated because its colors repeat throughout the arrangement. Before opening your ornament boxes, decide what mood you want to create. Classic red and green feels traditional, ivory and champagne gold creates a softer elegant look, and forest green with burgundy gives the tree a rich, warm appearance.
You do not need to replace every decoration you own. Start with the ornaments you love, identify the colors that appear most often, and build your palette around them. Choose one main color, one supporting color, and an optional metallic accent. Repeat those shades in your ribbon, ornaments, and decorative stems so the finished tree looks intentional rather than crowded.
2. Fluff the Branches to Create a Fuller Tree
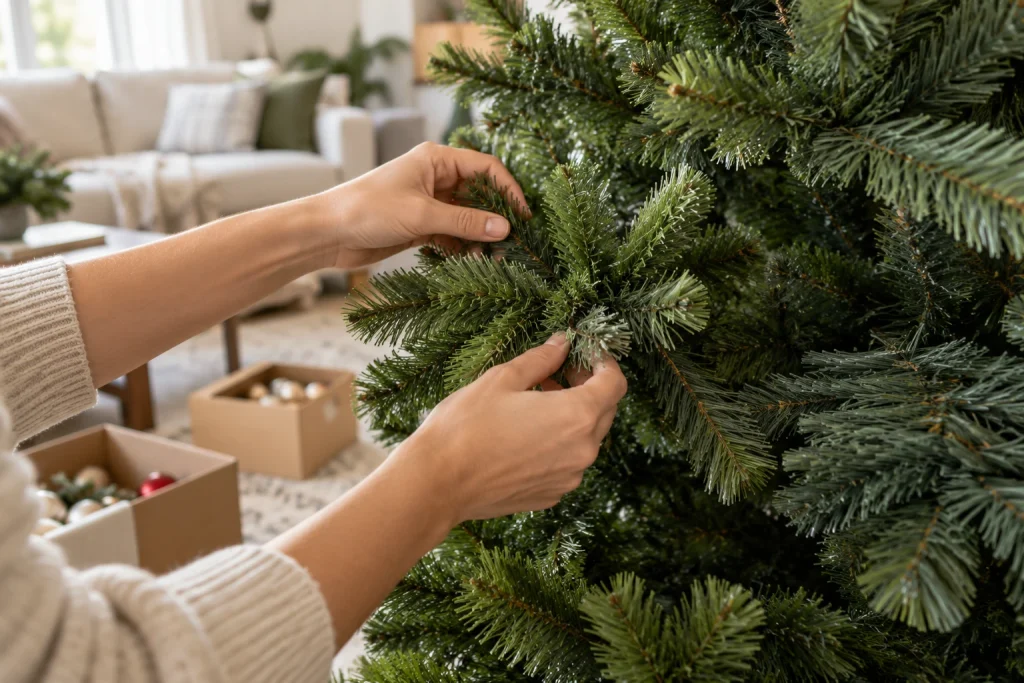
Before adding any decorations, take time to shape your tree. Compressed branches can leave visible gaps, uneven edges, and flat areas that remain noticeable even after ornaments are added. On an artificial tree, separate the branch tips and spread them in different directions. Work from the inner branches toward the outside, filling empty spaces without forcing every branch into a perfectly symmetrical shape.
For a real tree, rotate it until its best side faces the room and gently arrange the branches where needed. Check the silhouette from several feet away. A full, balanced outline gives the lights and ornaments a better foundation and can make a modest tree look considerably more finished without purchasing extra decor.
3. Add Christmas Tree Lights From the Inside Out
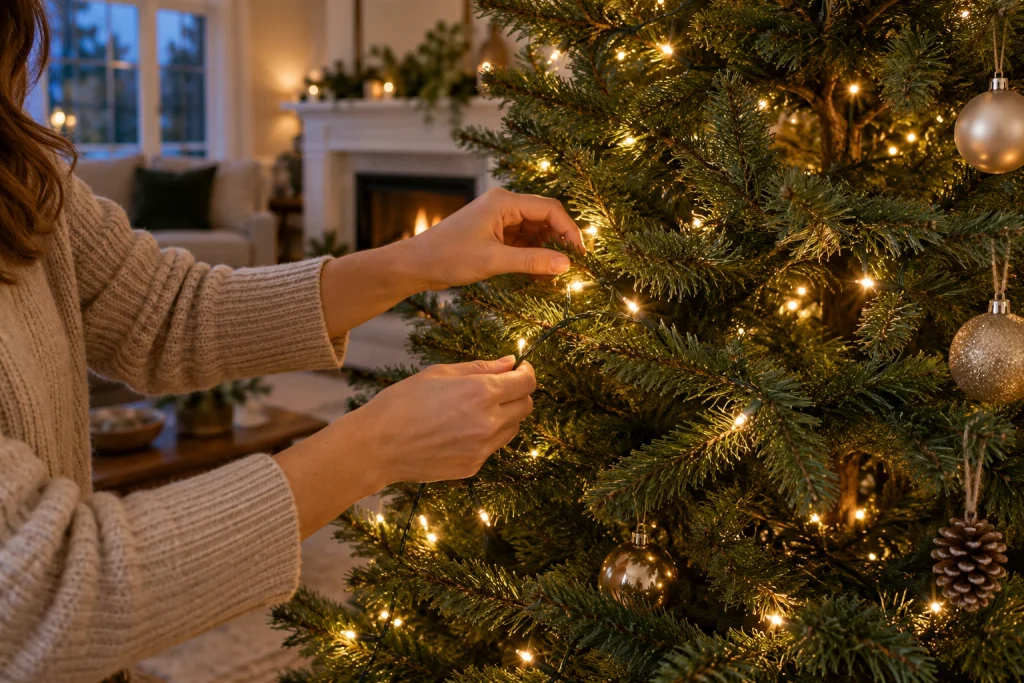
Lighting creates much of the glow associated with professionally decorated trees. If you have a tree without built in lights, test every light string before placing it. Begin near the trunk and work outward along the branches, distributing the lights throughout the tree rather than leaving them only on the outer tips. This creates more depth and helps the branches appear illuminated from within.
Warm white lights are a versatile choice for traditional, neutral, rustic, and elegant decorating styles. If you prefer multicolored lights, use them consistently so the tree feels deliberate. Step back after each section to check for dark patches. Keep electrical connections and extension cords arranged safely according to the manufacturer’s instructions, and never leave damaged light strings in use.
4. Add Ribbon and Garland for Movement
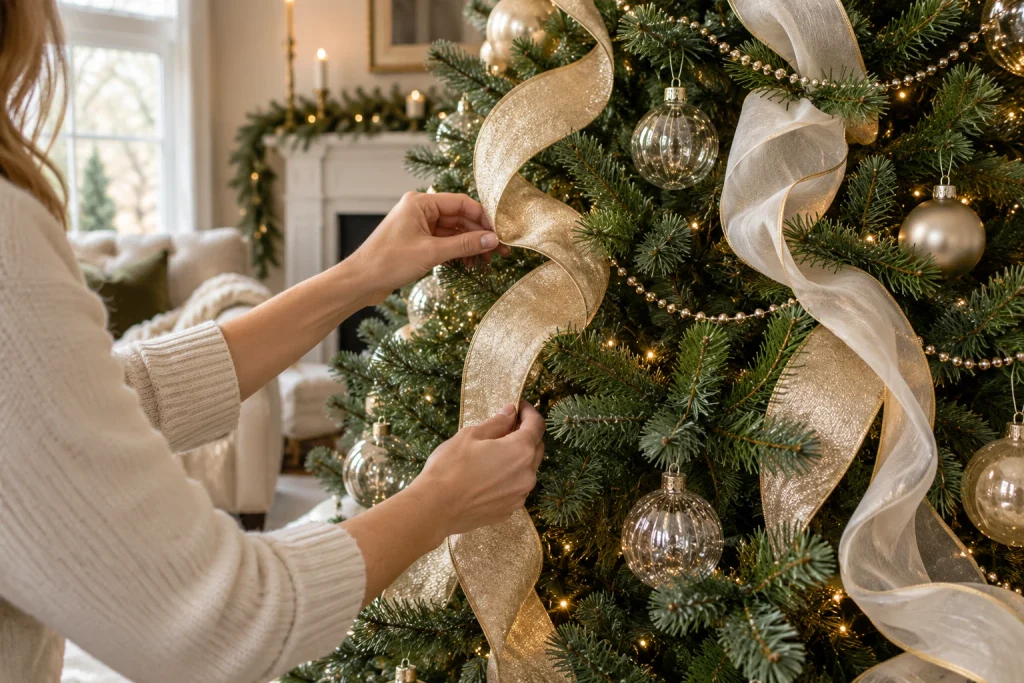
Ribbon introduces color and movement, while garland adds a continuous decorative element that connects the different parts of the tree. Choose a ribbon that complements your palette, such as burgundy velvet for a rich traditional tree, cream linen style ribbon for a softer natural look, or champagne ribbon for subtle shine.
Instead of pulling one long ribbon tightly around the tree, try shorter sections tucked between branches. Let each piece form a relaxed curve or cascade, with parts disappearing into the greenery and reappearing lower down. Add beaded garland or another lightweight strand if it suits your theme, but avoid using so many layers that the branches become hidden. The goal is to guide the eye through the tree, not cover it.
5. Layer Ornaments in Different Sizes and Finishes
A tree can look flat when every ornament is the same size, color, and finish. To create depth, combine large, medium, and small ornaments, mixing matte, glossy, glass, wood, or textured finishes that suit your chosen style. Begin with the larger ornaments, spacing them around the tree and placing some slightly deeper within the branches. Add medium ornaments next, then use the smallest pieces to fill visible gaps.
Do not distribute everything in perfectly straight rows. Step back and check the tree from several angles, especially if it will be visible from more than one side. Keep sentimental or handmade ornaments that matter to your family, even if they do not match the palette perfectly. Their personal meaning is part of what makes the tree feel like home.
6. Use Decorative Picks and Natural Textures Sparingly
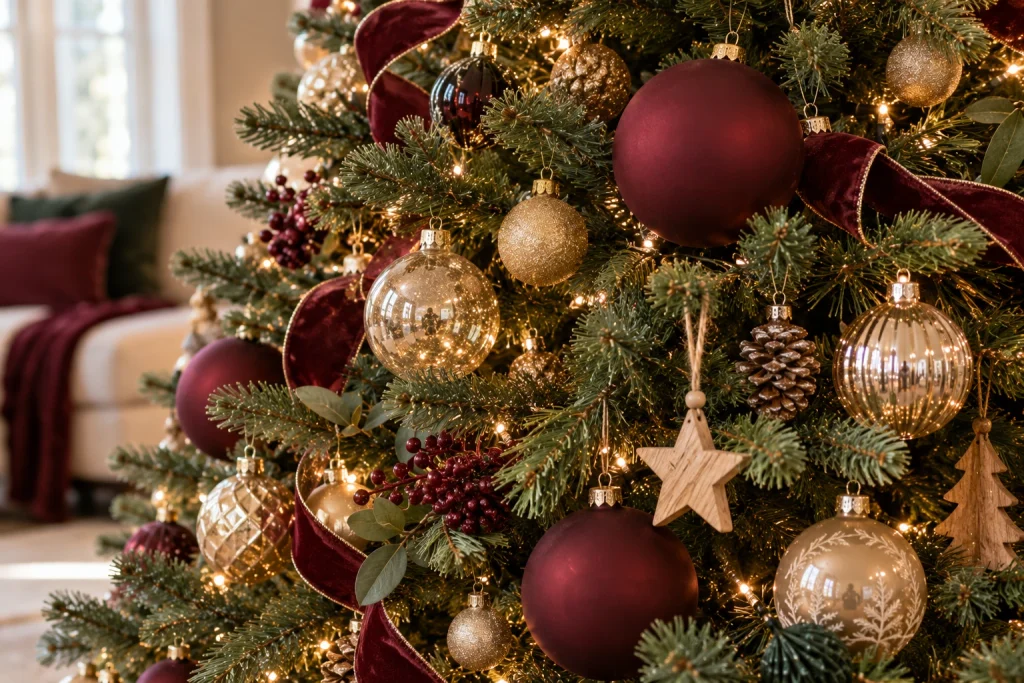
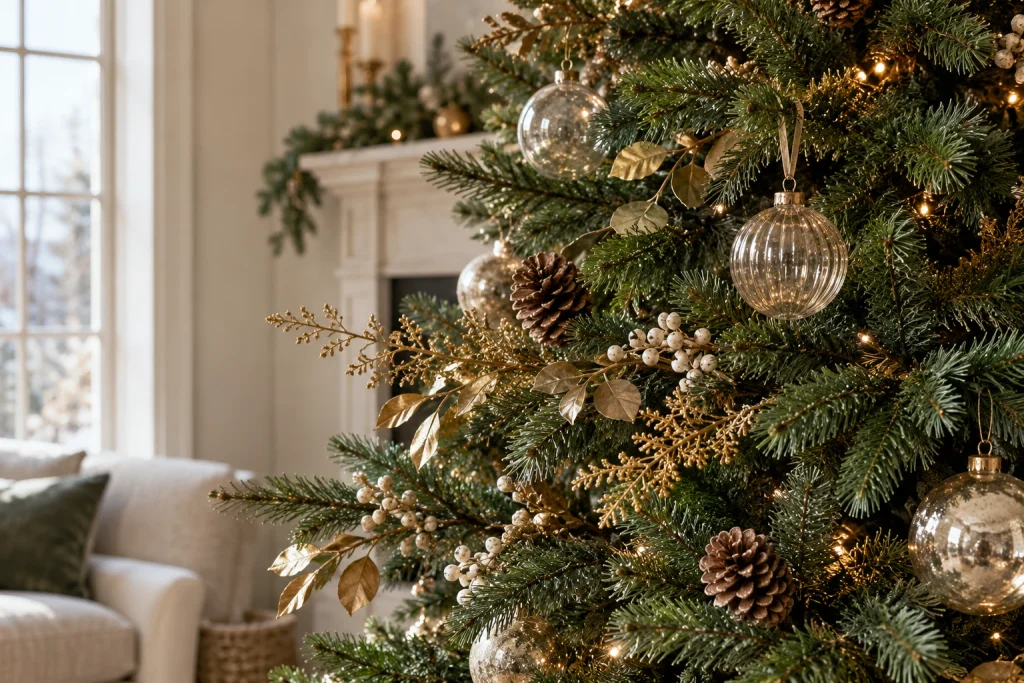
Decorative picks can make a tree look fuller and introduce a different texture without requiring dozens of additional ornaments. Consider faux berry stems, pinecones, small metallic sprays, or foliage that complements the rest of your decor. Choose only one or two types that fit your theme, then place them in small groups around the tree.
Angle some stems slightly outward to soften the outline, but keep the overall shape balanced. Natural textures work particularly well with warm neutral palettes, while metallic sprays can add contrast to a more glamorous design. Avoid placing every accent at the same height or clustering all the larger pieces on one side. A little variation creates a more natural, professionally styled result.
7. Choose a Tree Topper That Fits the Tree
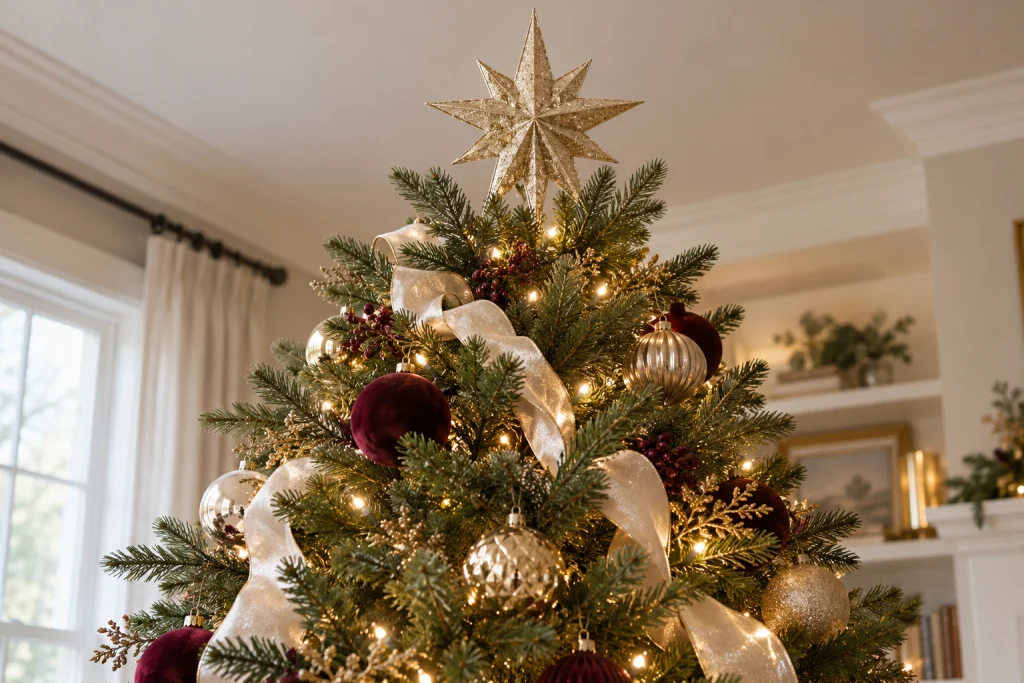
The topper provides a finishing point, so its size and style should complement the tree rather than overpower it. A classic star suits traditional decorating, while a large fabric bow can feel softer and more relaxed. For a minimalist look, choose a simple topper that repeats a material or color already used lower down.
Before attaching it, check the height of the tree and the available space above it. A very large topper can make a short tree feel top heavy, while a tiny topper may disappear on a broad tree. Secure the topper according to its design and the tree manufacturer’s guidance. If needed, adjust the upper branches carefully so the topper sits upright without bending the tree unnaturally.
8. Finish With a Tree Skirt or Decorative Collar
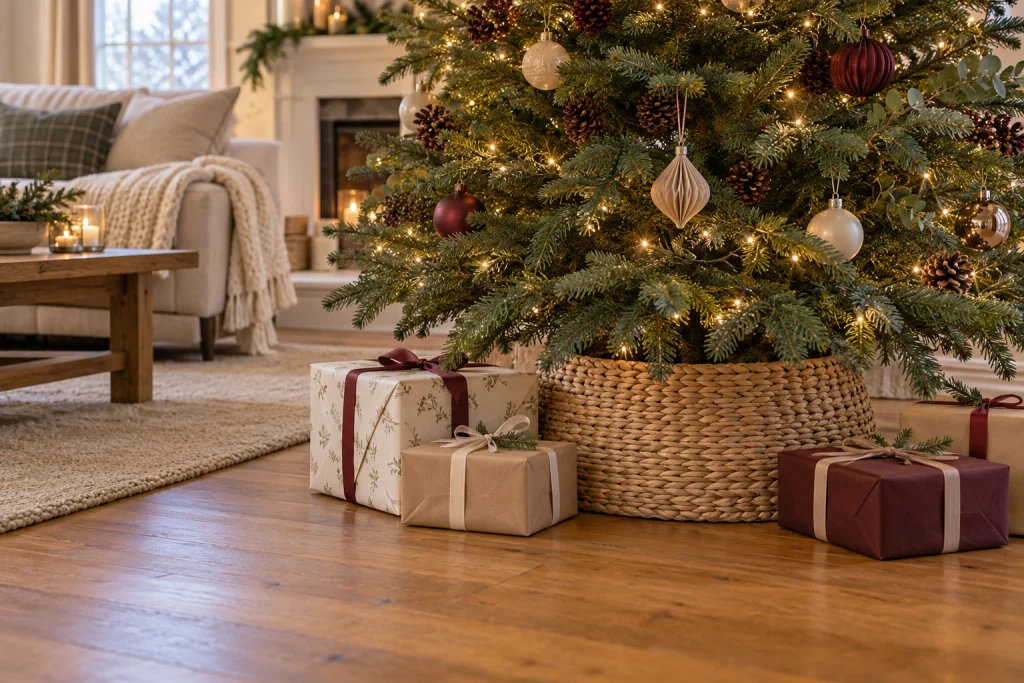
The area beneath the tree is easy to overlook, but a finished base helps the entire arrangement feel complete. A fabric tree skirt creates a soft, traditional look, while a woven basket style collar or simple structured cover can suit rustic and modern interiors. Choose a material and color that complement your tree rather than introducing a completely unrelated accent.
Arrange the skirt evenly around the base and smooth out visible folds. If you plan to place gifts underneath, leave enough room so the presents do not hide the tree’s lower branches or make the area feel crowded. Keep the stand stable and accessible, and make sure the skirt or collar does not interfere with watering a real tree or create a hazard around lights and electrical connections.
How to Make Your Christmas Tree Look Designer Styled on a Budget
You do not need to replace every decoration to improve your tree. Start by reshaping the branches, checking your lights, and grouping existing ornaments by color. Reuse the pieces that fit your theme, and consider adding only one new element, such as a ribbon, a small set of coordinating baubles, or a simple tree collar.
For more affordable seasonal decorating inspiration, explore DIY home decor ideas on a budget. The same principle applies to a Christmas tree: choose materials thoughtfully, repeat a few colors, and avoid buying items that do not contribute to the overall look.
Here are a few more ways to save:
- Reuse what you have. Sentimental ornaments can become the focal points of a new palette.
- Choose one statement element. Ribbon or a distinctive topper can change the look without requiring a complete makeover.
- Mix inexpensive and meaningful pieces. Plain baubles work well alongside handmade and family ornaments.
- Decorate in layers. Correct placement often improves the result more than adding extra decorations.
- Avoid unnecessary matching sets. A balanced mixture of textures can look more personal than a tree filled with identical ornaments.
Christmas Tree Decorating Mistakes to Avoid
Adding ornaments before the lights
Lights are harder to place evenly once the branches are covered. Test them first and weave them through the tree before adding other layers.
Using too many unrelated colors
A variety of colors can be beautiful, but random combinations may feel visually busy. Repeat a small selection of shades throughout the tree to create a sense of cohesion.
Placing every ornament on the branch tips
Ornaments hung only on the outer surface can make a tree look flat. Mix depths by placing suitable ornaments closer to the trunk as well as near the tips.
Overloading the branches
Too many large ornaments, thick garlands, or heavy picks can hide the greenery and pull branches out of shape. Keep the materials balanced and check the support limits of your tree.
Forgetting the surrounding room
A tree should feel connected to the space around it. You can repeat its colors in a nearby throw, a few wrapped gifts, or a seasonal wreath rather than decorating every surface in the room. For another coordinated holiday touch, see this easy DIY Dollar Tree Christmas wreath.
Frequently Asked Questions
What should you put on a Christmas tree first?
Start by shaping the branches and checking the lights. Add the lights before ribbon, garland, and ornaments so each layer can be positioned without having to move decorations out of the way.
How many colors should a designer Christmas tree have?
There is no fixed rule, but two main colors and one optional accent color are a useful starting point. This helps create a cohesive look while leaving room for meaningful ornaments and different textures.
How do you make a Christmas tree look fuller?
Fluff the branches carefully, distribute the lights through the inner and outer branches, and fill visible gaps with appropriately sized ornaments or a few decorative stems. Avoid crowding the tree with so many decorations that the greenery disappears.
Is ribbon necessary for a designer Christmas tree?
No. Ribbon is optional. A tree can look polished with carefully layered ornaments, lights, and natural textures alone. If you use ribbon, choose a style that complements the palette and arrange it loosely rather than pulling it tightly around the tree.
How can I decorate a Christmas tree cheaply?
Reuse your existing decorations, choose a simple color palette, and invest only in the elements that make the biggest difference to your design. Better branch shaping, thoughtful lighting, and balanced ornament placement can improve the look without buying a new collection.
Final Thoughts
Learning how to decorate a Christmas tree like a designer is about following a thoughtful sequence, not spending the most money. Start with the shape of the tree, build a gentle glow with lights, introduce ribbon and ornaments in layers, and finish with a topper and a coordinated base.
Keep the design personal by including favorite family ornaments and using decorations you already own. With a little planning and attention to color, texture, and spacing, you can create a Christmas tree that feels warm, balanced, and beautifully styled in your own home.





2 Comments