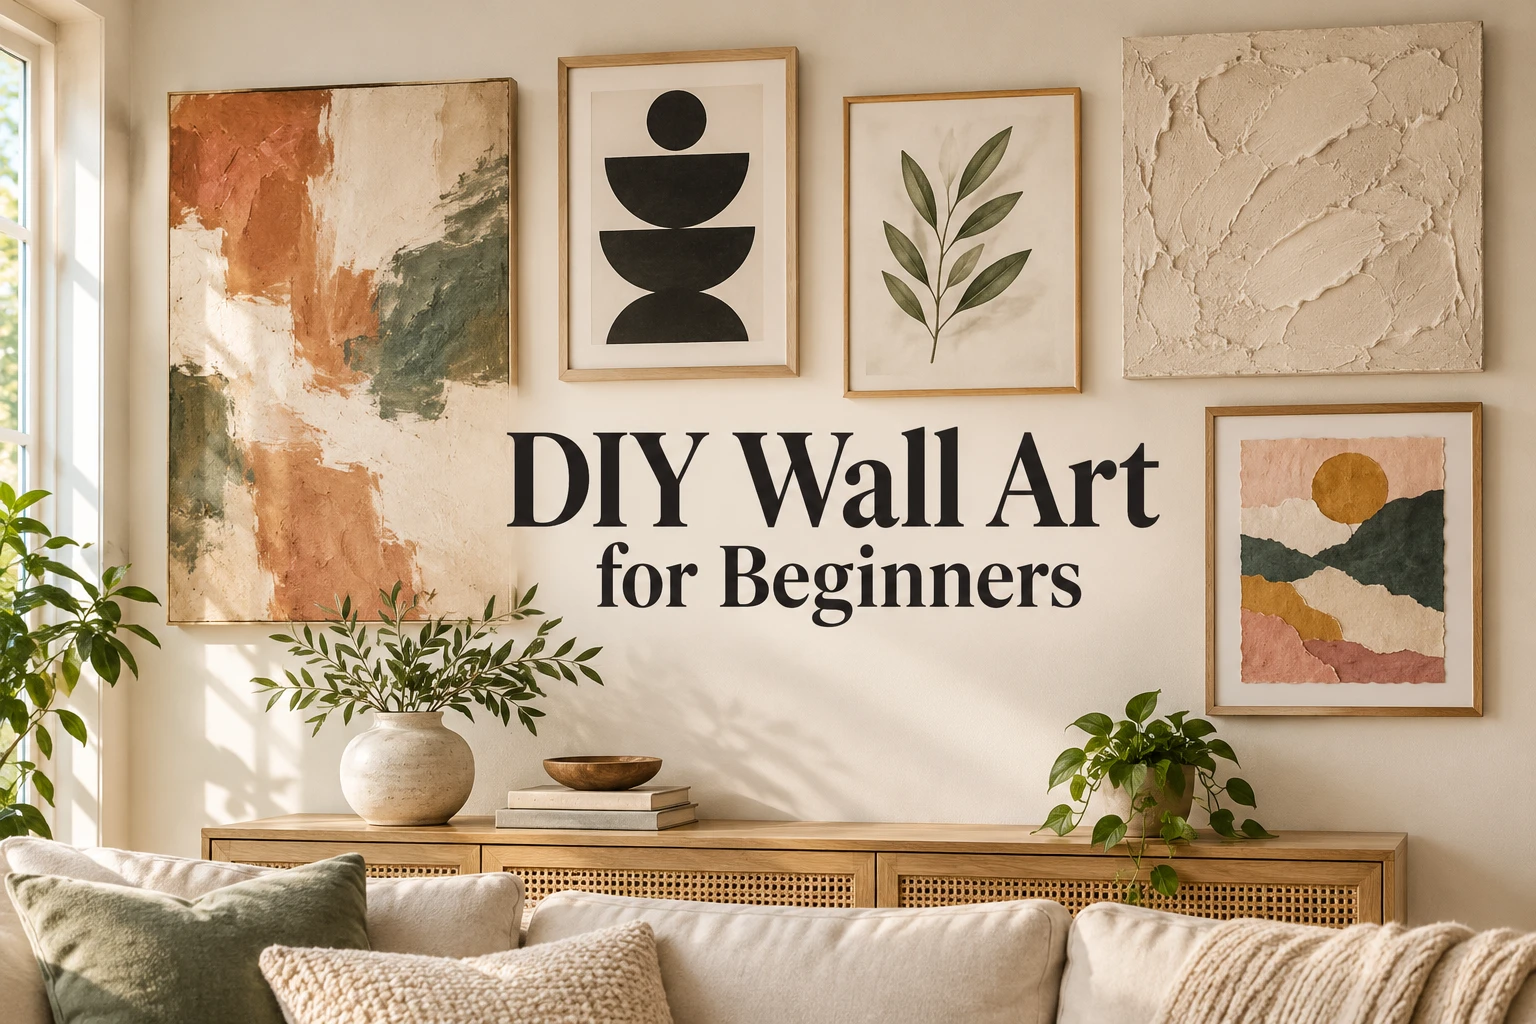
8 DIY Wall Art Ideas for Beginners That Are Easy to Make
DIY wall art for beginners is an easy way to decorate your home without spending a lot on store bought artwork. You can make beautiful wall decor with a blank canvas, leftover fabric, colored paper, acrylic paint, or even leaves collected from your garden. Most of these projects use basic supplies and simple techniques, so you do not need professional painting skills to get started.
The best beginner DIY wall art projects are easy to customize, forgiving when your lines are not perfect, and simple enough to finish without specialized tools. Below, you will find eight different ideas with materials, step by step instructions, and practical tips to help your finished artwork look intentional and fit your home.
What You Need to Make DIY Wall Art
You do not need to purchase a complete art studio to make your first piece. Start with supplies that match the project you want to try.
- Blank canvas, thick art paper, or an inexpensive frame
- Acrylic craft paint and a few paintbrushes
- Pencil, ruler, and painter’s tape
- Scissors and acid free paper for collage projects
- Fabric scraps or wallpaper samples
- Pressed leaves or flowers for botanical art
- Glue suitable for your chosen materials
- Picture frame, hanging hardware, or renter friendly picture strips
Choose supplies after selecting a design. This prevents you from buying materials you may never use. If you are decorating on a tight budget, you can also explore these DIY home decor ideas on a budget for more ways to personalize your space affordably.
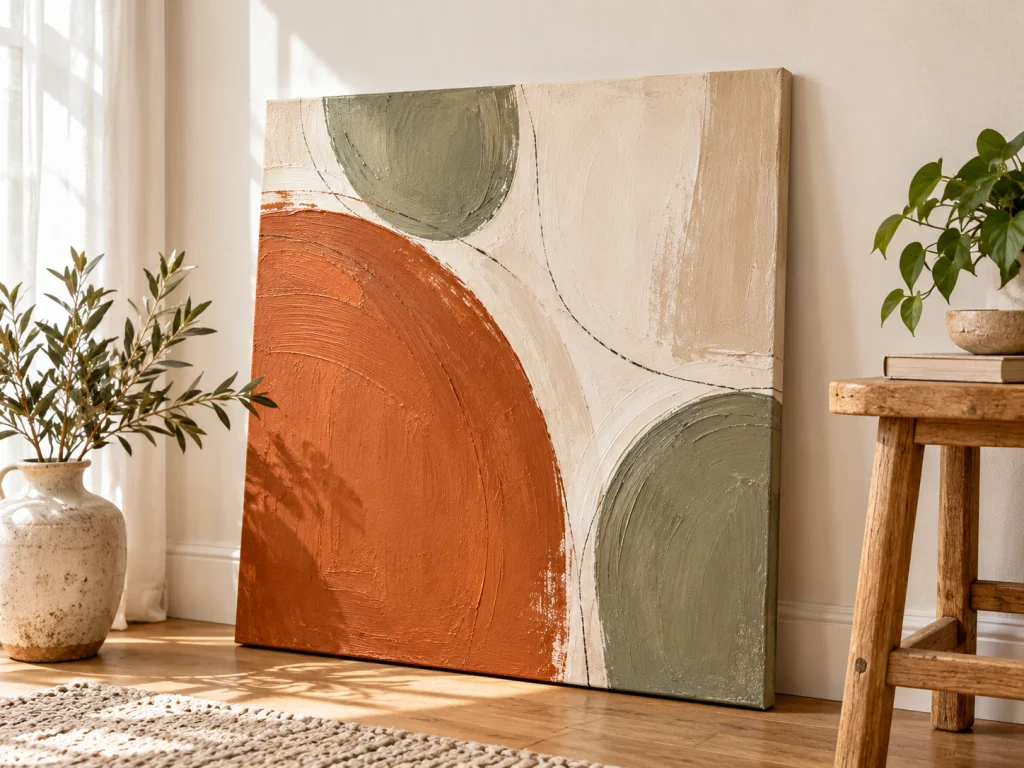
1. Simple Abstract Canvas Art
A simple abstract canvas is a good first project because you do not need drawing skills or perfect lines. Use a few complementary colors, loose brushstrokes, and open space to create artwork that suits your room.
Materials: Blank canvas, acrylic paints, paintbrushes, mixing palette, and water.
How to make it:
- Choose two main colors and one neutral shade.
- Paint a thin background layer if desired and let it dry.
- Add a few large curved shapes and broad brushstrokes.
- Leave some areas uncovered to create visual balance.
- Allow the painting to dry before hanging it.
2. Textured Neutral Wall Art
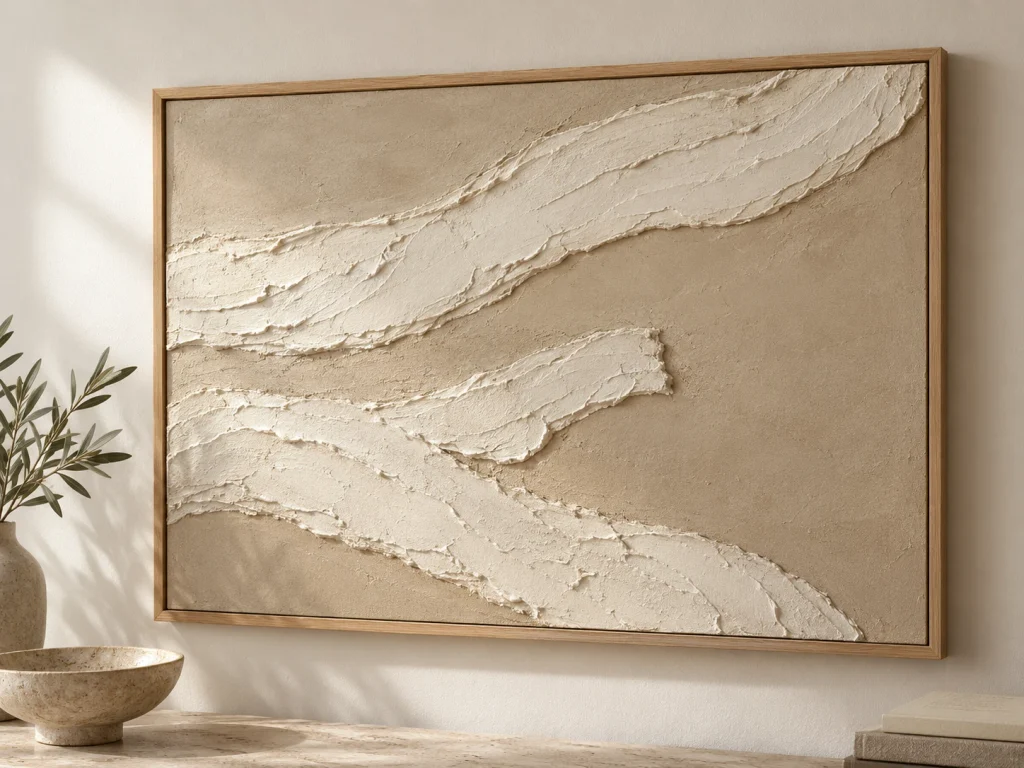
Textured wall art adds depth without requiring drawing skills. Create a few raised lines and organic curves using texture paste designed for art surfaces. Keep some sections smooth so the shadows and raised areas stand out.
Materials: Canvas or rigid art panel, suitable texture paste, palette knife, and optional acrylic paint.
How to make it:
- Protect your work surface and prepare the panel.
- Spread a thin layer of texture paste across selected areas.
- Create sweeping lines with a palette knife.
- Leave a few sections smooth for contrast.
- Let the piece dry according to the product instructions.
3. Geometric Color Block Art
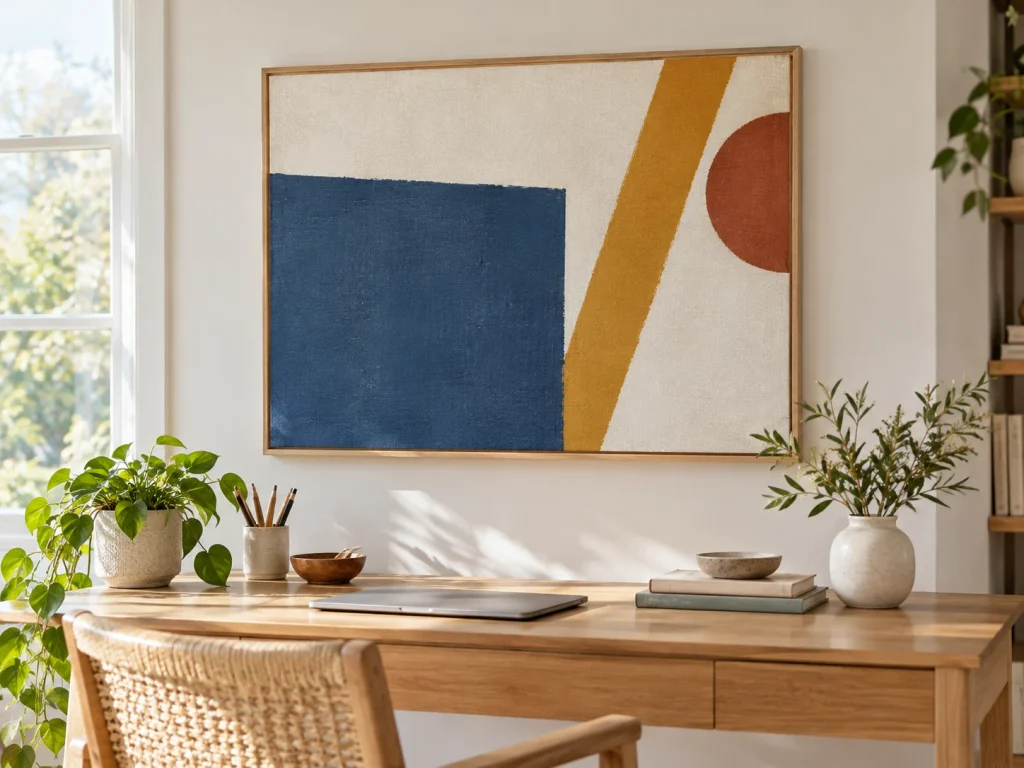
Painter’s tape makes geometric art easier because it helps create defined sections without drawing every line freehand. Use a few shapes and coordinated colors for a clean, modern result.
Materials: Canvas, painter’s tape, acrylic paint, ruler, and pencil.
How to make it:
- Sketch a few large shapes on the canvas.
- Apply painter’s tape along the edges you want to keep crisp.
- Paint each exposed section.
- Let the paint dry sufficiently before carefully removing the tape.
- Touch up any uneven edges with a small brush.
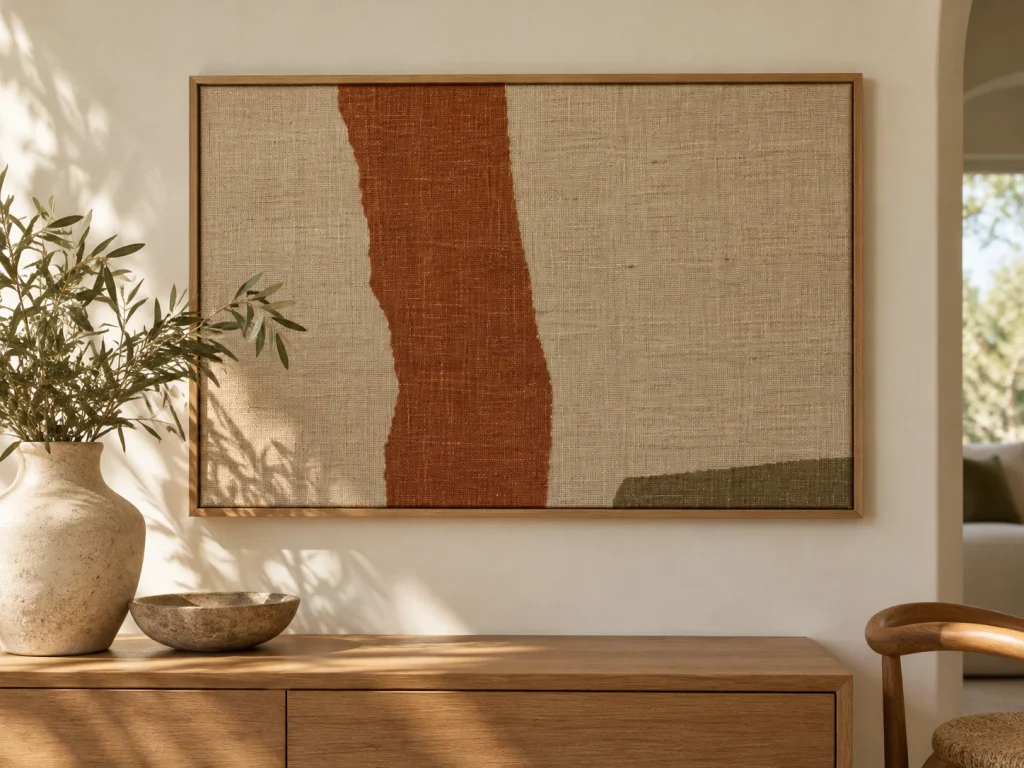
4. Framed Fabric Wall Art
Leftover linen, cotton, or patterned fabric can become attractive wall art without painting. Choose a fabric with an interesting weave or a simple pattern, then stretch it over a backing board and place it in a frame.
Materials: Fabric, picture frame, scissors, measuring tape, and suitable mounting materials.
How to make it:
- Choose fabric with a texture or pattern you like.
- Measure the frame backing and cut the fabric slightly larger.
- Stretch the fabric evenly over the backing.
- Secure the edges neatly at the back.
- Reassemble the frame and check for wrinkles.
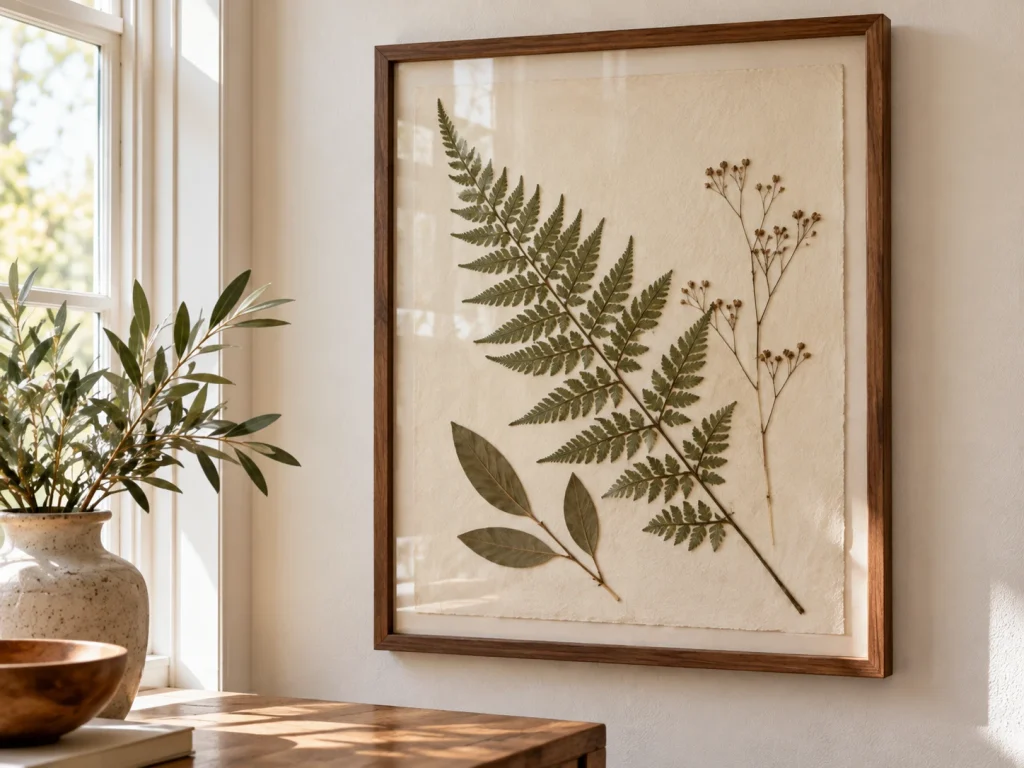
5. Pressed Botanical Wall Art
Pressed leaves and flowers create delicate artwork without paint. Choose a few flat, completely dried leaves and arrange them with plenty of empty space around them for a simple botanical design.
Materials: Pressed leaves or flowers, thick paper, frame, tweezers, and suitable adhesive if needed.
How to make it:
- Arrange the dried leaves on the paper before attaching them.
- Try different positions until the composition feels balanced.
- Keep enough blank space around the botanical pieces.
- Secure the leaves carefully.
- Frame the work and keep it away from moisture and strong direct sunlight.
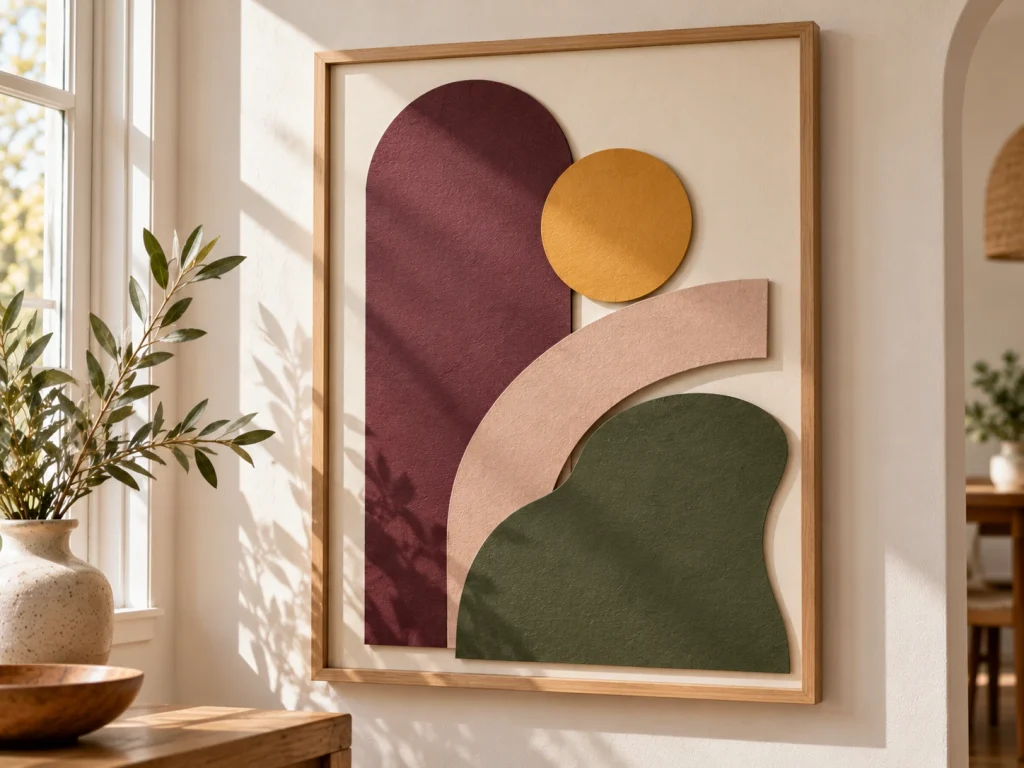
6. Layered Paper Shape Art
Layered paper art is an easy way to create a contemporary design without painting. Thick cardstock holds its shape well, while overlapping pieces add subtle shadows and depth.
Materials: Heavy cardstock, scissors, pencil, ruler, suitable adhesive, and a frame.
How to make it:
- Choose three or four coordinating paper colors.
- Cut out arches, circles, and rounded geometric shapes.
- Arrange the shapes on a backing sheet.
- Take a photograph of your layout before gluing.
- Attach the pieces and place the finished artwork in a frame.
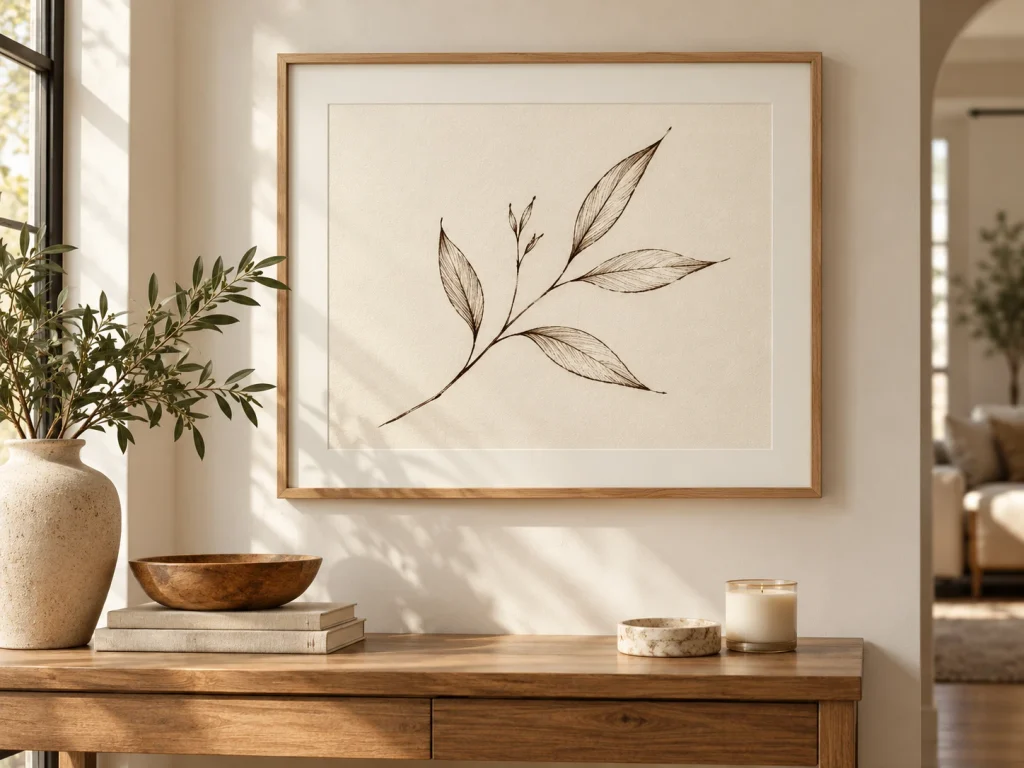
7. Minimalist Botanical Line Art
Minimalist line art is ideal if you prefer simple designs. A stencil or tracing guide can help you create a clean outline without needing advanced drawing skills.
Materials: Thick paper or primed canvas, pencil, stencil, fine marker or paintbrush, and frame.
How to make it:
- Choose one simple botanical or abstract outline.
- Lightly trace the design onto the paper.
- Follow the outline with a fine marker or brush.
- Let the ink or paint dry before removing pencil marks.
- Frame the drawing with a simple border.
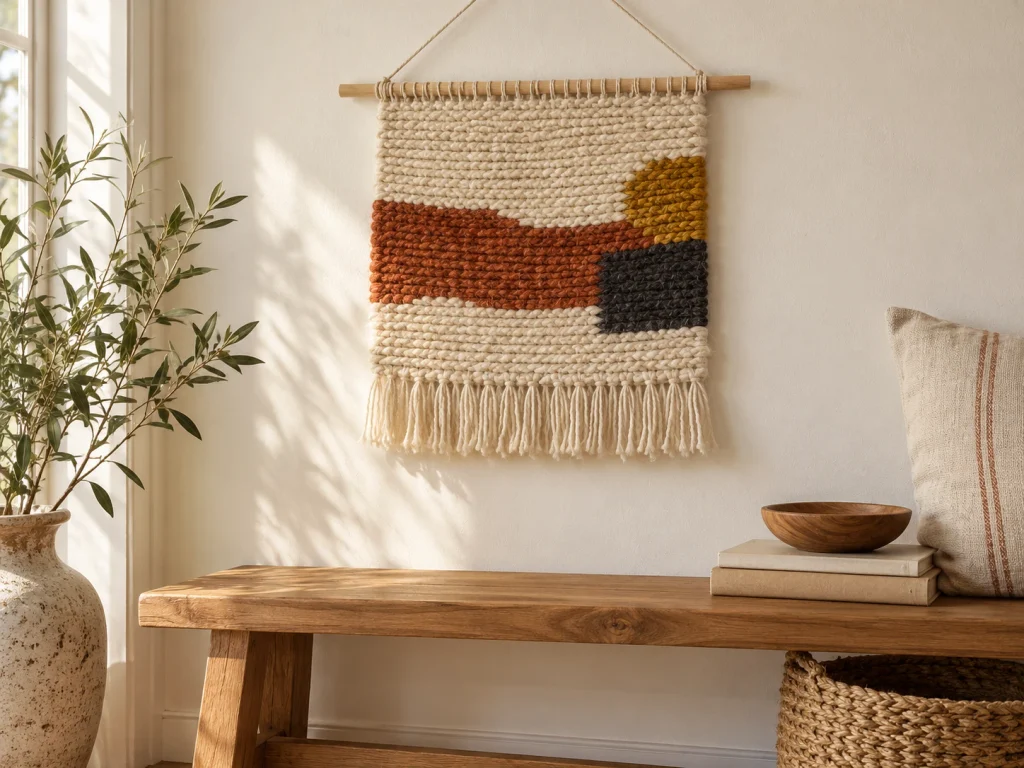
8. Small Woven Yarn Wall Hanging
A small woven yarn hanging adds warmth and texture to a room. You can make a beginner version using cardboard as a simple loom, cotton string, and yarn in a few complementary colors.
Materials: Sturdy cardboard, cotton string, yarn, scissors, and a wooden dowel.
How to make it:
- Cut a rectangle from sturdy cardboard and make small notches along its edges.
- Wrap cotton string vertically to create the warp threads.
- Weave yarn horizontally, alternating over and under the vertical strings.
- Change colors in a few sections to create a simple pattern.
- Secure the yarn and attach the finished piece to a wooden dowel.
How to Finish and Display Your DIY Wall Art
Once you finish your DIY wall art, give it enough time to dry completely before framing or hanging it. Acrylic paint, glue, and other materials may need different drying times, so follow the instructions on the products you use.
Before displaying your artwork, check the edges and corners for loose paper, visible glue, or uneven paint. If you have created a canvas painting, consider adding a simple frame for a more polished appearance. Paper artwork can look beautiful inside an affordable frame, while lightweight fabric art can be displayed using a wooden hanger.
Think about the room where you want to hang your creation. Abstract canvas art can add color to a living room, botanical prints work well in bedrooms, and smaller handmade pieces can brighten an entryway. If you are decorating on a tight budget, coordinate your artwork with items you already own instead of buying an entirely new set of accessories. You can also explore these DIY home decor ideas on a budget for more affordable ways to personalize your space.
Common DIY Wall Art Mistakes to Avoid
Making wall art at home is beginner friendly, but a few simple mistakes can affect the final result. Keep these tips in mind while working on your project.
Using too many colors: A design can look cluttered when too many shades compete for attention. Start with two or three complementary colors, then add another shade only if the design needs it.
Skipping the layout stage: Before painting or gluing anything permanently, arrange your materials and lightly sketch your design. This is especially helpful for geometric patterns, gallery walls, and symmetrical artwork.
Applying too much paint or glue: Thick layers may create uneven textures, visible brush marks, or longer drying times. Build up thin layers gradually and allow each layer to dry when needed.
Choosing the wrong size: Very small artwork can disappear on a large empty wall, while oversized pieces may overwhelm a compact room. Measure your available wall space before choosing a canvas or frame.
Hanging artwork before it is ready: Make sure the paint and adhesive have dried completely. Use suitable hanging hardware for the artwork’s weight and your wall type.
Frequently Asked Questions
What is the easiest DIY wall art for beginners?
Abstract canvas art is one of the easiest options because it does not require precise drawing skills. You can experiment with simple brushstrokes, shapes, or a limited color palette. Framed botanical prints and geometric paper art are also good choices if you prefer a project that involves less painting.
Can I make wall art without a canvas?
Yes. You can use thick paper, cardboard, fabric, reclaimed wood, or an existing frame. Choose materials that are sturdy enough for your design, and protect paper or fabric artwork from moisture and direct sunlight where appropriate.
What supplies do I need to make DIY wall art?
Basic supplies may include paper or canvas, acrylic paints, paintbrushes, pencils, a ruler, scissors, and craft glue. The exact materials depend on the design. Start with supplies you already have at home and purchase only what your chosen project requires.
How can I make inexpensive wall art look more expensive?
Keep the design simple, use a coordinated color palette, and pay attention to clean edges and balanced spacing. A plain frame, consistent finishes, and thoughtful placement can make inexpensive artwork look more polished without adding much to the cost.
How do I choose wall art colors for my room?
Start with two or three colors already present in your room, such as those in your cushions, rug, curtains, or bedding. You can repeat one of these shades in your artwork to create a coordinated look. For a neutral room, a small amount of a contrasting color can add interest without overwhelming the space.
Final Thoughts
Creating DIY wall art is an easy way to make your home feel more personal without spending a lot on store bought decorations. Whether you prefer abstract painting, simple geometric designs, botanical prints, or textured artwork, start with a project that matches your available time, materials, and skill level.
You do not need professional painting skills to create something beautiful. Focus on a simple design, work patiently, and give yourself room to experiment. Once you finish your first piece, you can try different colors, textures, and materials to build a collection that reflects your style.
If you are ready to decorate more of your home, explore these budget friendly DIY home decor ideas for more creative projects that help your space feel welcoming and uniquely yours.


One Comment