Curly Braided Hairstyles for Busy Moms: 10 Easy Looks in 10 Minutes
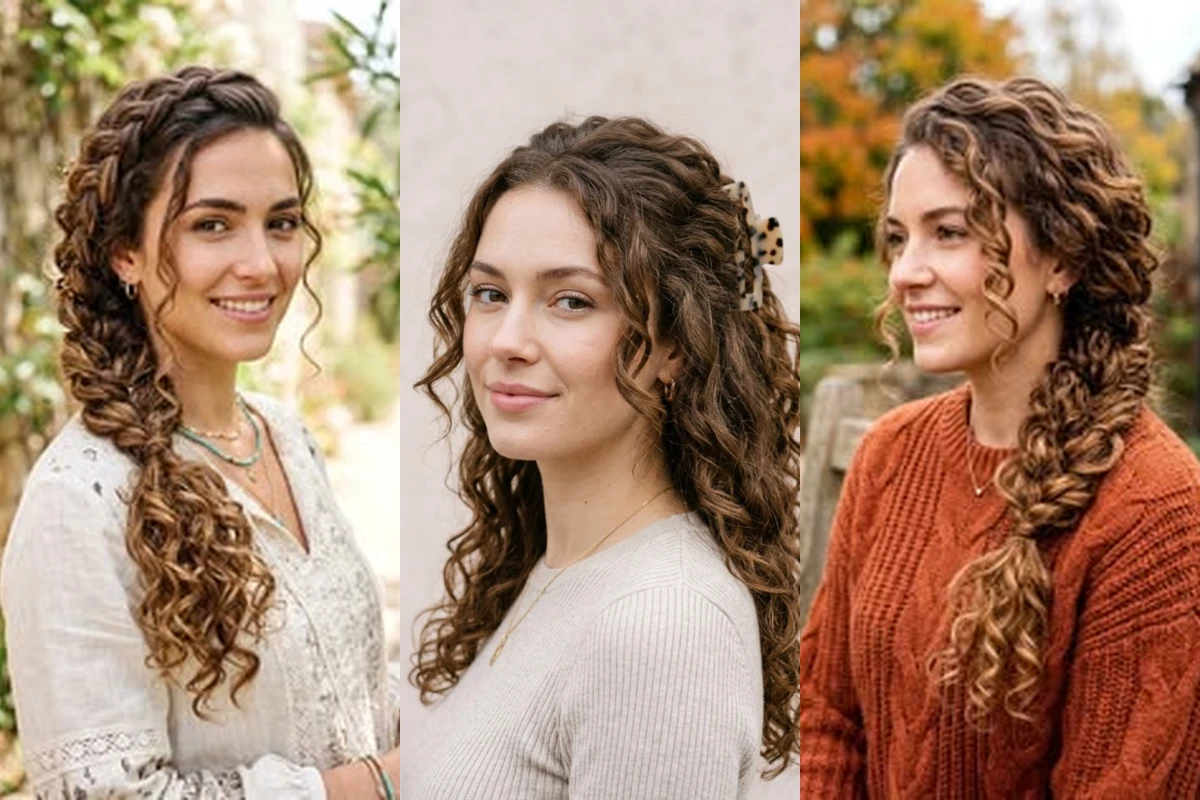
Finding curly braided hairstyles for busy moms that actually work on a real morning is harder than it should be. Most braid lists are written for straight hair, or they show styles that take half an hour and a second pair of hands. This list is different. Every look here takes 10 minutes or less, works with your natural curls instead of against them, and needs nothing more than a brush, a few hair ties, and bobby pins.
The 10 styles below are grouped by your day, so you can pick in seconds. School run looks are fast and neat. Work looks are polished enough for a meeting. Workout looks stay put through a class. Evening looks add a little polish when the day is done. If you only have 5 minutes, start with our 7 easy curly braids for busy moms instead. These 10 are for the mornings when you have a few extra minutes and want a little more polish.
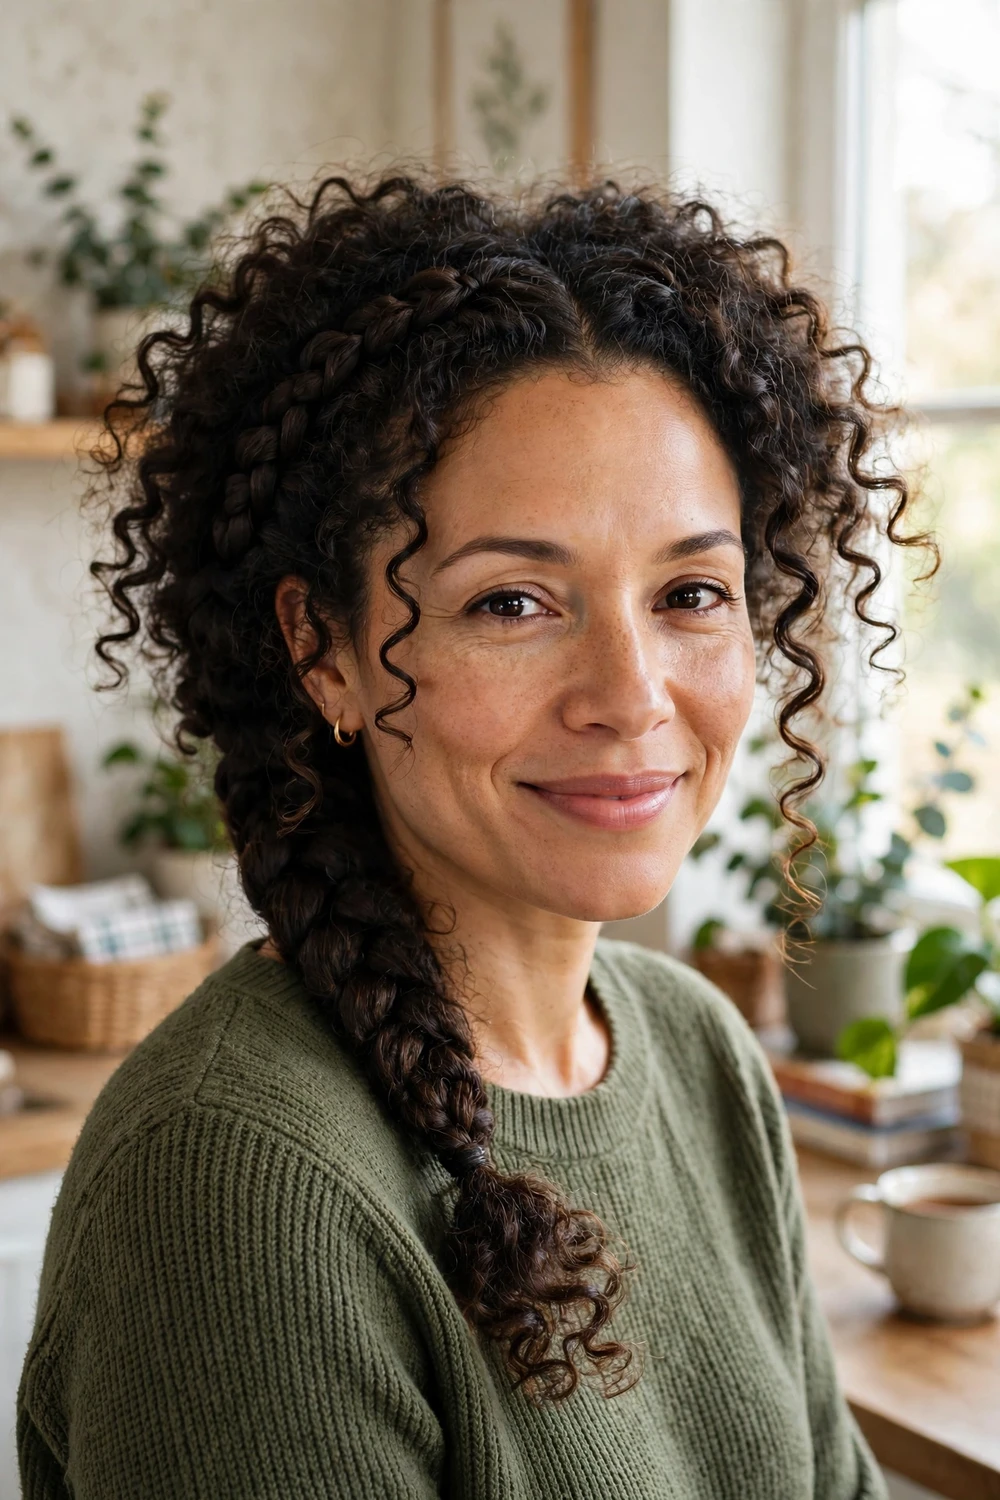
Before You Start: 2 Minutes of Prep
Braids hold best on curls that are lightly damp and detangled. Work a little leave in conditioner and curl cream through the lengths, detangle gently from the ends up, and keep a spray bottle nearby for any dry spots. That is the whole prep routine. For the full version, including the tools that make braiding faster, see our guide to 7 easy curly braids for busy moms.
How to Pick the Right Braid for Your Morning
Think about where the day is taking you. A school run needs a style that survives the car, the playground, and the wind. A work day needs something neat from the front, since that is what people see in a meeting. A workout needs everything pinned tight. An evening out can handle a looser, softer braid. The four groups below follow that order, so find your moment and start there. One more thing to keep in mind. Every braid in this list works on second day curls, and most of them work better that way. Freshly washed curls are soft and slippery, while second day curls have grip. If your hair is freshly washed, work in a little curl cream first and let it dry for a few minutes before you braid.
For the School Run
These three are quick, neat, and strong enough to last until pickup.
1. Classic French Braid
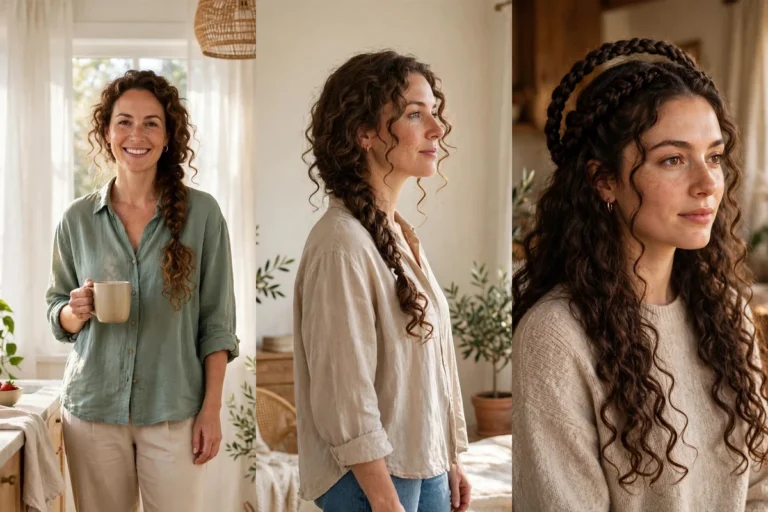
The classic French braid is the most useful braid a curly haired mom can learn. It gathers all the curls into one neat plait down the back, so nothing falls into your face while you drive, carry bags, or chase a toddler. Start at the crown with a small section, add hair from each side as you cross under, and keep the tension even so the braid sits smooth. On curly hair, the braid looks fuller and softer than on straight hair, which is a gift. Secure the end with a hair tie and tug the edges gently for a little volume. It takes about 8 minutes once your hands know the pattern. Thick hair can make the braid heavy, so keep the sections small and the tension light. If the braid slips at the nape, add a small clear elastic halfway down and keep going. The elastic disappears inside the braid and holds everything in place. Second day curls are ideal for this style, since the hair has more grip than freshly washed hair.
2. Braided High Ponytail
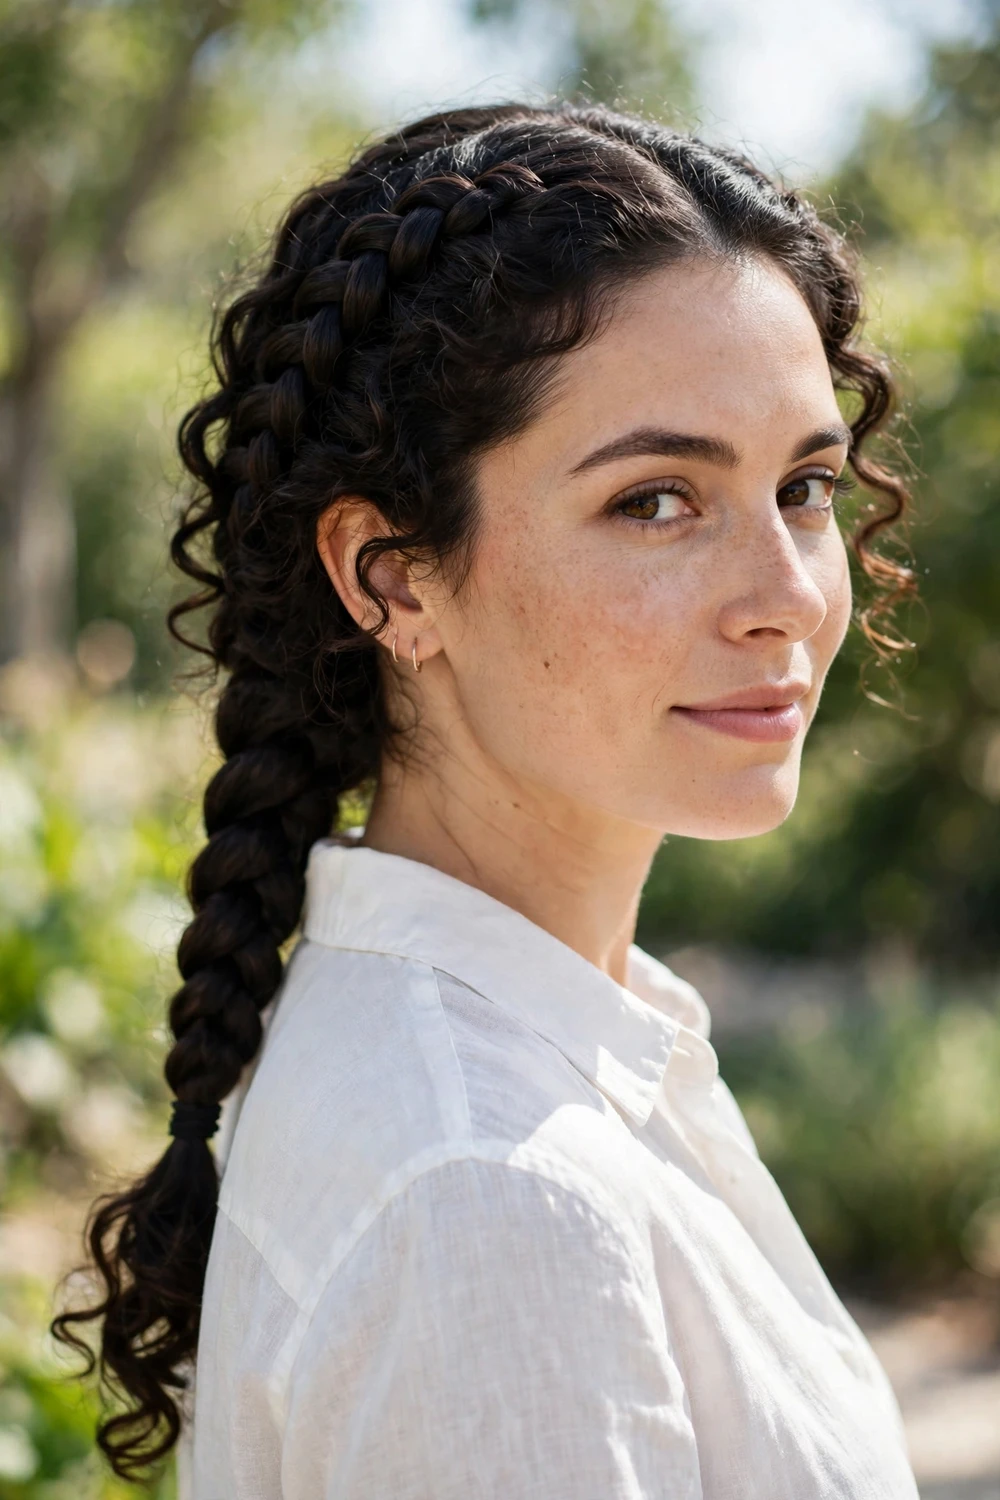
Gather the curls into a high ponytail first, then braid the length of the ponytail. This is the fastest way to get a polished braid, because the ponytail does the gathering work for you. It keeps the curls off your neck on a warm morning, and it holds through the school run, the grocery run, and everything after. Wrap a small strand around the hair tie to hide it, and pin the end flat so it does not bounce. It takes about 7 minutes, and it looks far more put together than the effort suggests. If your ponytail is long, braid it in two sections and join them at the end for a neater finish. Shorter curls can stop the braid halfway and leave the ends loose, which looks soft and intentional. A little curl cream on the ends keeps the braid from frizzing as the day goes on.
3. Braided Headband with Curls Down
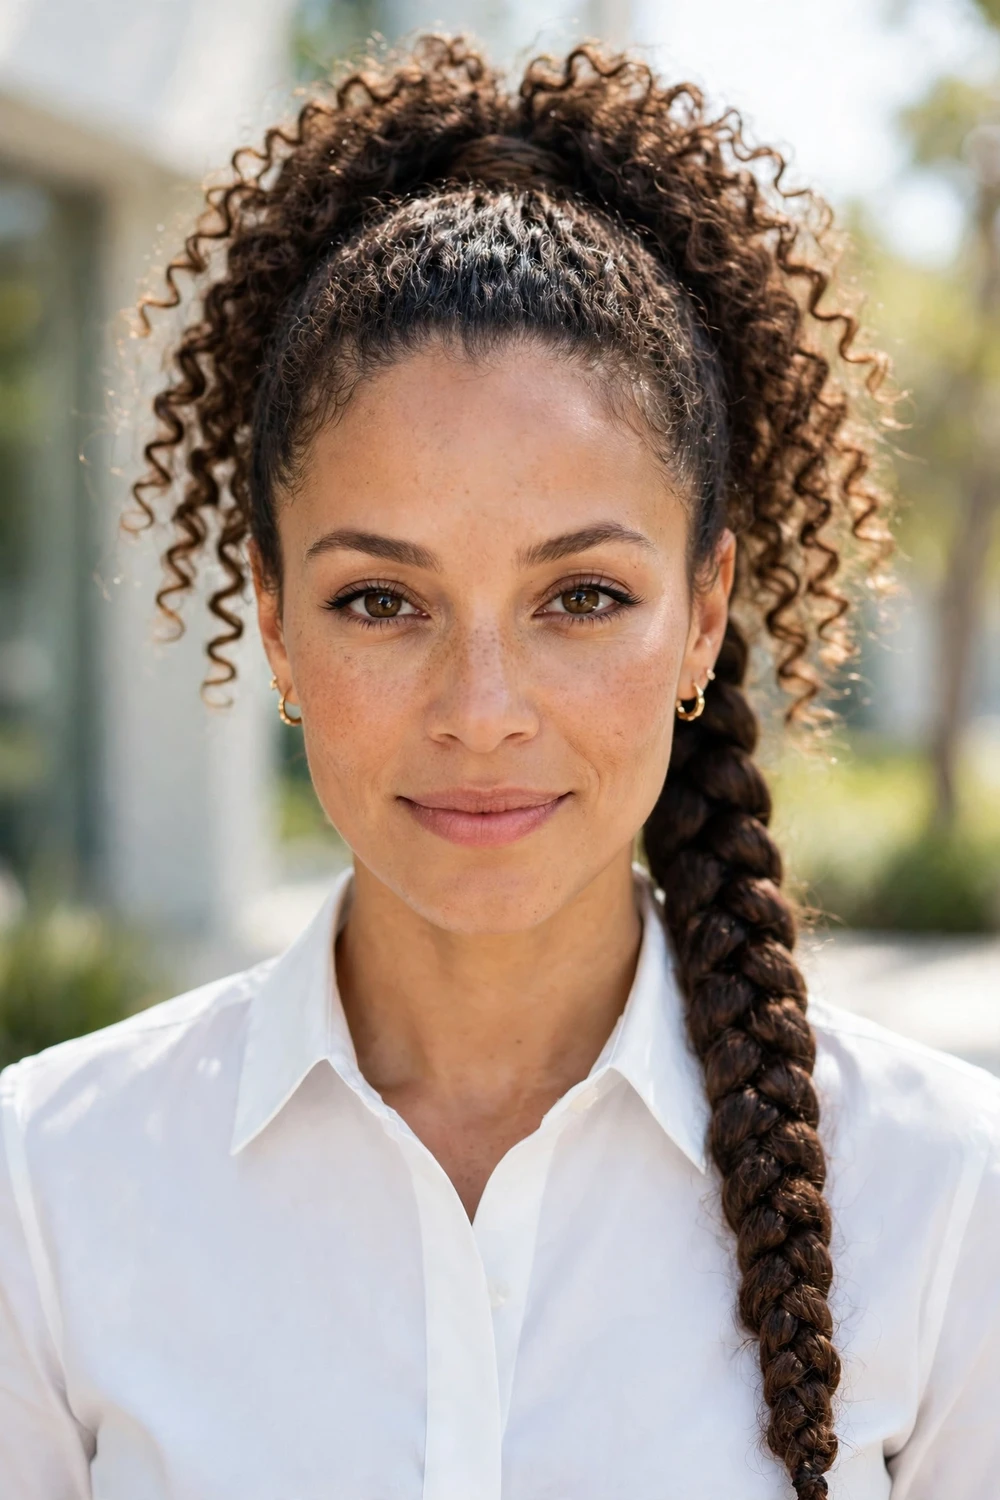
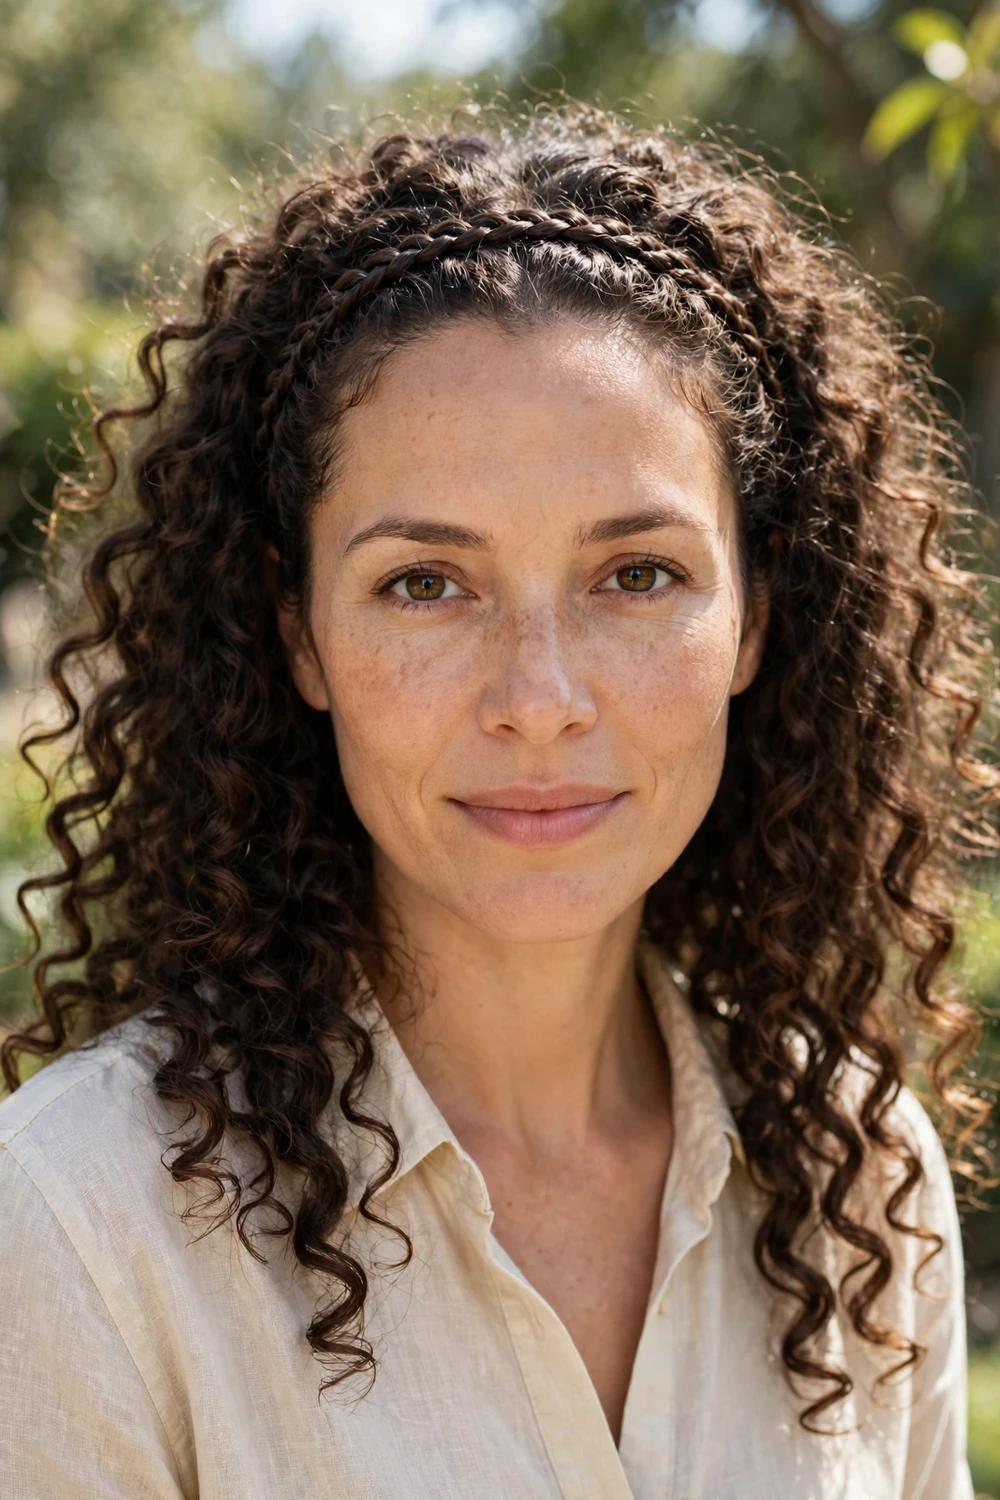
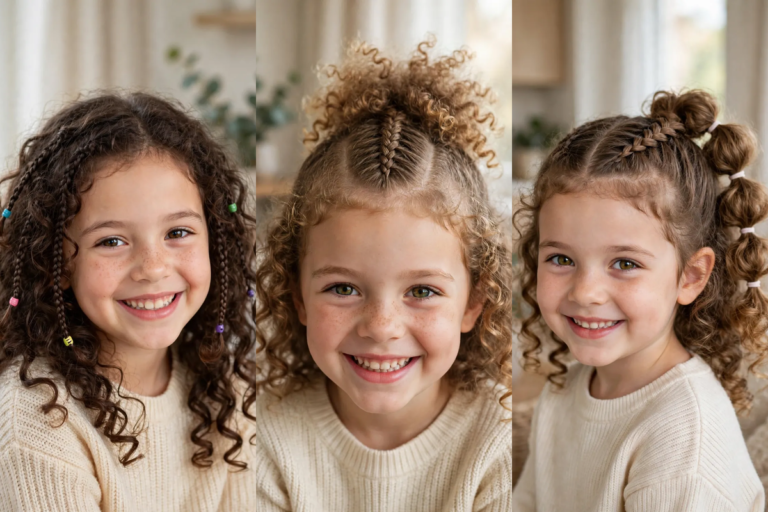
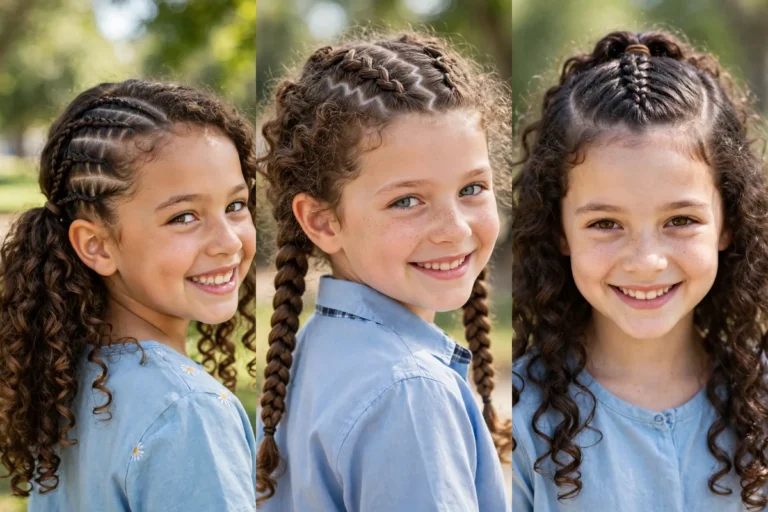
Take a section from one side of your hairline, braid it across the front, and pin it behind the opposite ear. The rest of your curls stay loose and free. This is the fastest polished look in the whole list, at about 6 minutes, and it solves the one problem every curly haired mom knows: curls falling into your face while you are trying to get out of the door. It works on second day curls too, since the braid hides any flatness at the front. If your daughter needs a school style of her own, our 12 easy hairstyles for long curly hair for school has plenty to choose from. Pin the braid flat against the head so it does not lift during the day. Two bobby pins crossed over each other hold better than one. If the braid feels tight, tug the edges gently to loosen it. The goal is a headband that looks like part of your hair, not a separate piece.
For Work Days
These three look neat from the front, which is what people see in a meeting or on a video call.
4. Dutch Braid
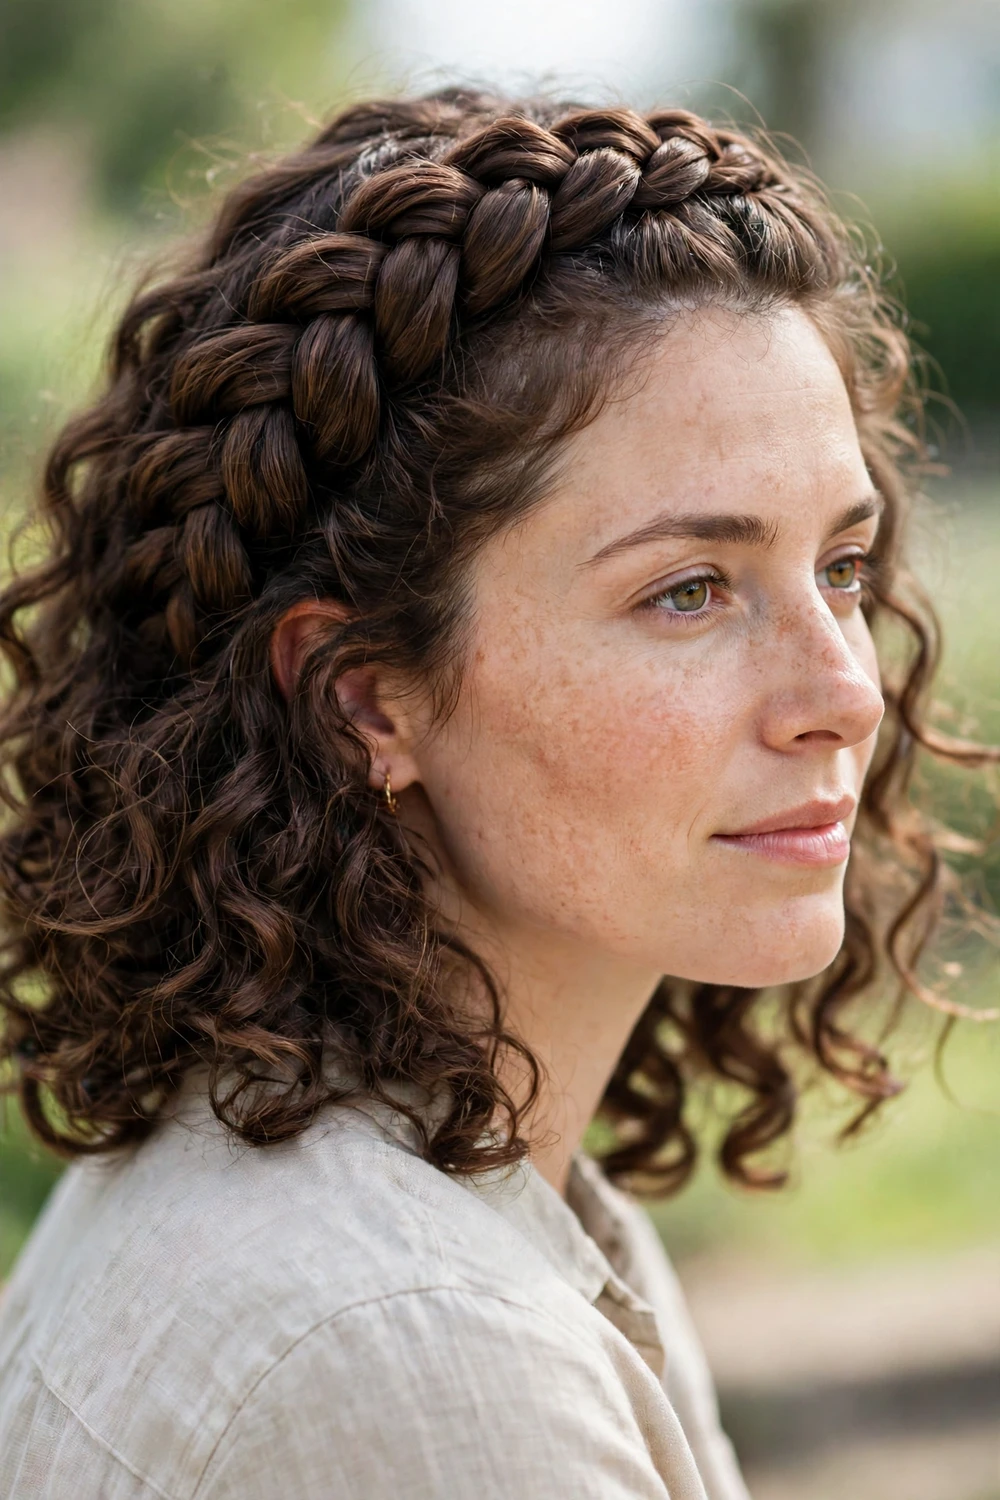
The Dutch braid is a French braid worked inside out, and on curly hair that small change makes a big difference. The braid sits on top of the curls instead of sinking into them, so it looks fuller and bolder than a French braid. Start the same way, with a section at the crown, but cross each strand under the middle one instead of over it. That one change pushes the braid outward, where everyone can see it. Keep the sections neat and the tension even, and finish with a hair tie at the nape or let the braid run to the ends. It takes about 9 minutes, and it reads as a deliberate, finished style rather than a quick fix. The Dutch braid shows best on hair with some length, since the braid needs room to sit on top of the curls. If your hair is on the shorter side, stop the braid at the nape and pin the tail under for a shorter, neater finish. A light mist of water before you start helps the sections stay smooth while you cross them under.
5. Double French Braids into a Low Ponytail
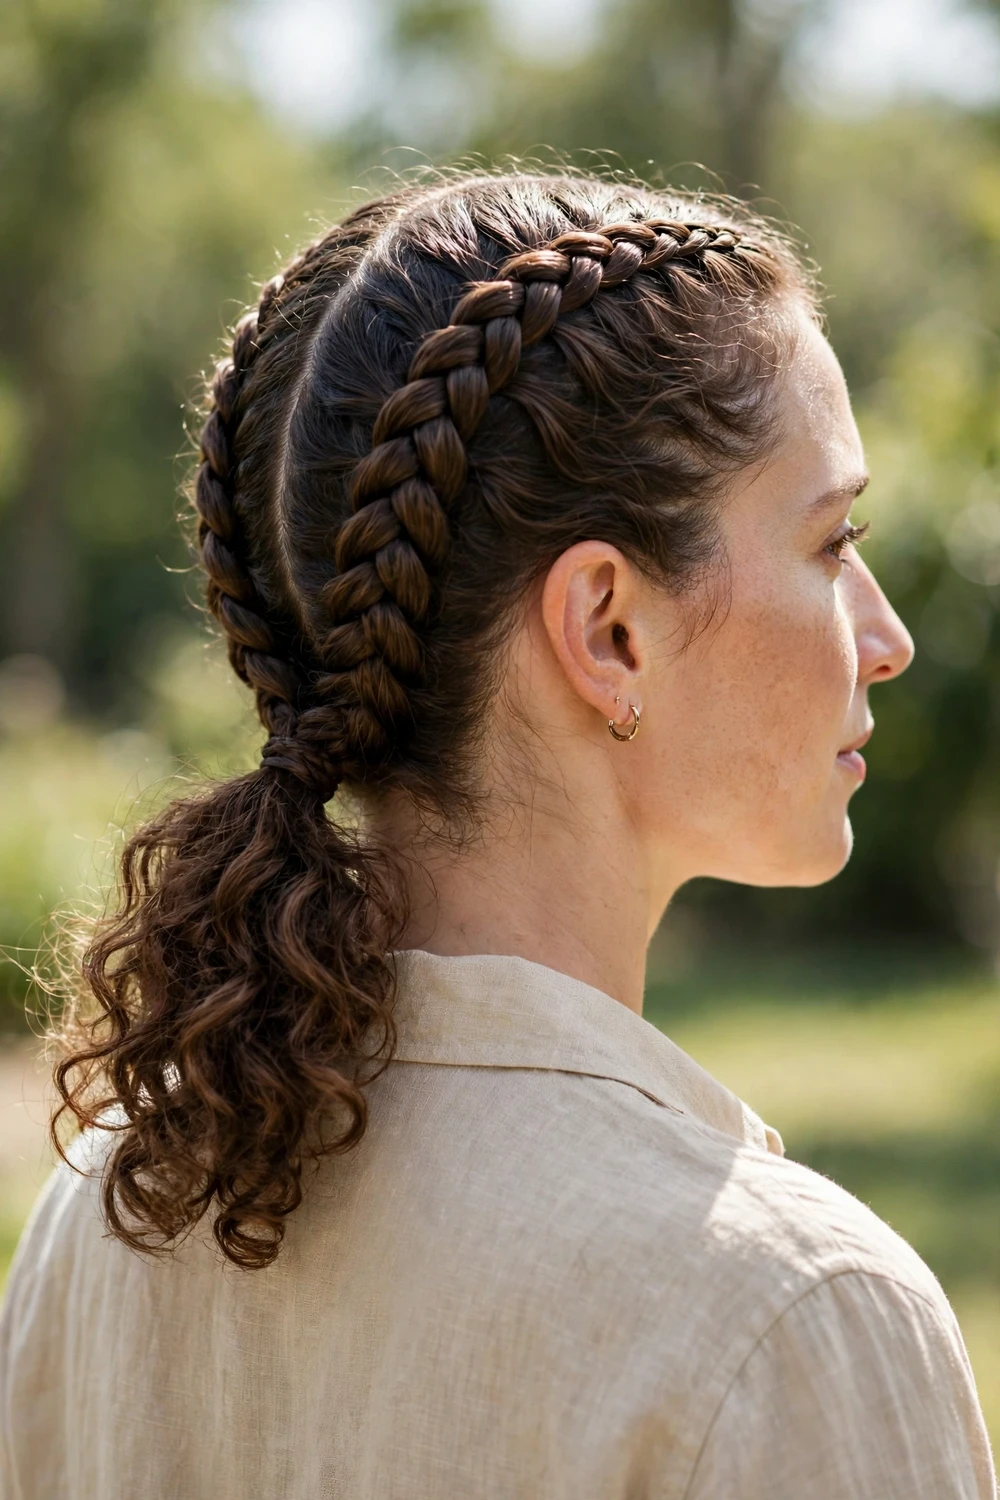
Part the hair down the middle and French braid each side toward the nape, then join both braids into one low ponytail. The two braids frame the head and keep every curl contained, while the low ponytail keeps the finish soft and professional. This is not the same as two loose braids worn down the back. Joining them into a ponytail is what makes the look neat from every angle, and it is what keeps it comfortable under a bag strap or a coat collar. It takes about 10 minutes, and it is one of the most reliable work looks on this list. Take time with the centre part, since it is the first thing people notice. A straight part makes the two braids look even, while a slightly off centre part looks softer. If one side feels looser than the other, redo that side only. The ponytail at the end hides any small unevenness at the nape.
6. Braided Top Knot
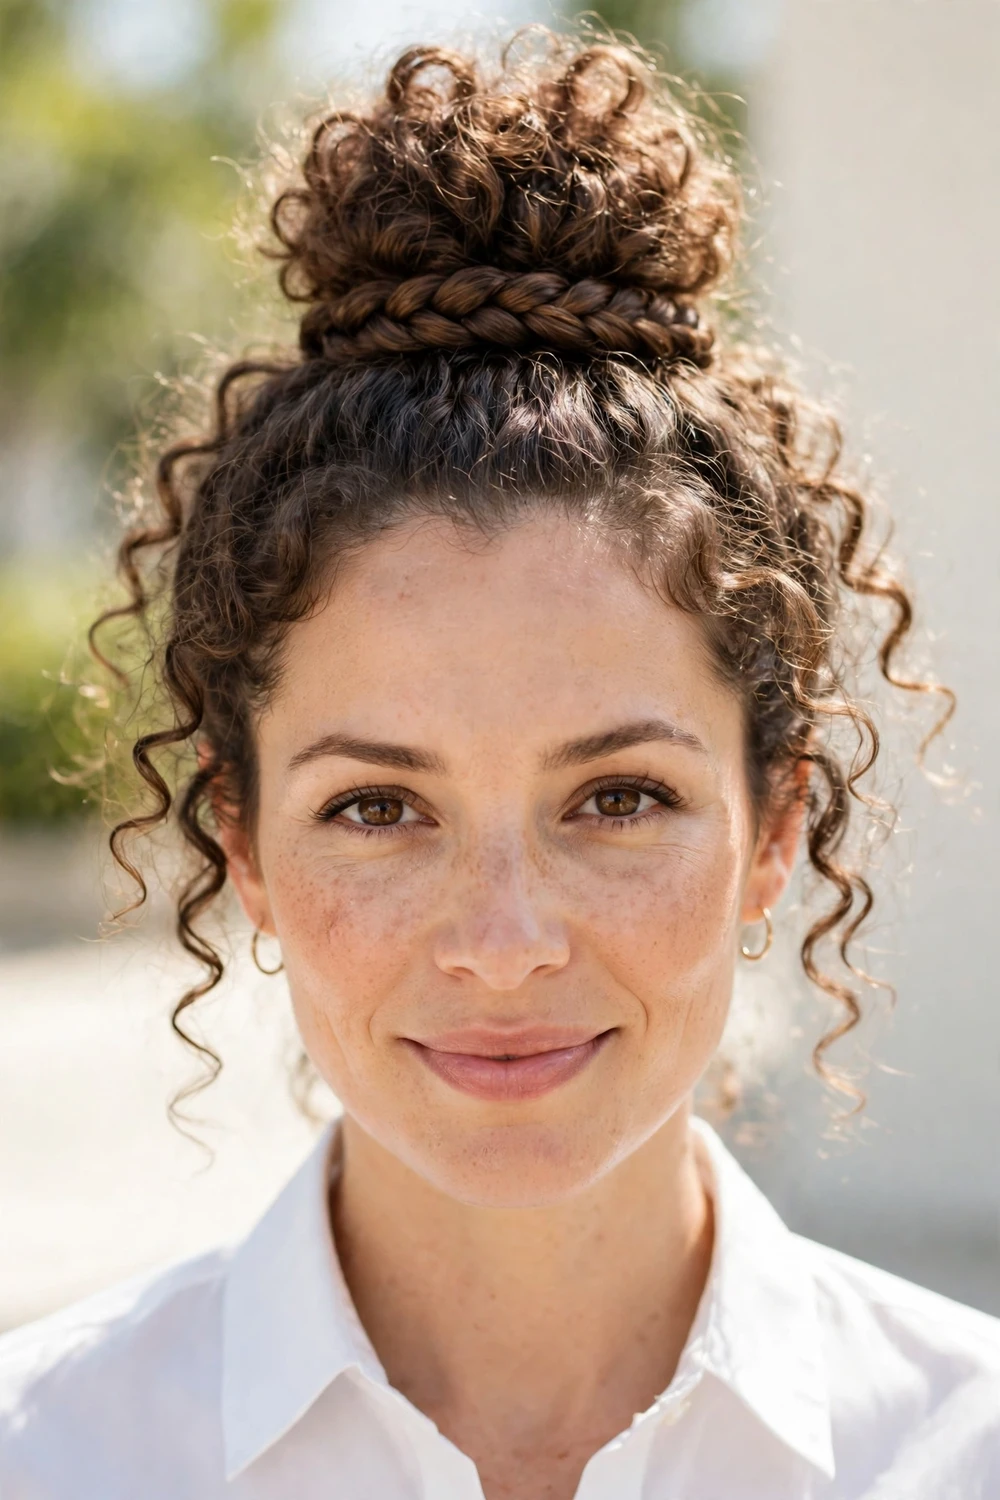
Gather the curls into a high bun, then wrap a braid around its base and pin it in place. The braid is the detail that lifts a plain top knot into a real style, and it is also what makes the bun hold all day. It takes about 8 minutes, and it works best on hair that is already a day or two past wash day, when the curls have a little grip. Fine hair can struggle to hold a top knot, so backcomb the ponytail gently before you twist it into a bun. The extra texture gives the pins something to grip. Wrap the braid snugly around the base and pin it at four points, like the hours on a clock, so the weight is spread evenly. If you have seen a messy top bun before, this is the polished version of it: the school article’s messy top bun is unbraided, while this one is braid wrapped, which is exactly why it stays put.
For Workouts and Active Days
These two are built to stay put. Nothing slips, nothing bounces into your eyes.
7. Side French Braid into a Messy Bun
French braid along one side of the head, from the hairline to behind the ear, then sweep the rest of the curls up into a bun. The side braid does the hard work of keeping the front neat, so the bun can be as relaxed as you like. It takes about 10 minutes, and it survives a workout, a walk, and a windy afternoon without needing a single fix. Pull out a few face framing curls at the end if you want a softer finish. This style is forgiving, which is why it works so well on a busy morning. If the side braid goes a little crooked, the bun covers the end of it, and nobody will ever know. Keep the bun loose and let a few curls escape at the nape. The relaxed finish is the whole point.

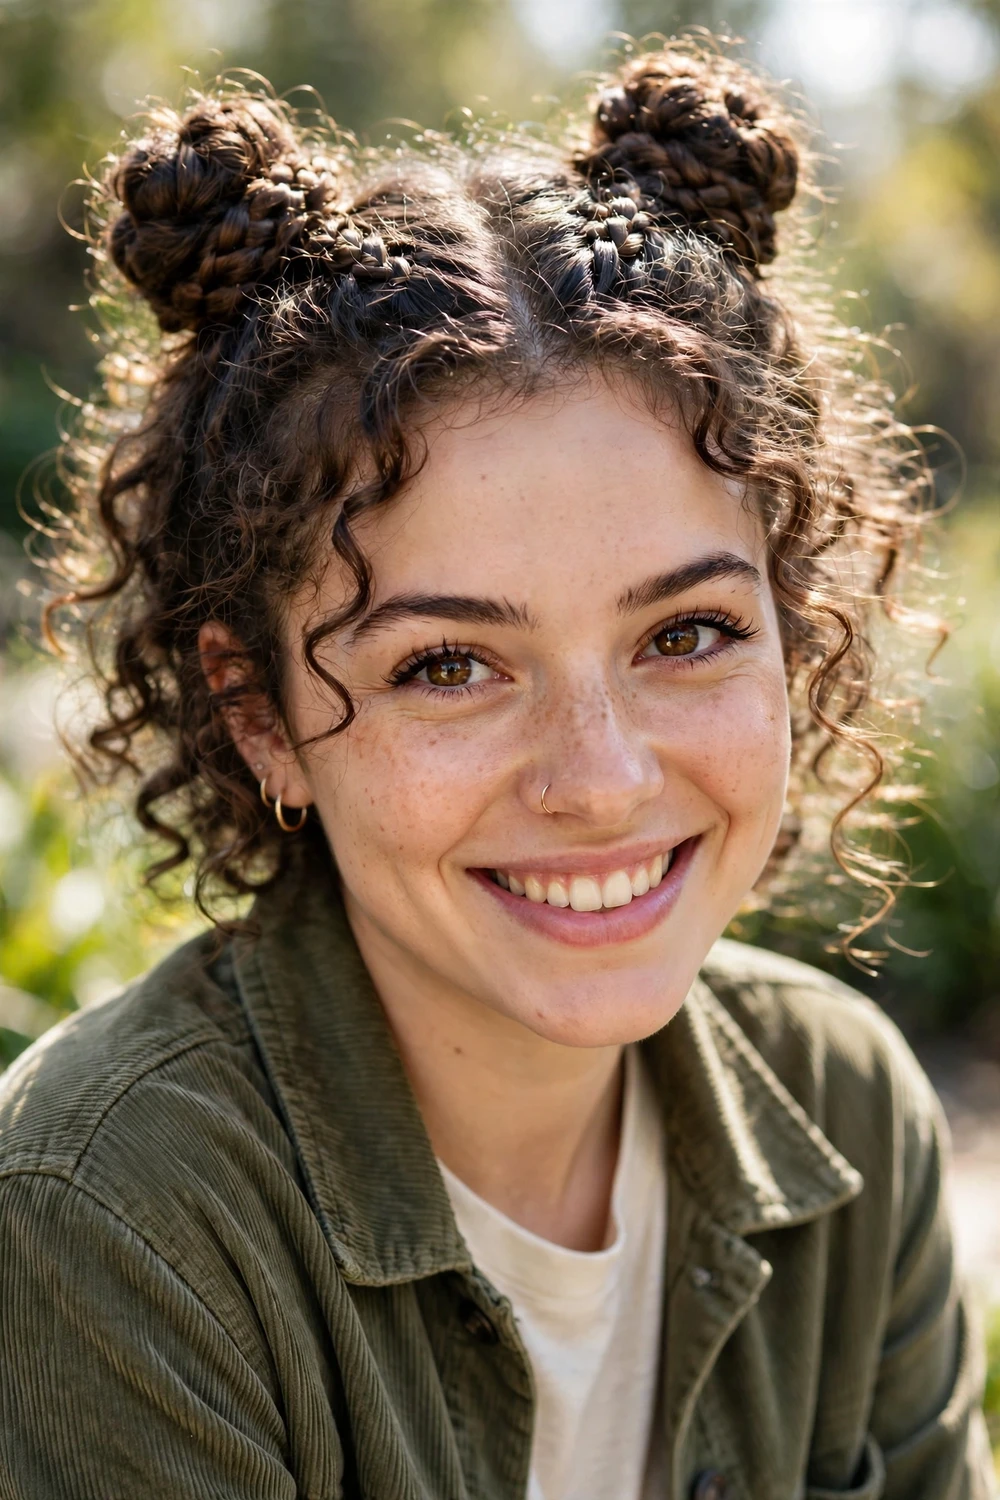
8. Braided Space Buns
Part the hair down the middle, braid each side from the crown upward, then coil each braid into a bun on top of the head. These are fully braided buns, which is what sets them apart from the half up space buns in our school article. Those are unbraided and half up, while these are braided all the way through and pinned tight, so they do not move. It takes about 9 minutes, and the result is playful but secure, which is a rare combination on a busy day. Thick hair makes big buns, so use a strong hair tie for each ponytail before you braid. If the buns feel heavy, pin them a little lower on the head, closer to the ears, which spreads the weight better. A few face framing curls left out at the front soften the look.
For Evenings
These two take the same 10 minutes but feel a little dressier, for dinners, gatherings, and nights out.
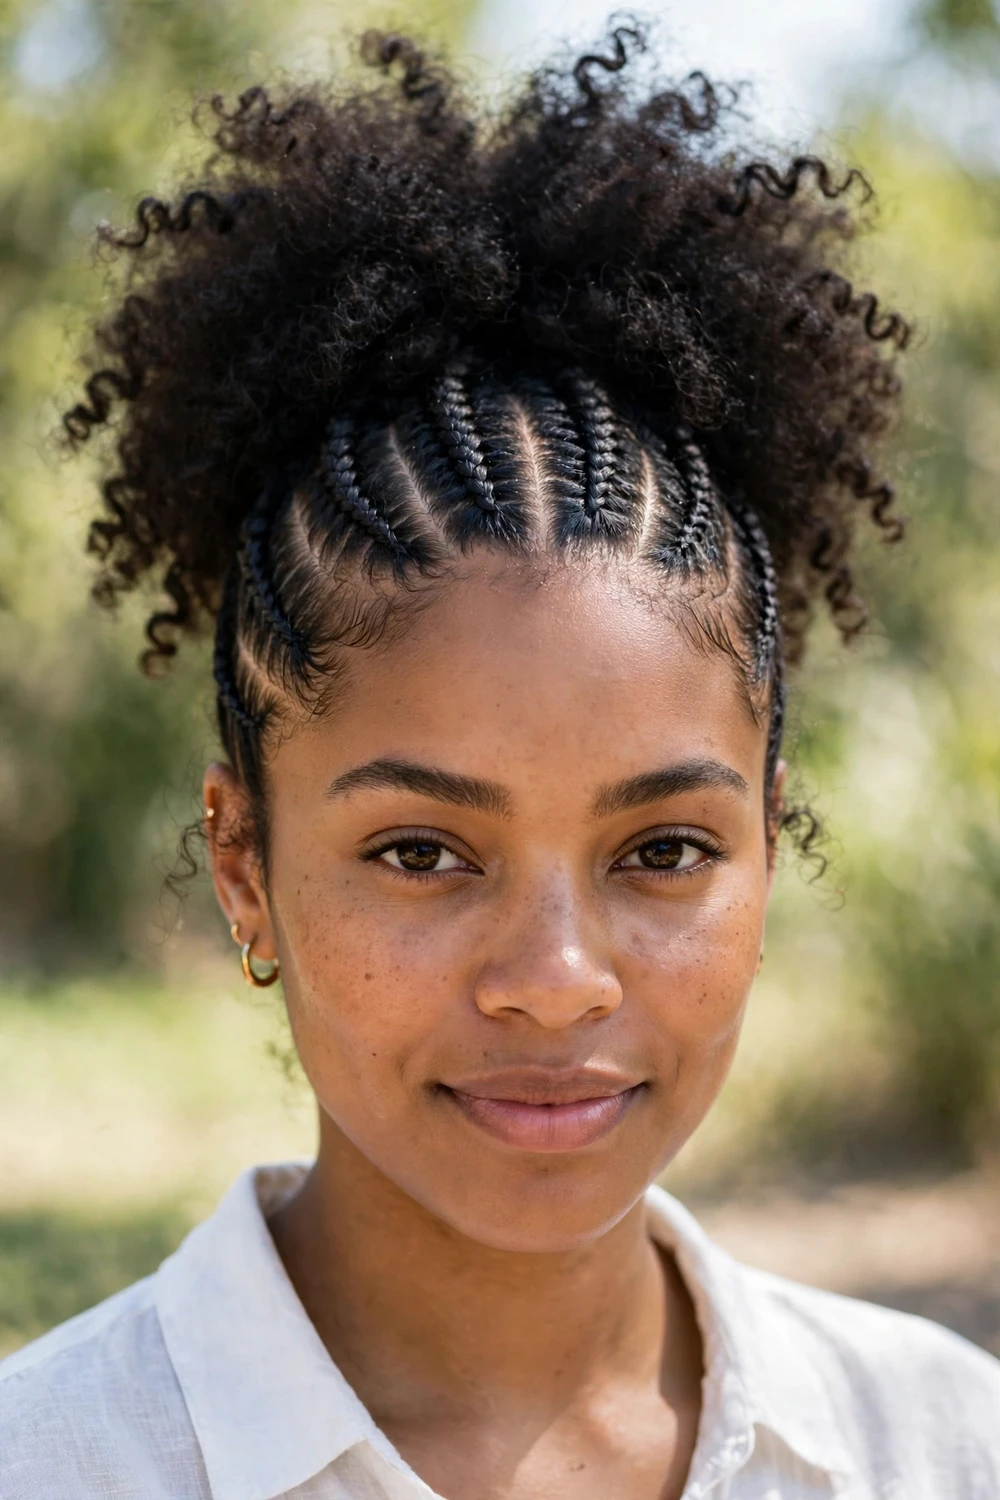
9. Front Cornrows into a Curly Puff
Braid neat cornrows at the front of the head, working back from the hairline, then gather the rest of the curls into a puff at the crown. The cornrows keep the front smooth and tidy, while the puff shows off the curls in full. It is a protective style that the 5 minute list does not cover, and it is especially good for curly and coily hair that needs the front kept neat for a few days. It takes about 10 minutes, and it lasts well into the next day with a satin scarf at night. Keep the cornrows loose at the hairline. Tight cornrows pull and hurt, and they can damage the hair over time. The puff should sit high enough to show the curls but low enough to feel balanced. A wide tooth comb is the best tool for shaping the puff without breaking up the curl pattern.
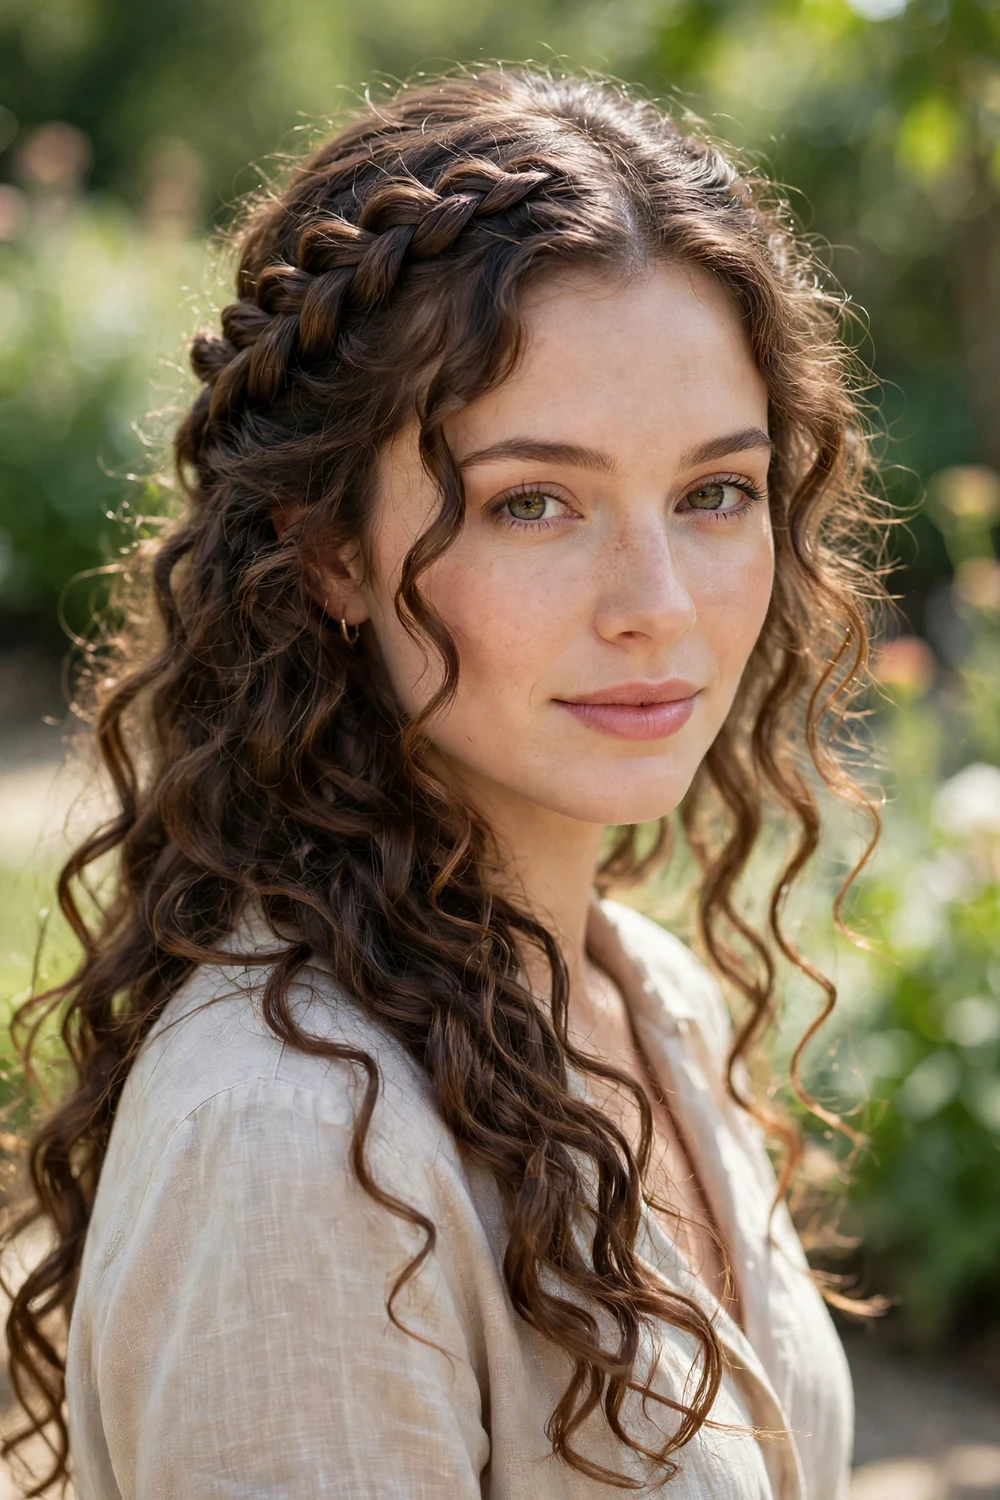
10. Waterfall Braid with Loose Curls
The waterfall braid is the romantic option on this list. Braid across the back of the head, dropping one strand each time you cross and picking up a new one, so the curls fall through the braid like water. The rest of the curls stay loose below it. No competitor in the top results covers this braid for busy moms, which is a shame, because it looks far harder than it is. It takes about 10 minutes once you have tried it twice, and it is the one to pick when the evening calls for something a little special. The waterfall braid takes two or three tries to learn, so practice it once on a quiet evening before you wear it out. The trick is the drop: let each strand fall cleanly and pick up a fresh one right away, or the braid will look uneven. Once your hands learn the rhythm, it becomes one of the fastest dressy styles you own.
Frequently Asked Questions
What is the fastest braid for curly hair?
The braided headband in this list, at about 6 minutes. If you have even less time, a single side braid takes about 3 minutes. See our 7 easy curly braids for busy moms for the fastest options.
How long do braids last on curly hair?
Most of these styles last 2 to 4 days. Sleep with a satin scarf or bonnet, and refresh the curls in the morning with a little water and leave in conditioner. Take the braid down gently when you are done, detangle from the ends up, and moisturize before the next style.
Should I braid wet or dry curly hair?
Lightly damp is best. Soaking wet hair stretches and breaks more easily, and fully dry hair is harder to control. Dampen the curls with a spray bottle, add a little curl cream, and braid while the hair is still soft.
Do braids damage curly hair?
No, as long as the tension is gentle. Never pull tight at the hairline, and never sleep in a braid that hurts. A comfortable braid protects the curls. A painful one does the opposite, so loosen it and try again.
Can I do these styles on second day curls?
Yes, and most of them work better that way. Second day curls have more grip than freshly washed hair, so the braids hold longer. Refresh the curls with water first, add a little curl cream to any dry spots, and braid as usual.
A Last Word
Start with the style that matches your morning, and keep the rest for the week. Try one new braid at a time, and give your hands a few tries before you judge the result. Every braid on this list gets easier the second time you do it. And if tomorrow only gives you 5 minutes, our 7 easy curly braids for busy moms are waiting for you.

7 Comments