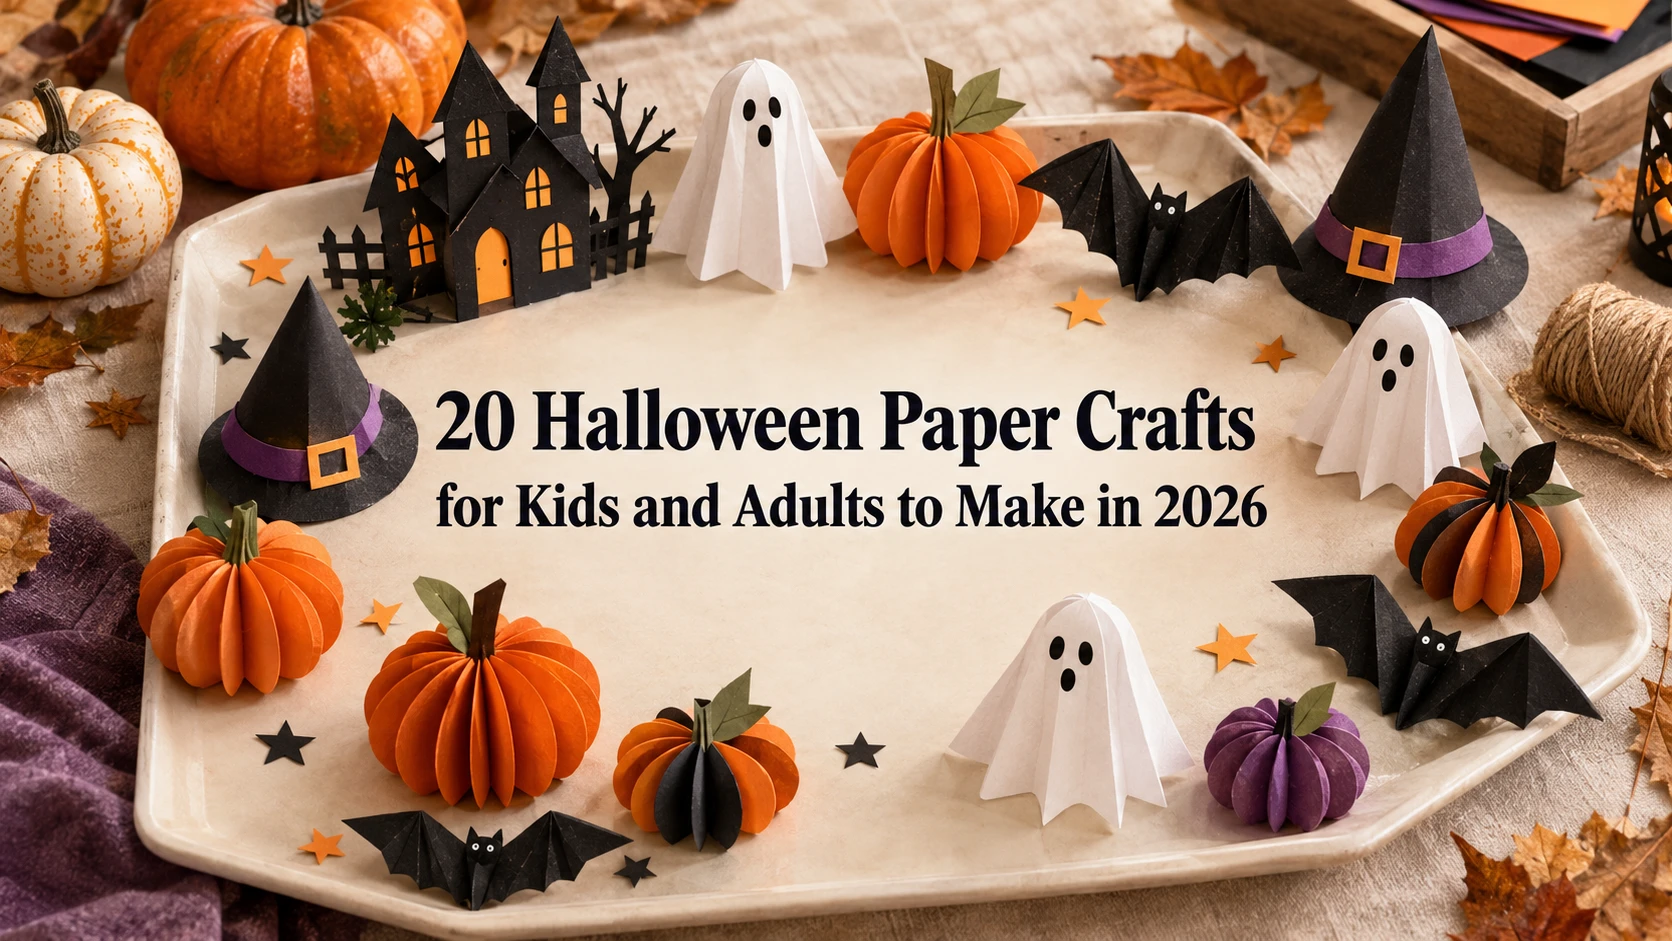
20 Halloween Paper Crafts for Kids and Adults to Make in 2026
Halloween decorating does not have to mean buying another bag of plastic decorations every October. With a few sheets of cardstock or construction paper, scissors and glue, you can make surprisingly beautiful decorations for your home, classroom or Halloween party.
These Halloween paper crafts include simple projects that children can enjoy as well as more detailed ideas that adults and older kids can turn into actual seasonal decor. You will find pumpkins, ghosts, bats, garlands, lanterns, haunted houses, table decorations and layered paper art.
The best projects are not necessarily the most complicated ones. A simple paper bat can completely change a blank wall, while a few folded pumpkins can make a dining table feel festive. Choose the ideas that match your available time, skill level and the space you want to decorate.
What You Need for Halloween Paper Crafts
You can make most of these projects with supplies you may already have at home.
Construction paper is ideal for simple children’s crafts, while cardstock is better when you need something to stand, hang or hold a three dimensional shape.
Keep these basics nearby:
Scissors
Black, orange, white, purple and green paper
Cardstock
Glue stick or craft glue
Pencil
Ruler
Black marker
Orange marker
Hole punch
String or twine
Tape
For projects involving very small children, choose age appropriate scissors and let an adult handle difficult cutting. If you make paper lanterns, use a battery operated LED light rather than an open flame.
1. Accordion Paper Pumpkin Garland
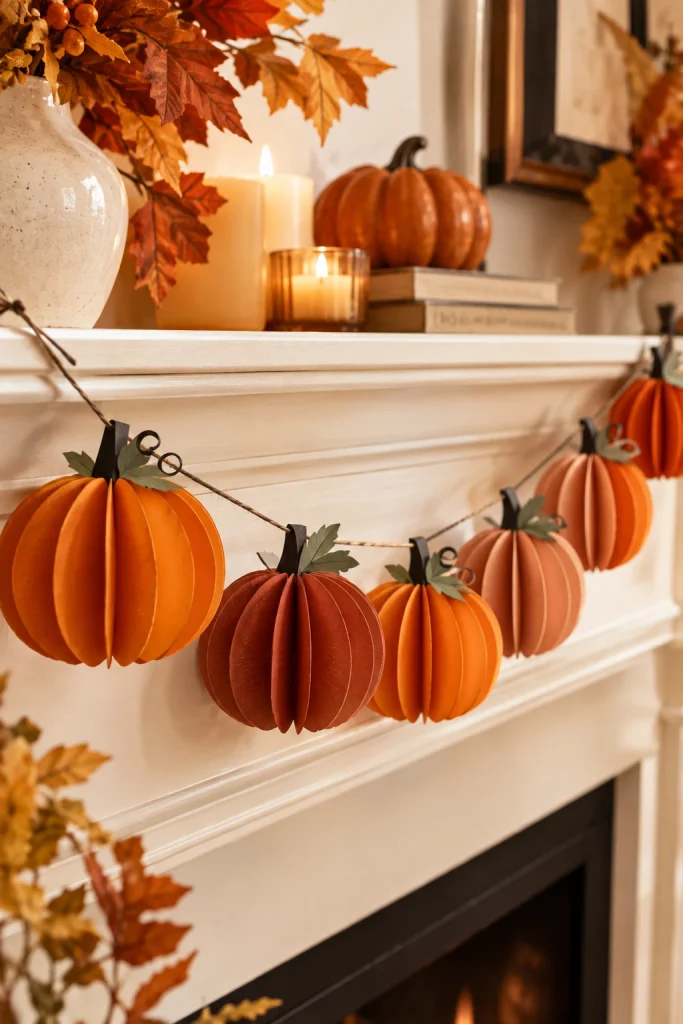
Accordion paper pumpkins are one of the easiest ways to turn flat sheets of orange paper into a decoration with real dimension. Fold strips of orange paper back and forth like an accordion, join the ends and gently spread the folded paper into a rounded pumpkin shape.
Make several pumpkins in different shades of orange and add small green paper stems. You can also use black cardstock for tiny faces or leave the pumpkins plain for a more sophisticated look. Connect them with twine and hang the finished garland over a mantel, shelf, doorway or Halloween dessert table.
2. Paper Ghost Garland
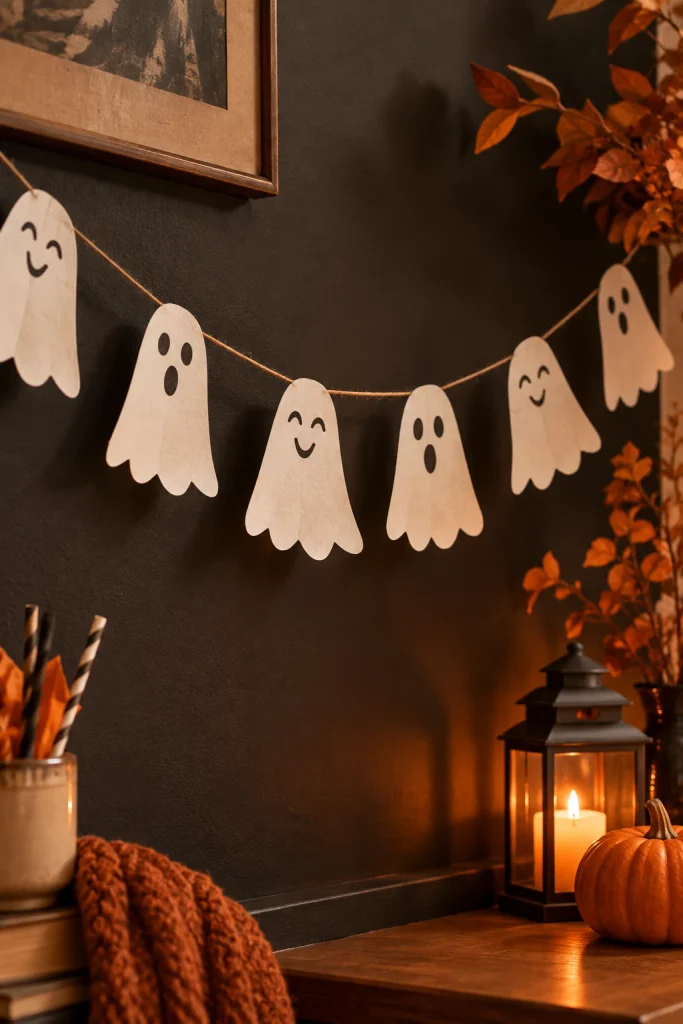
A paper ghost garland is an especially good choice for kids because the shapes can be simple while the finished decoration still looks impressive. Fold a long strip of white paper accordion style, draw a ghost shape across the folded sections and cut carefully while keeping the sides connected.
Once you unfold the paper, you will have a row of connected ghosts. Add tiny black eyes and mouths with a marker or leave them blank for a cleaner silhouette. Hang the garland across a dark wall or window so the white paper becomes the main focal point.
3. Hanging Paper Bats
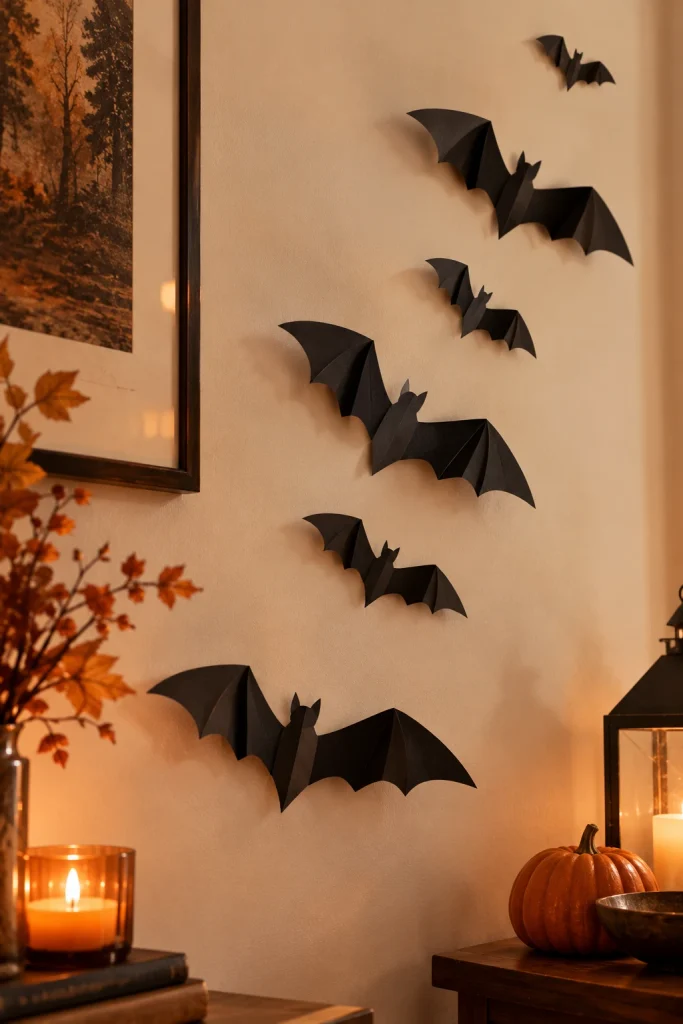
Paper bats are a classic Halloween decoration because they are inexpensive, lightweight and easy to make in different sizes. Cut bat silhouettes from black cardstock, then fold the wings slightly so each bat has a little dimension instead of looking completely flat.
Hang the bats at different heights across a wall or arrange them so they appear to fly upward from a doorway. A mixture of small and large bats usually looks more natural than using identical shapes. For an elegant version, use only black paper and keep the surrounding decor minimal.
4. Layered Paper Pumpkins
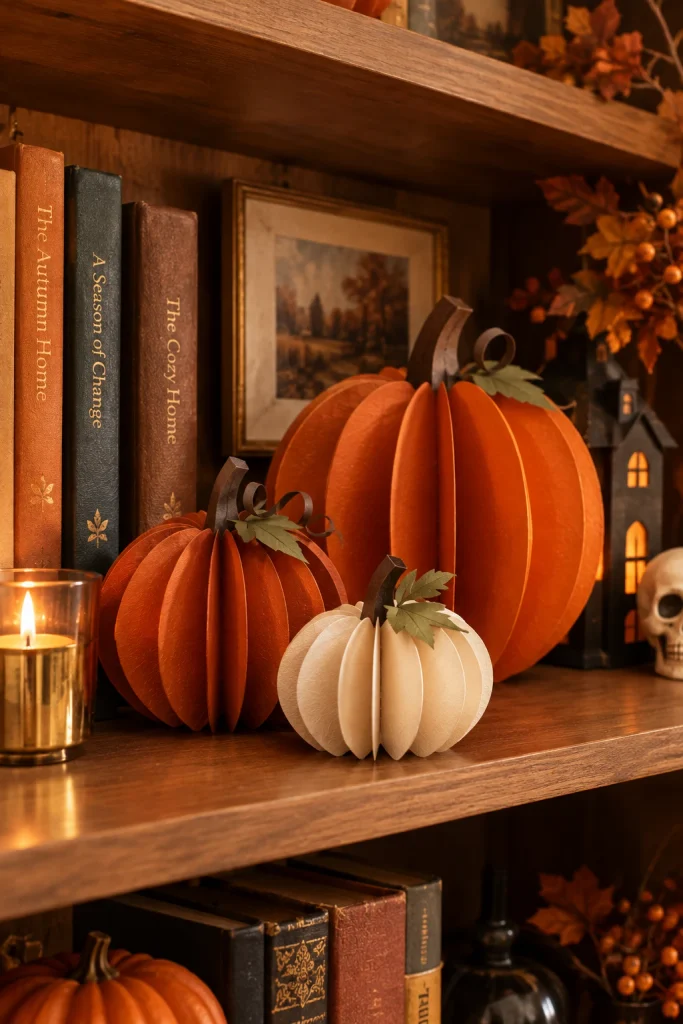
Layering several paper pumpkin shapes creates an easy dimensional decoration without complicated construction. Cut the same pumpkin outline from several pieces of cardstock, stack the shapes and attach them along the center so the sides can open outward.
Use orange, burnt orange and cream to create a more sophisticated color combination. These pumpkins work beautifully on bookshelves, side tables and mantels because they are lightweight but have enough dimension to look like proper seasonal decorations.
5. Paper Halloween Lanterns
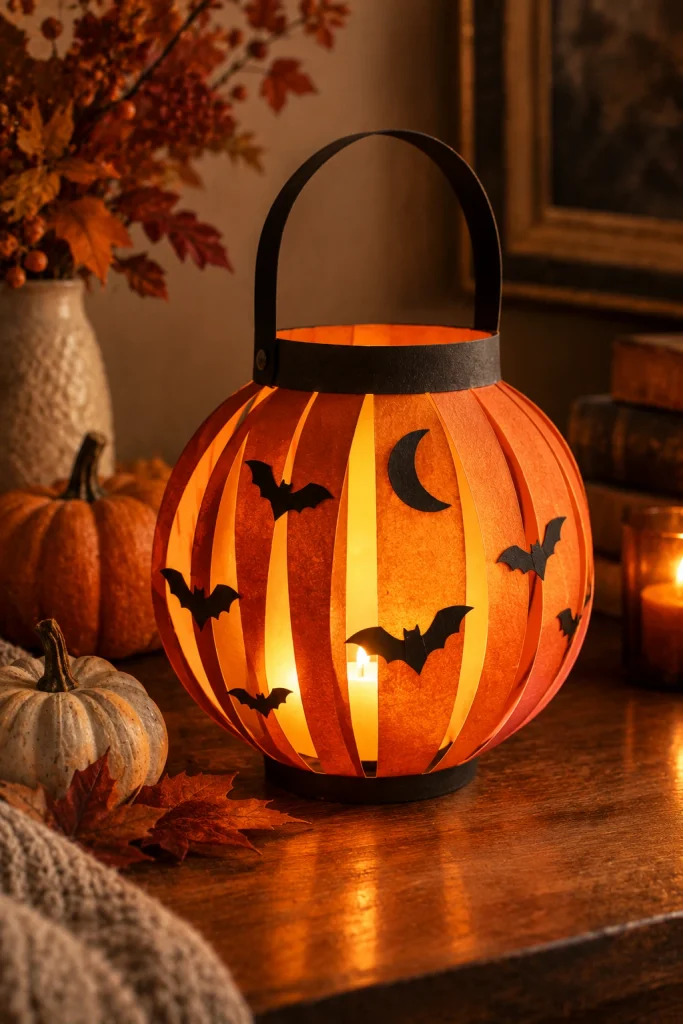
Paper lanterns can create a beautiful glow on a Halloween table or shelf. Start with orange or black cardstock and cut a repeated pattern into the paper before carefully folding it into a lantern shape.
Instead of complicated Halloween illustrations, try simple pumpkin faces, bats, stars or crescent moons. Place a battery operated LED light inside so the cutouts create soft shadows across the surrounding surface. This is also a good project for adults who want something more decorative than a basic paper garland.
6. Paper Black Cat Garland
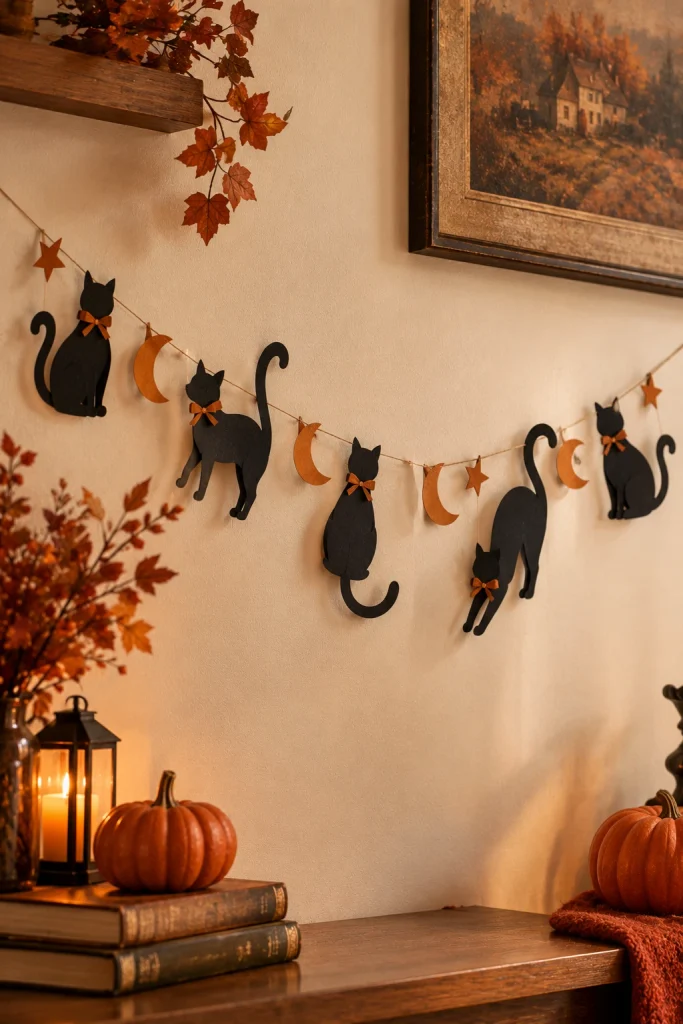
Black cats give Halloween decorating a classic look without requiring complicated designs. Draw a simple cat silhouette with pointed ears and a curved tail, then cut several shapes from black cardstock.
Connect the cats with black or orange string and vary the direction of their tails so the garland does not look repetitive. You can also mix in a few tiny orange pumpkins or cream moons. Hang it over a doorway, bookshelf or mantel for a simple decoration that works for both kids and adults.
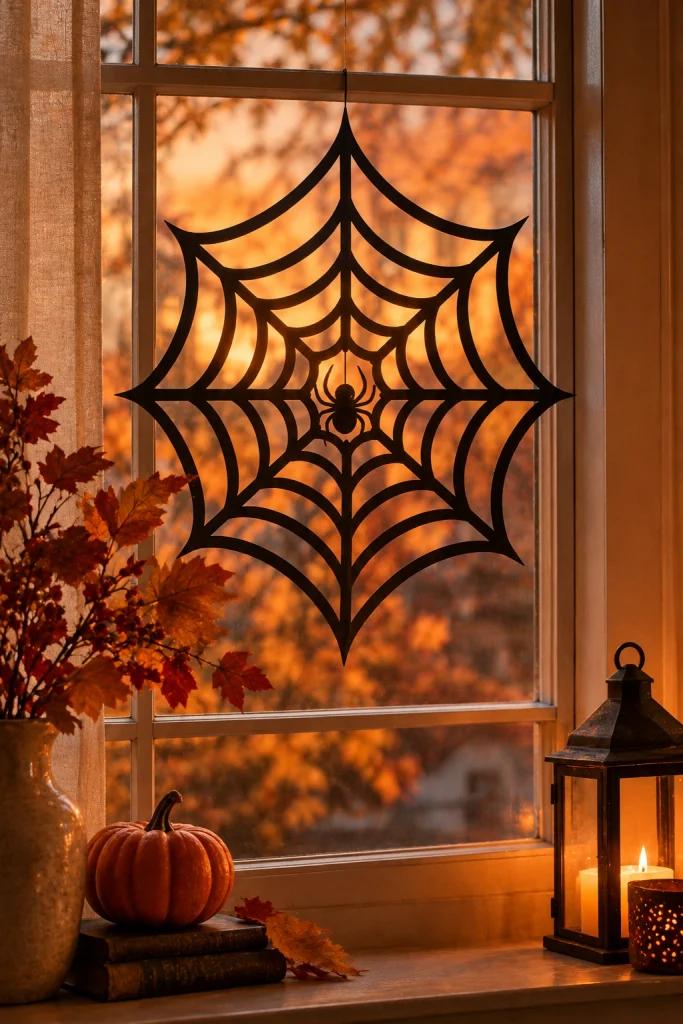
7. Paper Spiderweb Window Decor
Paper spiderwebs are a clever way to decorate a window without taking up any floor or shelf space. Fold a square piece of paper several times and make careful cuts to create the open sections of the web.
Use black paper against a light window frame or white paper against a dark background. One large web can make more impact than covering every inch of glass. Add a single paper spider to the center if you want a traditional Halloween look.
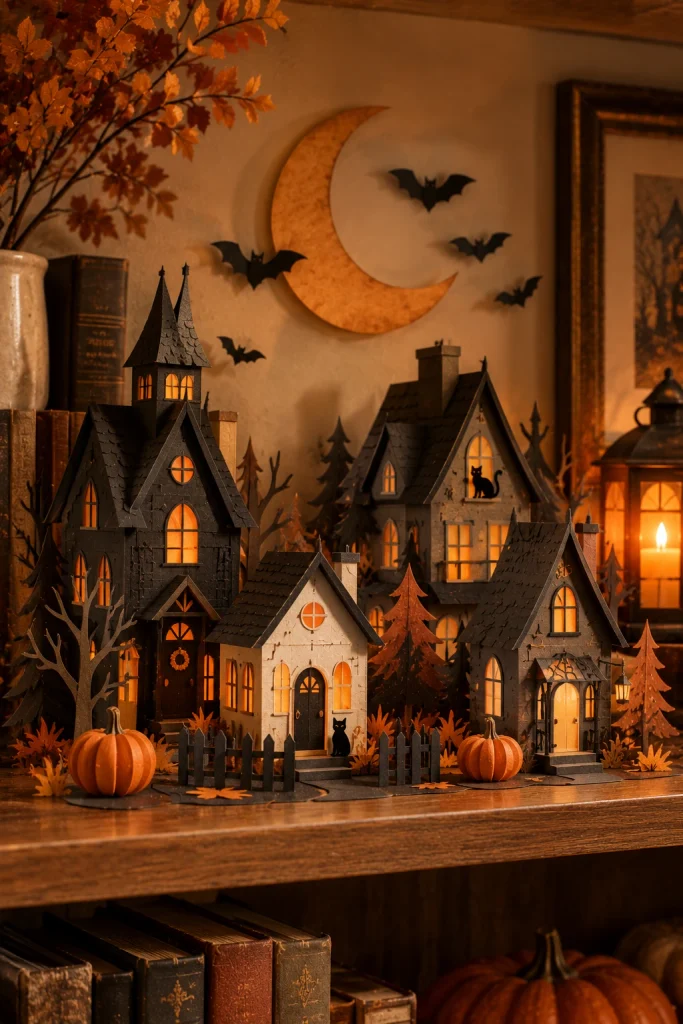
8. 3D Paper Haunted House
A small paper haunted house can become a proper Halloween display piece rather than just a flat craft. Use black, gray, cream or muted orange cardstock to create the walls, roof, windows and door.
Make several houses with slightly different shapes and arrange them into a miniature village. Add small paper trees, a crescent moon or tiny bats to create depth. This project is particularly appealing to older children and adults who enjoy more detailed cutting and assembly.
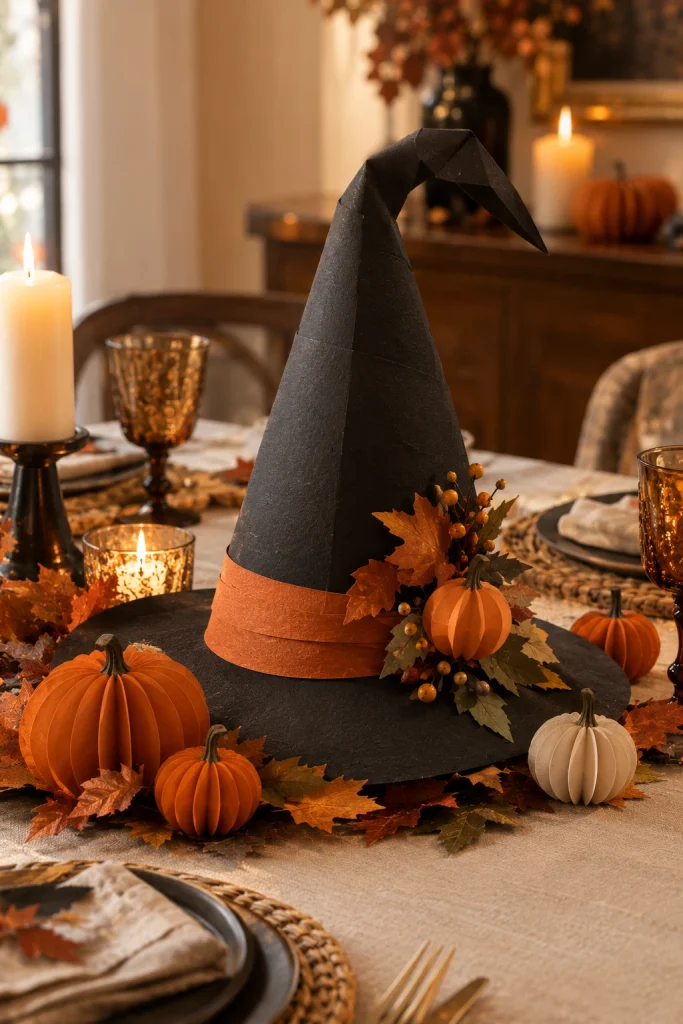
9. Paper Witch Hat Centerpiece
A paper witch hat can become a surprisingly elegant Halloween centerpiece. Roll black cardstock into a cone, attach a circular brim and add a narrow orange, purple or burgundy paper band around the base.
Place the finished hat in the center of a Halloween table and surround it with small paper pumpkins, leaves or bats. For a more sophisticated adult arrangement, keep the decorations around the hat simple and use black, cream and burnt orange rather than bright colors.
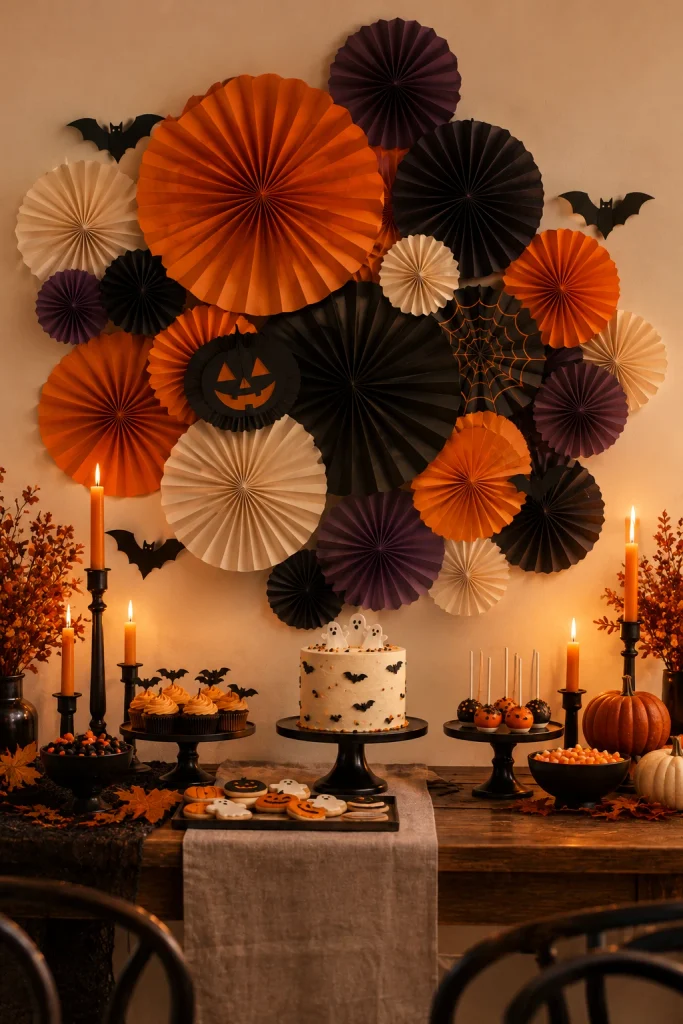
10. Paper Halloween Fan Backdrop
Folded paper fans are an easy way to decorate a large wall or party backdrop. Use black, orange, cream and muted purple paper and create fans in several different sizes.
Arrange the fans in a loose cluster rather than a perfectly symmetrical pattern. This works especially well behind a dessert table, birthday table or Halloween photo area. Use one dominant color and two supporting colors so the display looks coordinated instead of overly busy.
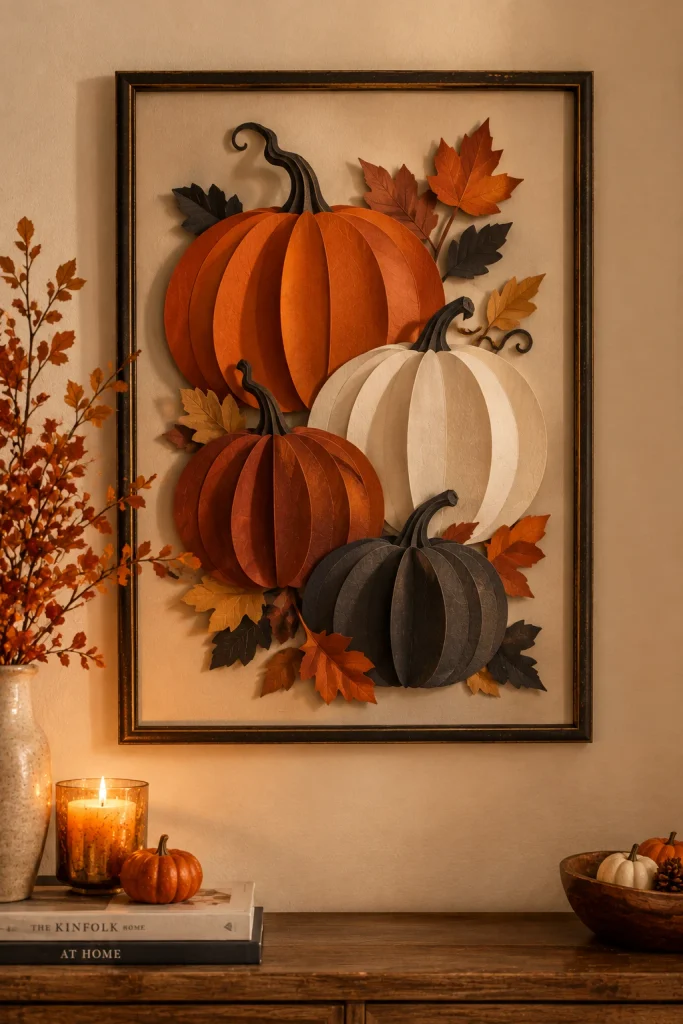
11. Paper Pumpkin Wall Art
If you want a paper project that looks more like artwork, try creating a layered pumpkin scene. Cut pumpkins from several shades of cardstock and layer smaller shapes over larger ones to create shadows and depth.
Mount the finished design on cream or black cardstock and frame it for a seasonal wall display. Muted orange, rust, ivory and charcoal make the project feel more grown up, while bright orange and green can make it more suitable for a child’s room or classroom.
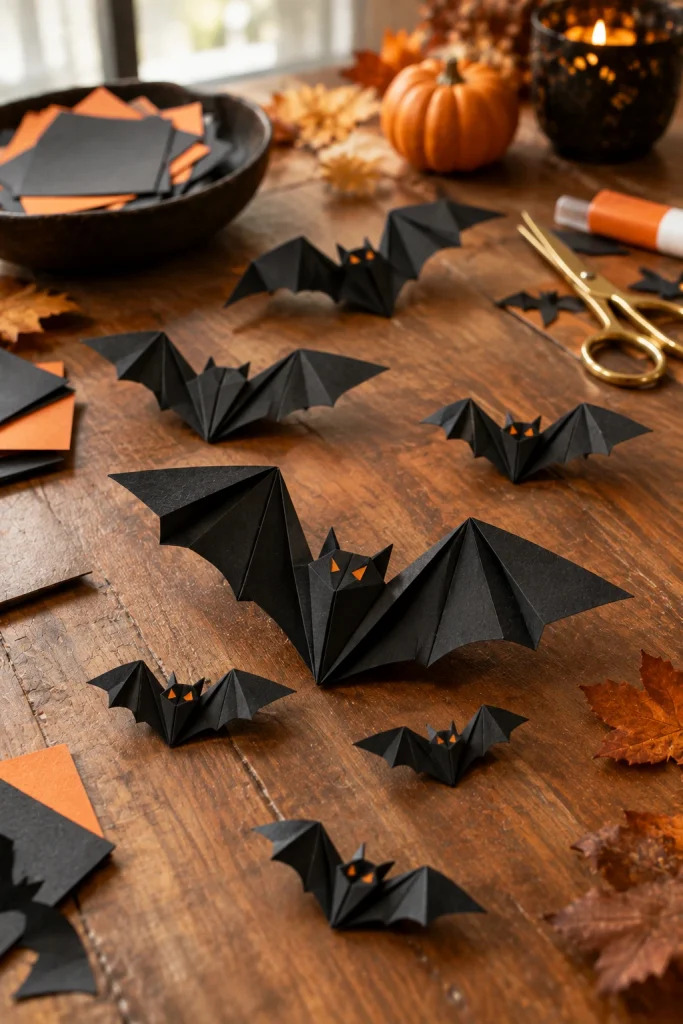
12. Origami Halloween Bats
Origami bats are ideal for older children, teens and adults who enjoy folding paper more than cutting it. Use square black paper and create simple folded bat shapes with raised wings.
Once finished, display several bats together on a shelf or hang them from thin thread. Different sizes can create a more dynamic arrangement. Metallic black or slightly textured paper can also make the finished bats look more decorative.
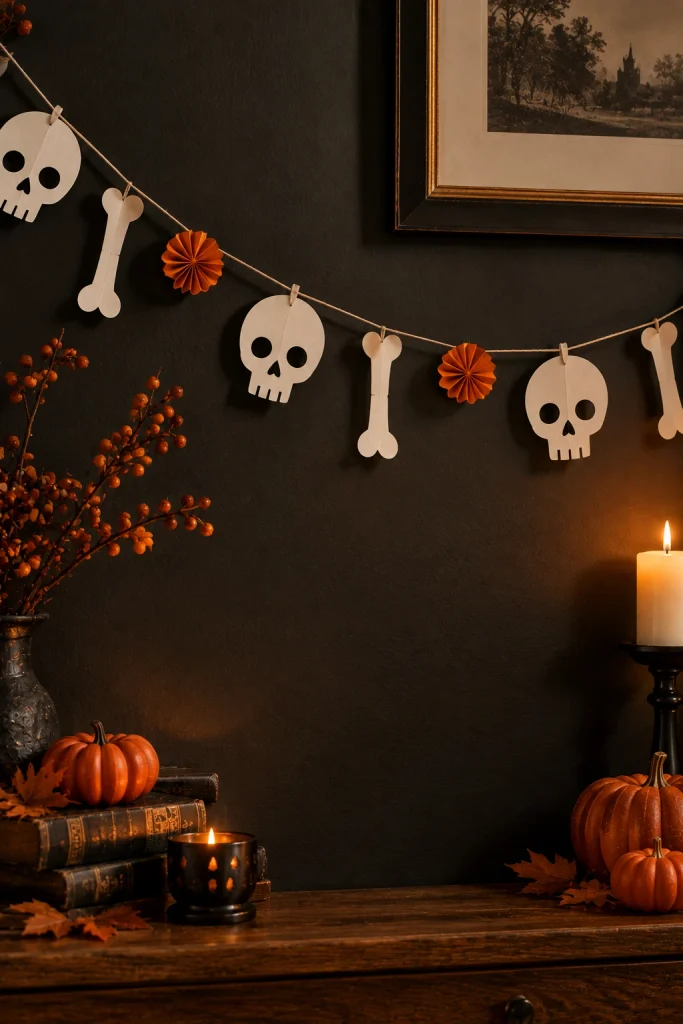
13. Paper Skeleton Garland
A paper skeleton garland can be playful for kids or more graphic and sophisticated for adult Halloween decor. Cut simple skulls and connected bone shapes from white cardstock and attach them to black string.
For children, add friendly faces and bright orange accents. For a more polished room, keep the skeletons white and black with simple shapes and hang them against a deep charcoal wall. The strong contrast makes this decoration visible from across the room.
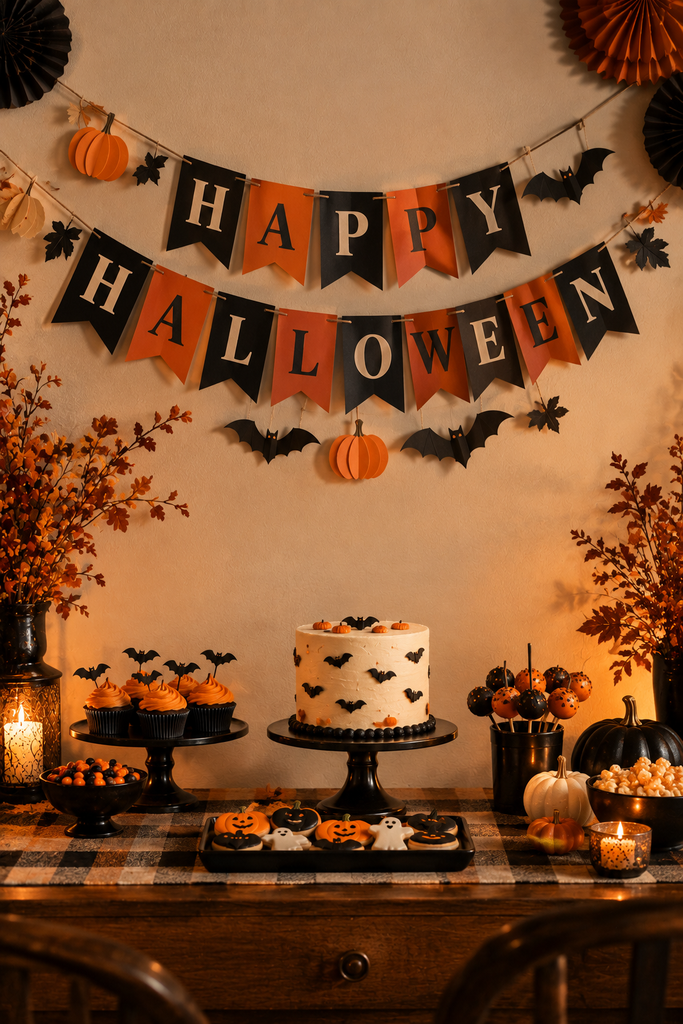
14. Halloween Paper Party Banner
A handmade paper banner is useful when you want to decorate a party space quickly. Cut cardstock into triangles, rectangles or circles and add simple Halloween lettering.
Black, orange and cream create an easy classic combination. Add tiny paper bats, stars or pumpkins to a few pieces instead of decorating every section. This keeps the banner readable and gives it a handmade appearance without making it look cluttered.
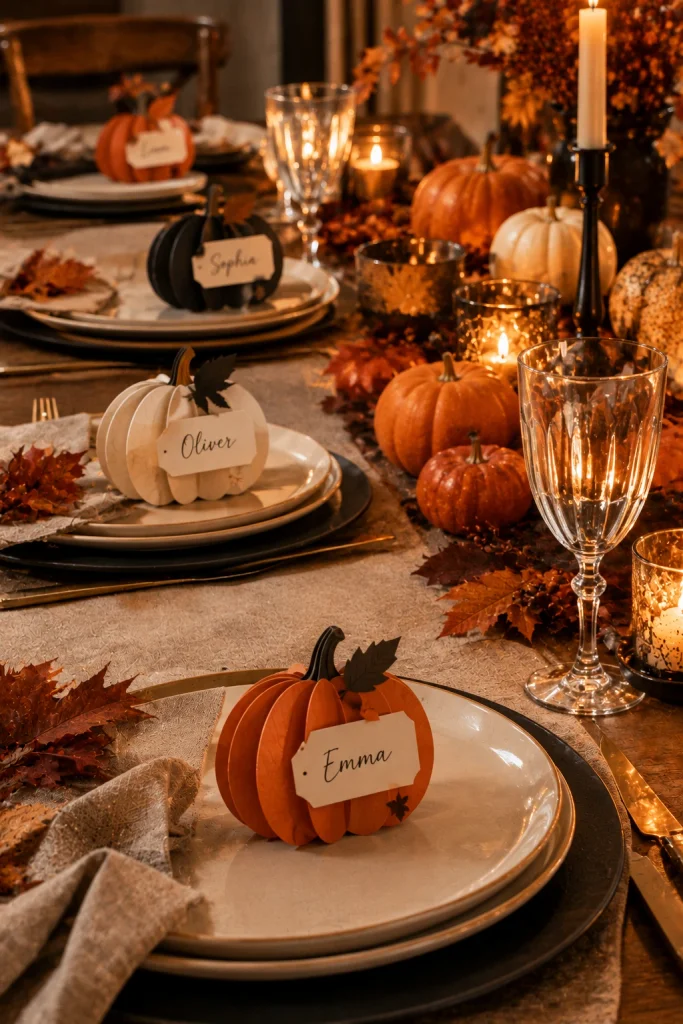
15. Paper Pumpkin Place Cards
Paper pumpkin place cards are a simple project that also serves a purpose at a Halloween dinner or party. Cut small pumpkin shapes from cardstock and write each guest’s name across the front.
Use cream and burnt orange for a sophisticated dinner or bright orange and black for a children’s party. You can also turn the same idea into food labels for a Halloween buffet, making each little pumpkin both decorative and useful.
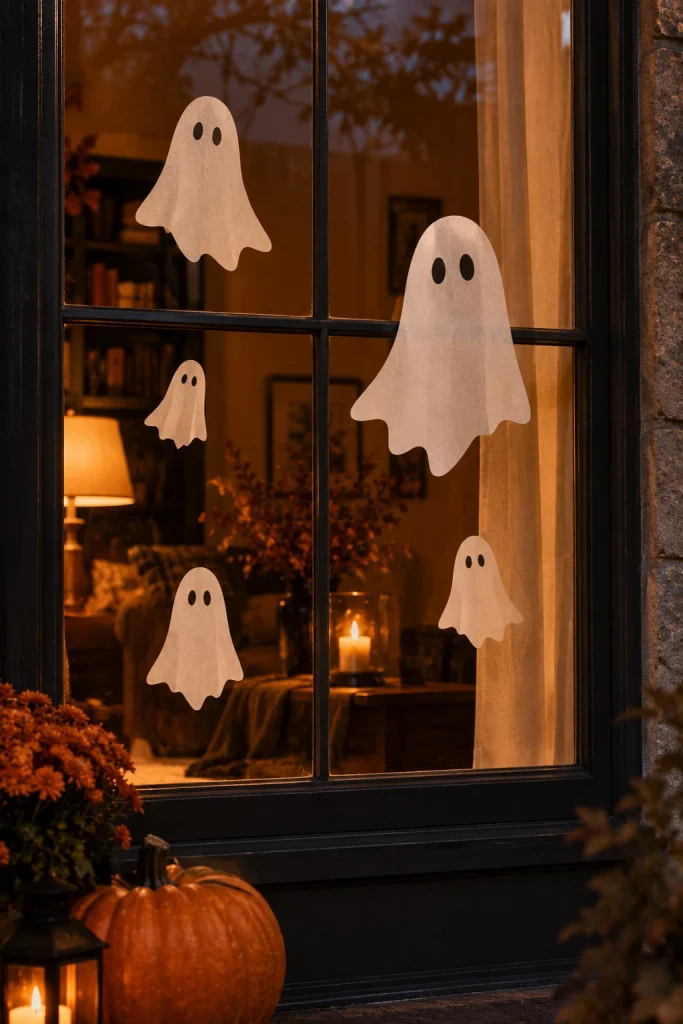
16. Paper Ghost Window Silhouettes
Ghost silhouettes are one of the easiest paper decorations to make when you want something inexpensive but noticeable. Cut several ghost shapes in different sizes and attach them to the inside of a window.
Keep the faces simple or leave them blank for a more minimal look. At night, the contrast between the white paper and dark glass can make the silhouettes particularly striking. This idea is also useful for renters because it does not require permanent decorating changes.
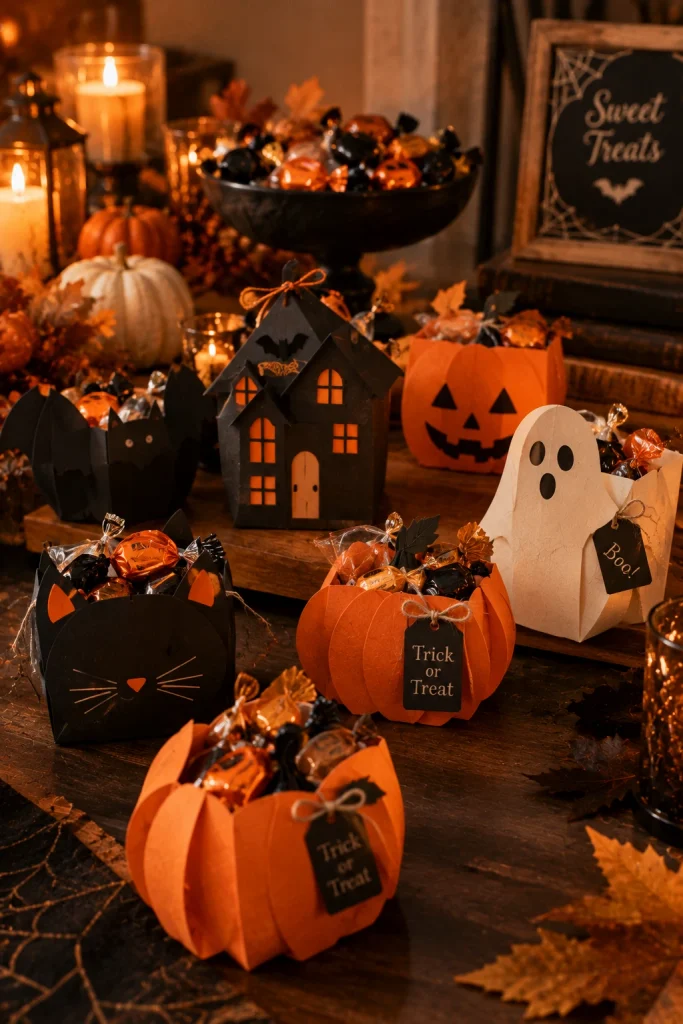
17. Paper Halloween Treat Boxes
Paper treat boxes are especially useful for Halloween parties because the craft becomes part of the celebration. Fold sturdy cardstock into small boxes and decorate them with simple pumpkins, bats, ghosts or black cats.
Use orange and black for a traditional party or cream, black and burnt orange for a more elegant gathering. Fill the finished boxes with individually wrapped candy and place one at each seat or arrange them near the dessert table.
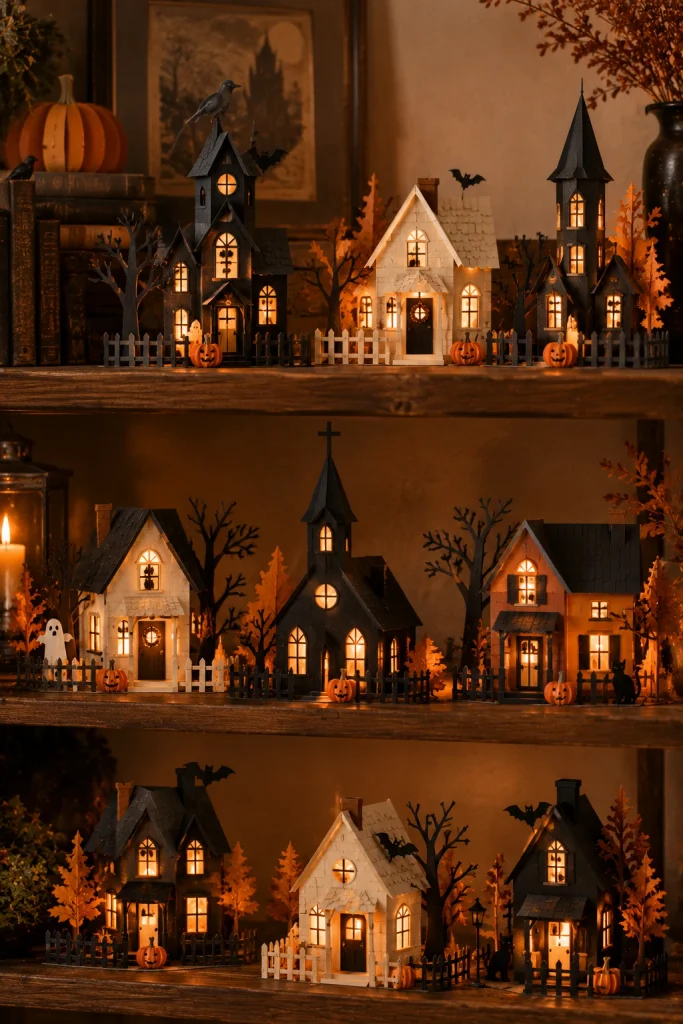
18. Paper Haunted Village
A paper haunted village gives adults and older children a chance to create something much more detailed. Make several small buildings with different roofs, windows and doors, then arrange them together on a shelf.
Use black and cream for a dramatic silhouette effect or introduce muted orange windows and doors for warmth. Add paper trees, fences and tiny pumpkins to make the village feel like a complete miniature scene.
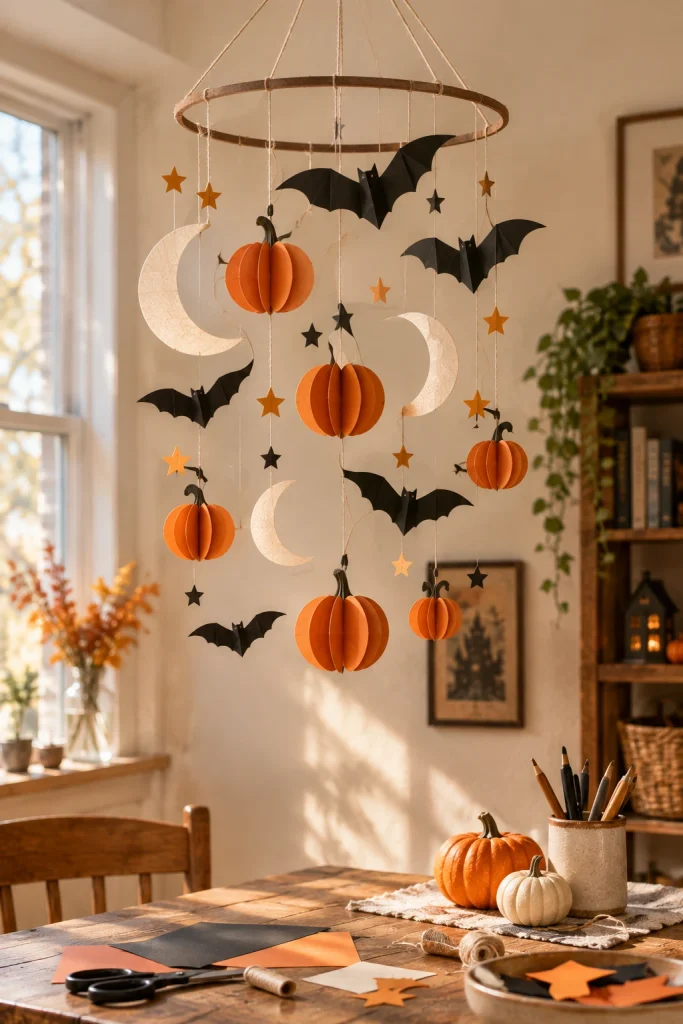
19. Paper Halloween Mobile
A Halloween paper mobile adds movement to a room and can work especially well in a child’s bedroom, classroom or party area. Cut lightweight pumpkins, bats, moons, stars and ghosts and suspend them from a simple circular frame.
Hang the shapes at different heights so the finished mobile has depth. For a more sophisticated adult version, reduce the number of shapes and use only black bats, cream moons and muted orange pumpkins.
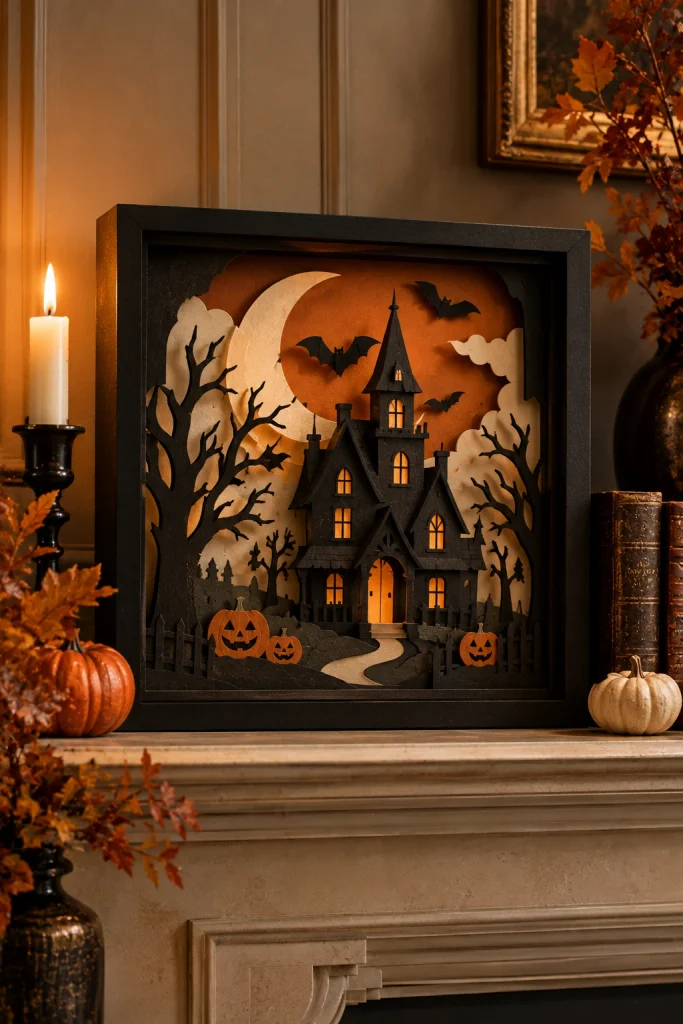
20. Layered Paper Halloween Shadow Box
A layered paper shadow box is the most detailed project in this collection and a good choice when you want your craft to become seasonal artwork. Cut several cardstock layers featuring a haunted house, moon, bats, trees and pumpkins.
Place small spacers between each layer so shadows form between the pieces. Black, cream and burnt orange work particularly well together. Display the finished shadow box on a mantel, bookshelf or entryway table where the layered depth can be seen from different angles.
How to Make Halloween Paper Crafts Look More Expensive
The easiest way to make paper decorations look polished is to pay attention to the paper itself.
Thin printer paper is fine for simple garlands and temporary decorations, but cardstock gives pumpkins, houses, lanterns and standing decorations much more structure. If you are layering paper, using two or three closely related shades can also create more depth than adding lots of different colors.
Color restraint helps too. Black, orange and cream already make a strong Halloween combination. Add purple, burgundy or dark green only when it genuinely improves the design.
Clean cutting makes an even bigger difference. Use sharp scissors, cut slowly around curves and avoid applying more glue than necessary. Small amounts of visible glue can make an otherwise beautiful paper craft look messy.
Which Halloween Paper Crafts Are Best for Kids?
For younger children, start with simple projects where an adult can prepare the difficult cutting beforehand. Paper ghosts, pumpkin shapes, simple banners and large bat silhouettes are good choices because children can concentrate on decorating and assembling.
Older children can try folded pumpkins, origami bats, paper lanterns and small haunted houses. These projects introduce more precise folding and cutting without requiring specialist equipment.
For classrooms, garlands and wall decorations are especially useful because several children can work on individual pieces and then combine them into one larger display.
Which Halloween Paper Crafts Are Best for Adults?
Adults may enjoy projects where paper becomes part of the home decor rather than looking like a traditional children’s craft.
The layered pumpkin art, haunted village, lanterns and shadow box are good options when you want something more refined. Use heavier cardstock, restrained colors and clean geometric shapes to make the finished piece feel intentional.
If you enjoy a more nostalgic decorating style, you can also combine handmade paper pumpkins, cats and ghosts with the muted colors and classic pieces used in GlofyRobs’ vintage and retro Halloween decor ideas.
How Can You Decorate With Paper Crafts Without Making Your Home Look Cluttered?
You do not need to display every craft you make.
Choose one area and create a small collection. A few bats can transform a wall, while a pumpkin garland may be enough for a mantel. On a dining table, one centerpiece and a few small place cards can create a stronger effect than covering the entire surface with paper decorations.
It also helps to repeat colors. If your wall display uses black, orange and cream, carry those colors into your table or shelf decorations. The repetition makes different crafts feel like part of the same Halloween theme.
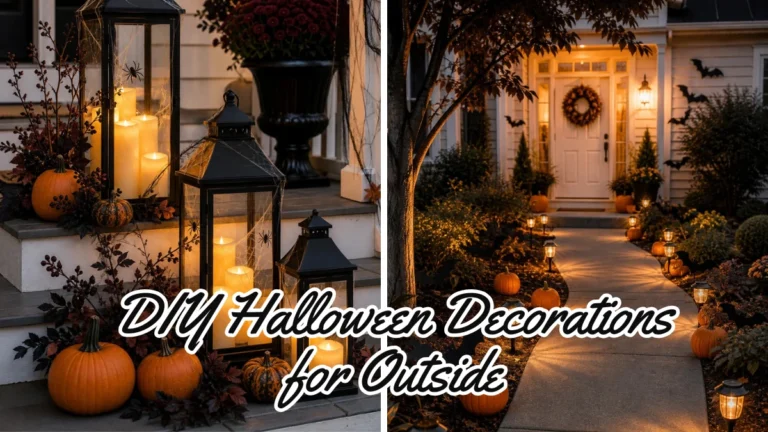
For an outdoor decorating project, keep delicate paper crafts protected from rain and wind. Paper is much better suited to covered porches, windows and indoor spaces. For projects that need to withstand outdoor conditions, GlofyRobs also has ideas for DIY Halloween decorations for outside.
How Should You Store Halloween Paper Crafts?
Let glue and any other wet materials dry completely before storing your crafts.
Flat decorations should be kept between sheets of clean tissue paper or inside a rigid folder so they do not become bent. Three dimensional pieces need a box large enough that they are not crushed by other decorations.
Keep paper crafts somewhere dry and away from extreme heat or moisture. Label the storage box so you can find your favorite decorations next October without unpacking everything.
If you make a particularly good display, take a photo before putting everything away. Next year you can recreate the arrangement instead of starting from scratch.
Can Paper Crafts Be Used for a Halloween Party?
Absolutely. Paper is especially useful for party decorating because it is lightweight, inexpensive and easy to coordinate with a theme.
Use paper fans as a backdrop, a garland above the dessert table, small pumpkin place cards for dinner, treat boxes for guests and paper bats or ghosts around the room.
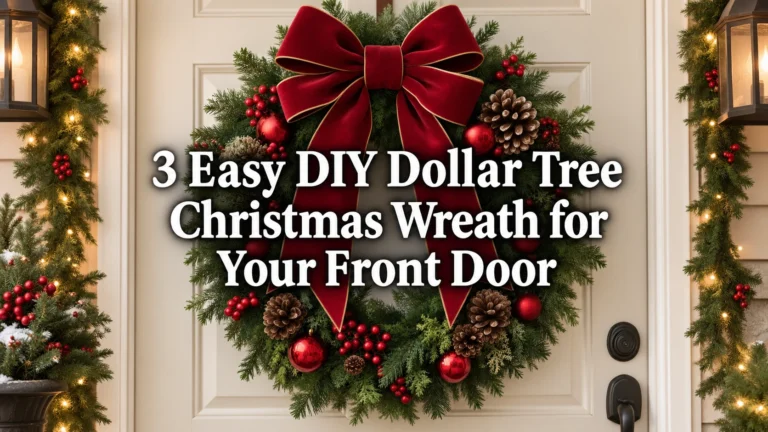
A front door can also combine handmade paper accents with a more substantial seasonal decoration. For example, a few paper pumpkins or black cats can complement a Halloween wreath for your front door without competing with it.
Final Thoughts
Halloween paper crafts give you a simple way to decorate without needing a large craft budget or a closet full of specialist supplies.
You can spend ten minutes cutting paper bats for a wall, make a pumpkin garland with the kids, create paper lanterns for a party table or spend an afternoon building a miniature haunted village.
The best project depends on what you want the finished craft to do.
If you want something quick, choose a garland or silhouette. If you want something children can enjoy, try ghosts, pumpkins or banners. If you want something that feels more like home decor, move toward layered pumpkins, lanterns, haunted houses and shadow boxes.
And because paper decorations are lightweight and easy to store, you can make a new collection every Halloween without needing a lot of storage space.